For as long as I’ve owned my car, the steering wheel has been a little shaky at high speeds. When this occurs, the common cause is that the steering column bushing is worn and needs to be replaced. So I bought myself a bushing, and found some replacement instructions:
http://support.delorean.com/KB/a71/play-or-movement-in-the-steering-column.aspx
http://www.deloreanreborn.com/index.php?itemid=122
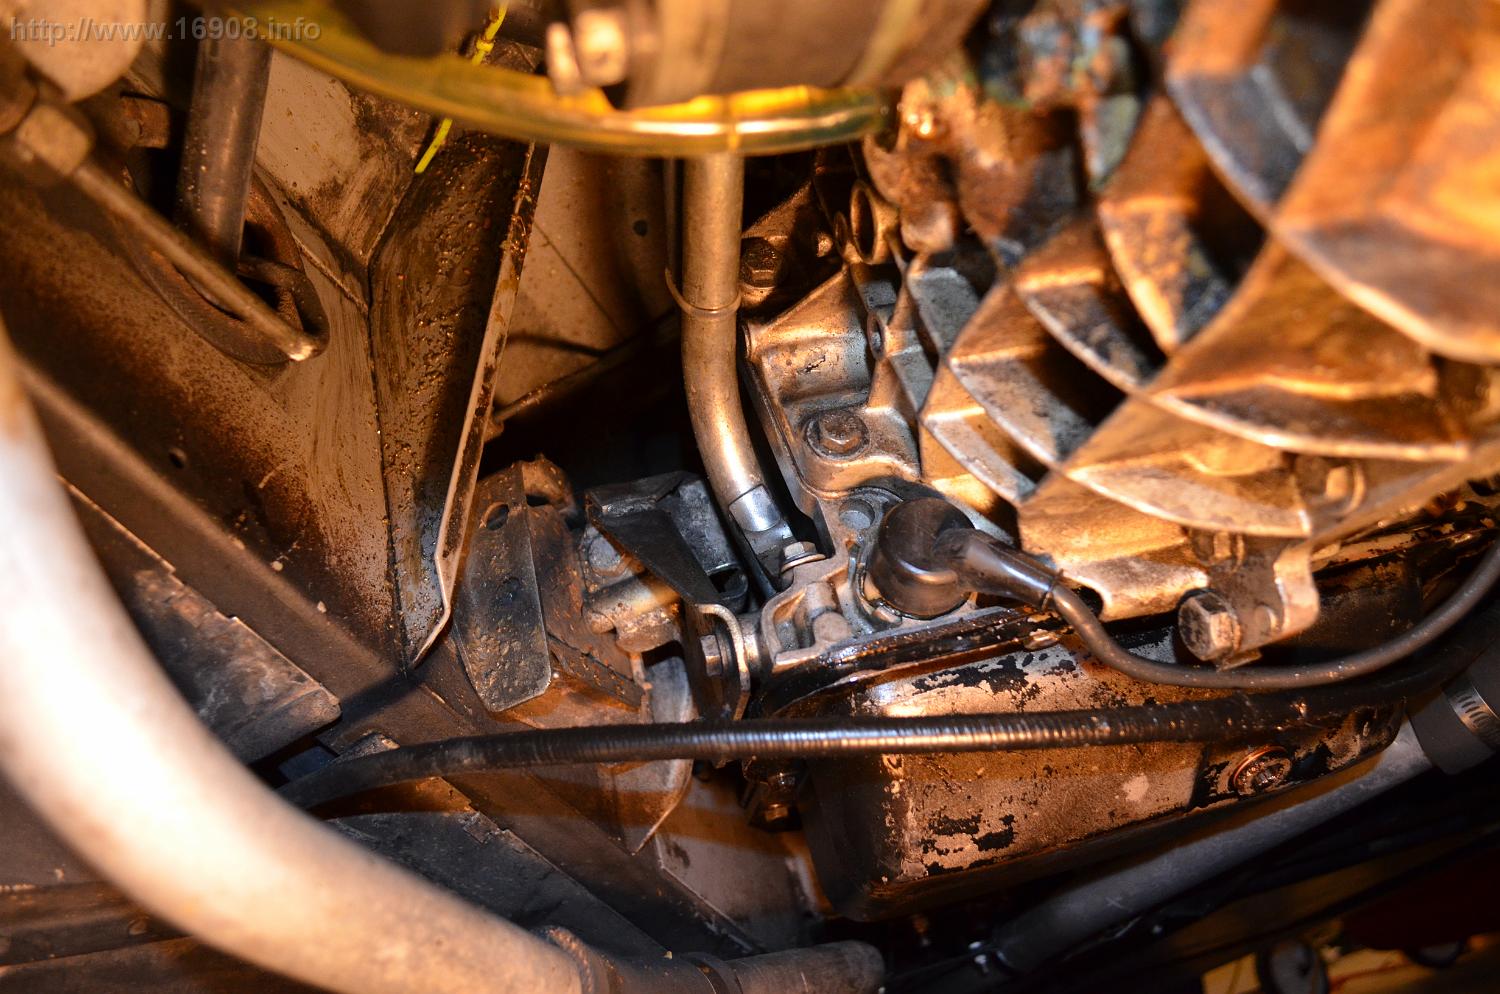
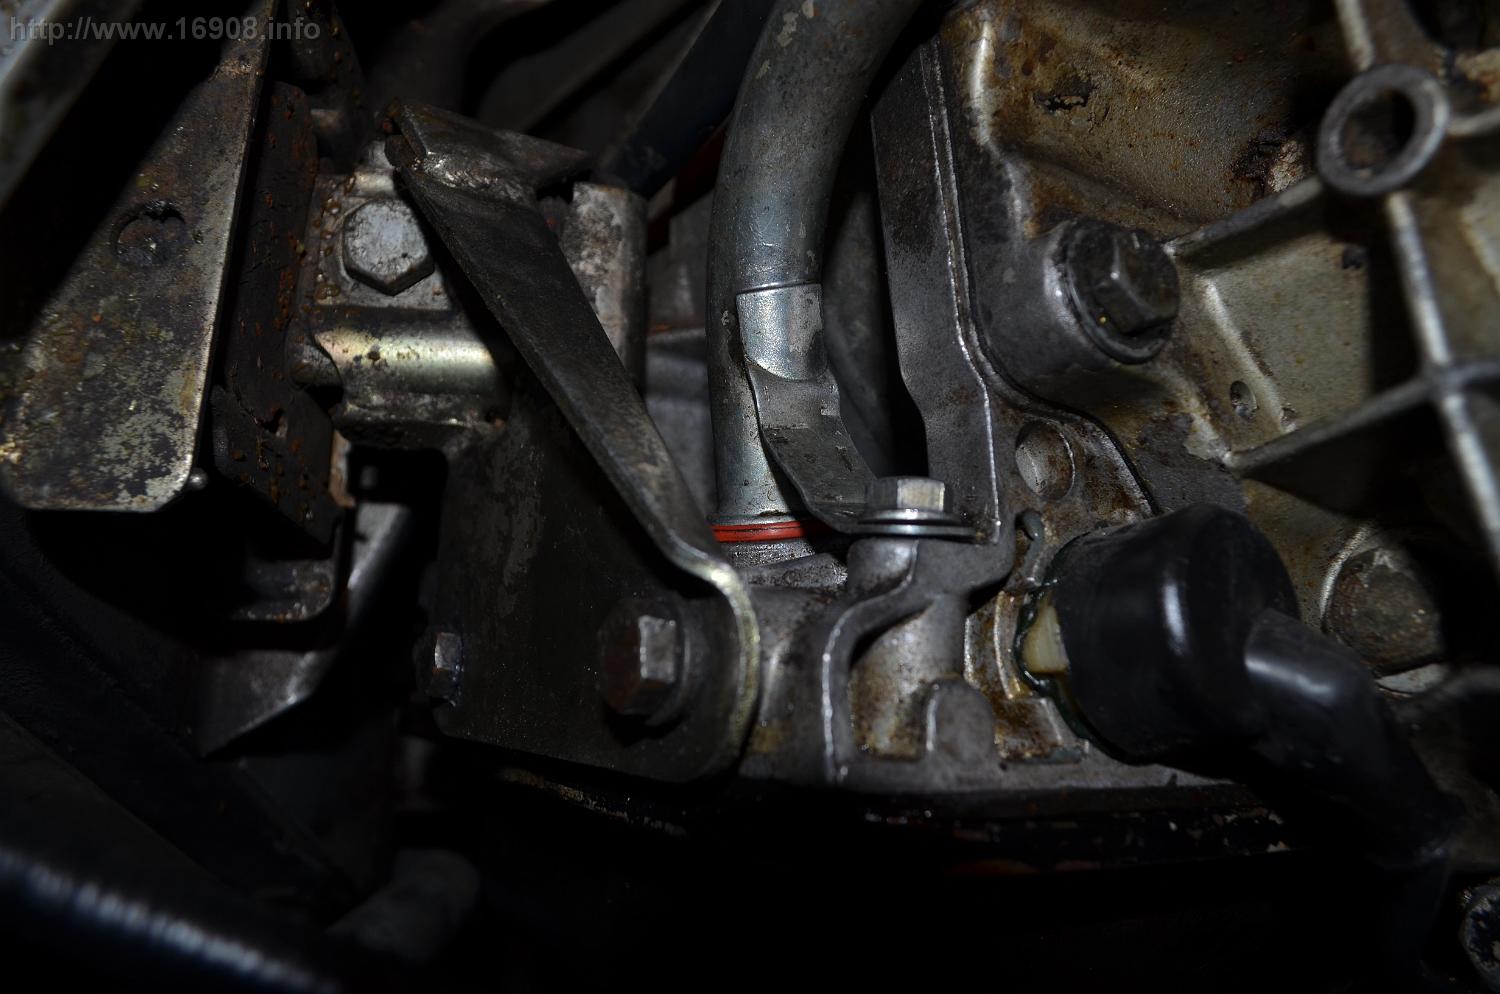
I decided I would remove the column while replacing the bushing, instead of using the “cut-and-cram” replacement method. I already had my knee pads removed since I’ve been re-dying some interior pieces. When I finally pulled the column out, a piece of it remained in the firewall… which is not supposed to happen:


The steering column is collapsible in the event of a front end collision, so the column won’t impale the driver. There’s an inner column, made of two pieces where one fits over the other loosely. Then there’s an outer mesh jacket (or cage) that surrounds everything. The mesh provides some strength and stability, but crushes together in the event of an accident. A quick look at some parts diagrams confirmed the column was not complete. The mesh had been broken and removed by a previous owner. Broken mesh is a common problem, and can usually can be tack welded back together. The previous owner probably didn’t have the means, or just didn’t care.
New steering columns are around $260. Looking to save some money, I emailed a few guys that deal with used Delorean parts, and located a used steering column for a decent price. I was able to transfer the keyed ignition, turn signals, horn, and steering wheel to the new column. Old column (top), new(er) column (bottom):

Here’s the steering wheel lock on the ignition, and the hole in the column where they go together:

Delorean steering columns are adjustable in height, and telescope in and out. The common problem is once the height is raised, they sink lower over time. My steering column has this problem. Being 6′ 3″ in height, my legs take up a lot of room, and my steering wheel is always hitting my knees. I also found these great instructions on how to remedy the issue:
http://dmctalk.org/showthread.php?5733&p=102148&viewfull=1#post102148
After I disassembled everything, I cleaned off all the grease and gunk, and roughed up the metal pieces with 60 grit sandpaper:

I also installed the new bushing. The old one (left) didn’t look too bad:

I used a jewelers screwdriver to force the two together. The screwdriver has a nice taper to it, which pulled the column and shaft into the sweet spot:

I stripped the threads of the M8 bolt that connects to the shaft, so I bought a new stainless bolt and lock nut:

I also needed a new M14 nut to hold the steering wheel in place, which wasn’t included with my new column. My previous column didn’t have it either since I crossed the threads once, then re-threaded them to larger threads: https://16908.info/?p=1124
Oh yeah, and I broke my low-profile Harbor Freight creeper:

I got everything put back together, and I’m happy to report, the column is sitting very high, and is firmly locked in place! I can finally see the top of my speedometer! My test drive with the car at high speeds seemed very smooth!

| Item | Vendor | Cost |
Tax |
Total |
| Steering Column Bushing | DMC Midwest |
$ 15.95 |
$ 1.24 |
$ 17.19 |
| Steering Column (Used) |
$ 130.00 |
$ – |
$ 130.00 |
|
| M14 1.5 Fine Thread Nut | Ace Hardware |
$ 3.20 |
$ 0.24 |
$ 3.44 |
| Stainless M8 Bolt | Ace Hardware |
$ 2.20 |
$ 0.17 |
$ 2.37 |
| Stainless M8 Lock Nut | Ace Hardware |
$ 1.10 |
$ 0.08 |
$ 1.18 |
|
$ 154.17 |