It’s been over a month since I got the new suspension installed. The stock shocks were 25 years old, and felt rough. I felt the stock springs appear to make the car sit too high – because the originally designed springs were shorter. Early 1980’s bumper height regulations forced an increase in the ride height before the car was debuted, and taller springs were a last minute change. However, DMC (Houston) now offers springs that return the car’s height to the original design specification. I chose to buy new shocks from midstatedmc.com and Eibach springs from DMC (Midwest).
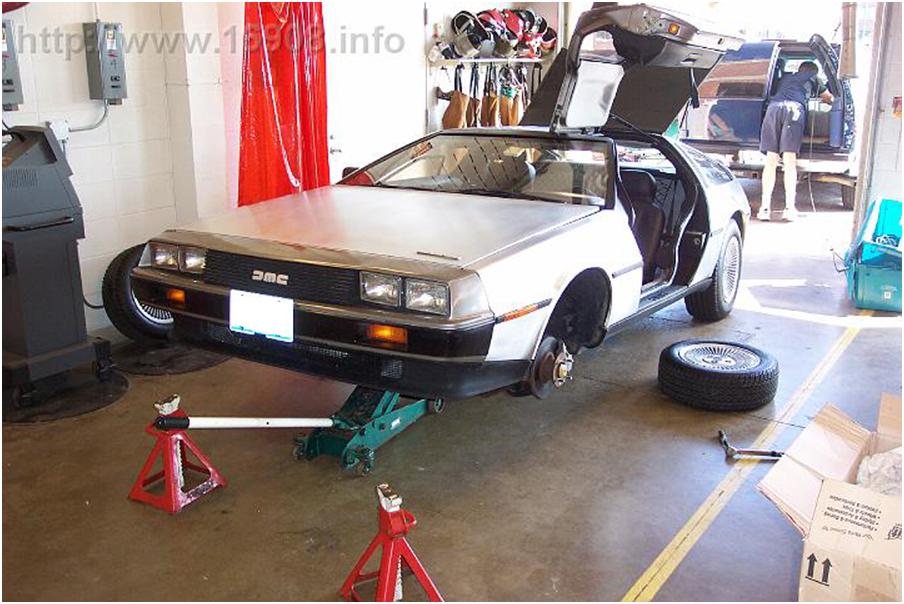
I was lucky enough to have all of the work completed at the Delorean Midwest Connection’s Fall Tech Session. The designer of the shocks that I bought was there to deliver them to me, and help me for most of the day with their installation in my car. I was extremely grateful for this, since I don’t know what to do, but wanted to learn. Also, I was advised to buy new lower ball joint rubber covers in case we damaged them. However everything came apart nicely. I did end up using the rubber boots on my tie-rod ends, which I am proud to say I replaced mostly by myself.
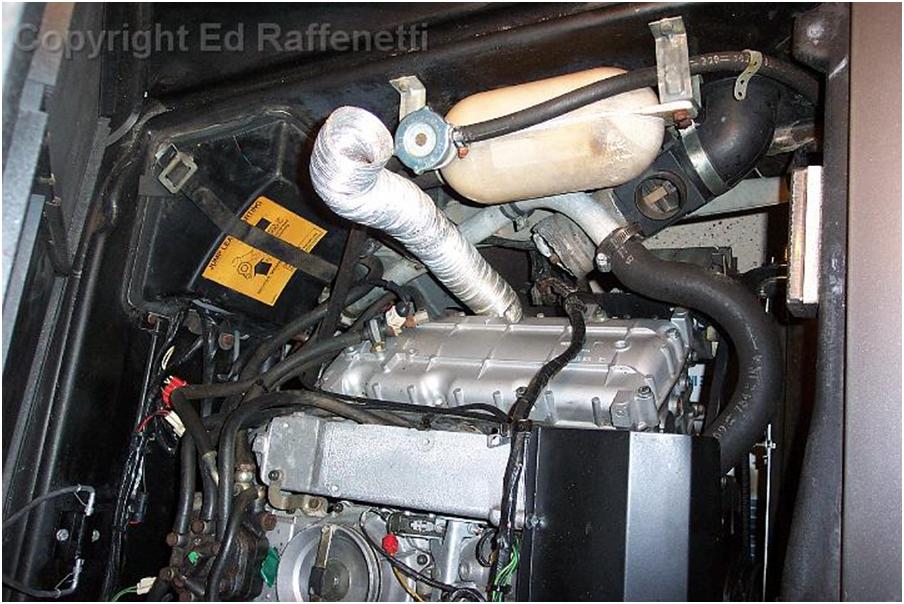
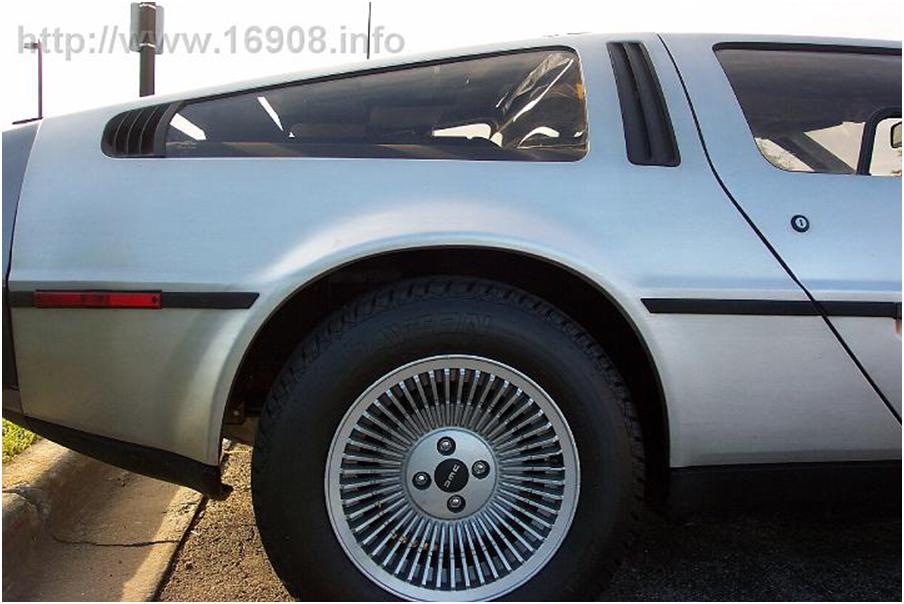
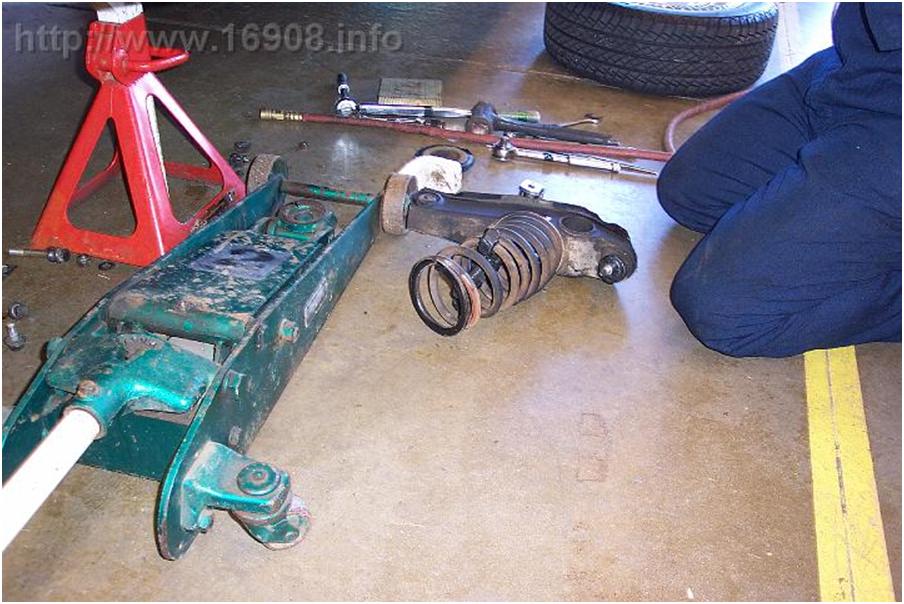
Before:

Installation:
New Shocks:


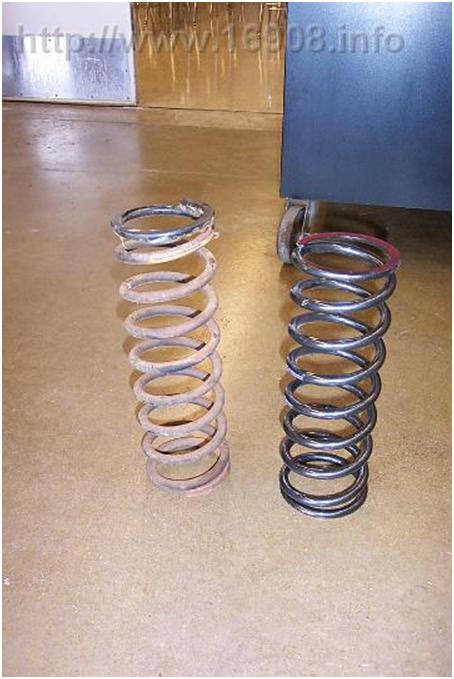
old springs compressed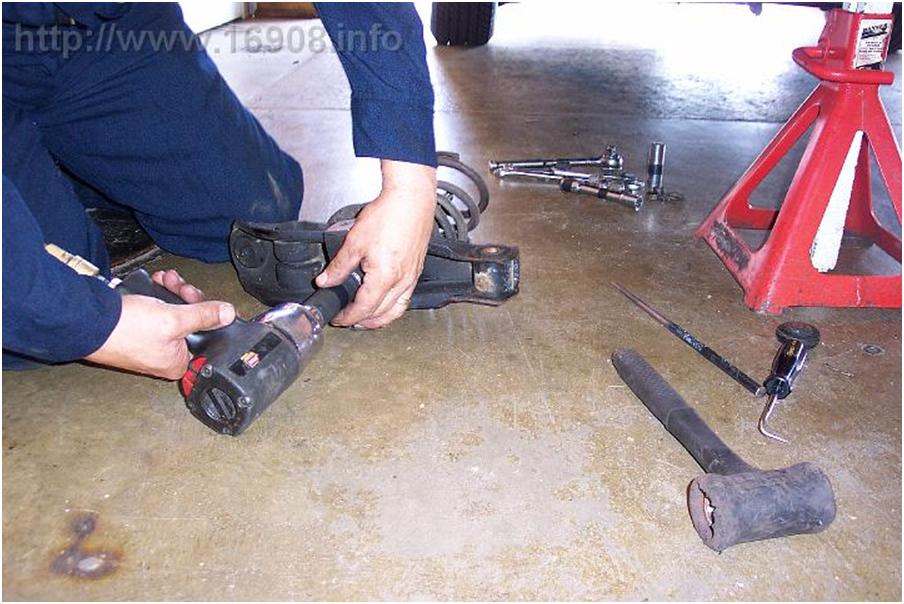
old front spring left, new right:
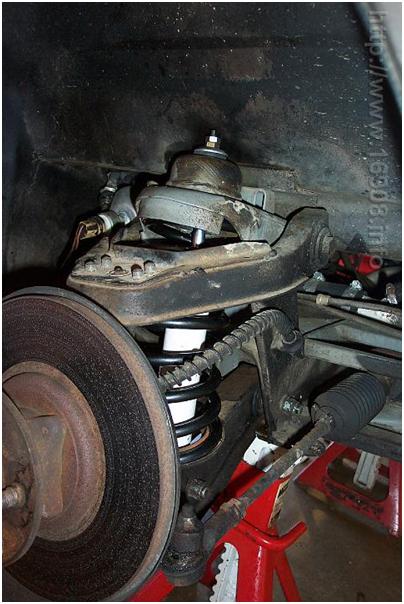
New front left spring and shock
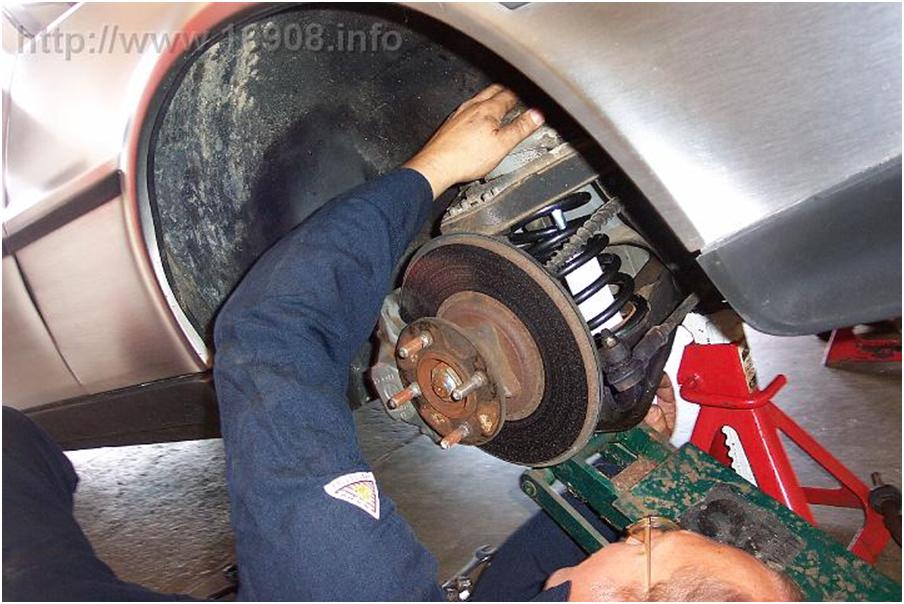
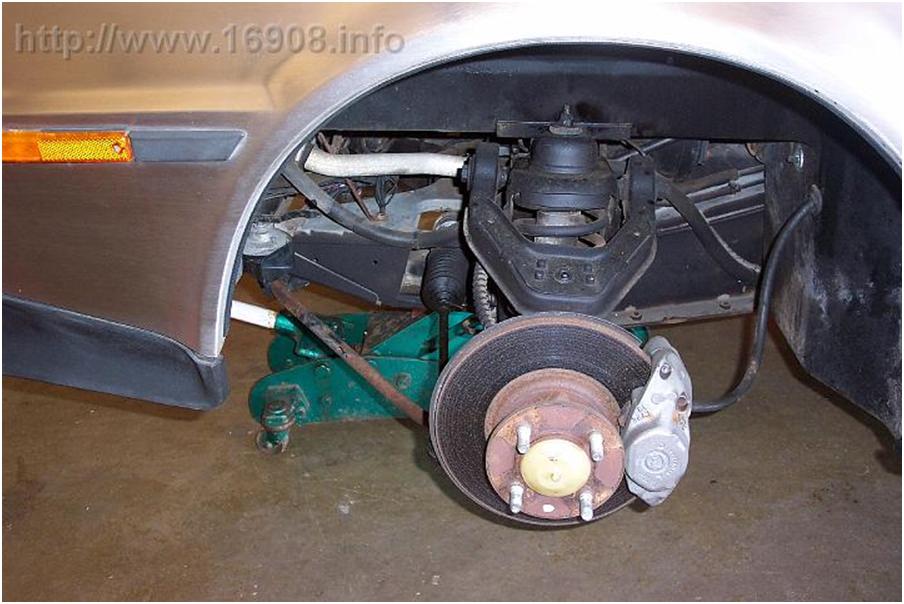
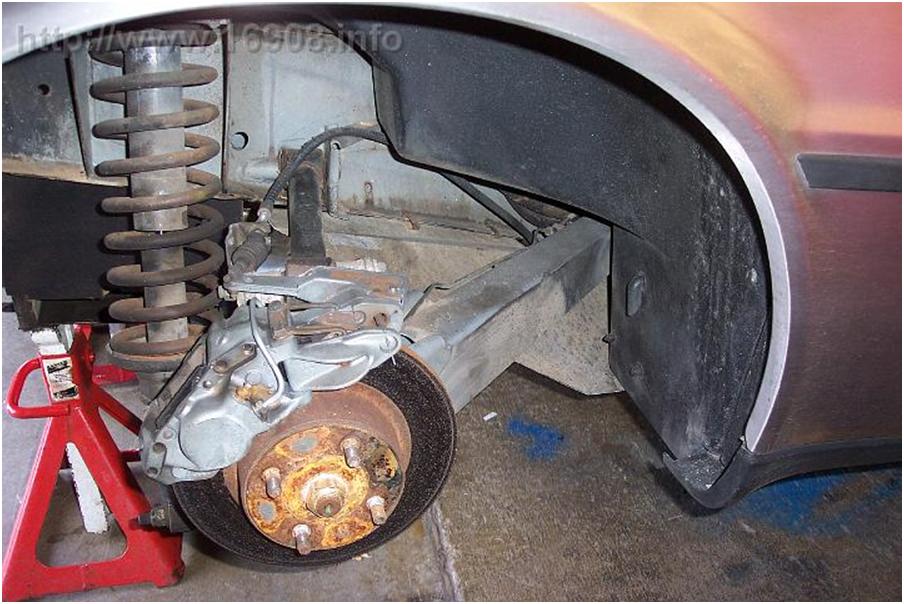
The hub is lift up, out of the way:

Rear:


What the reverse side of my tires looks like. I’m glad the white letters face this way.

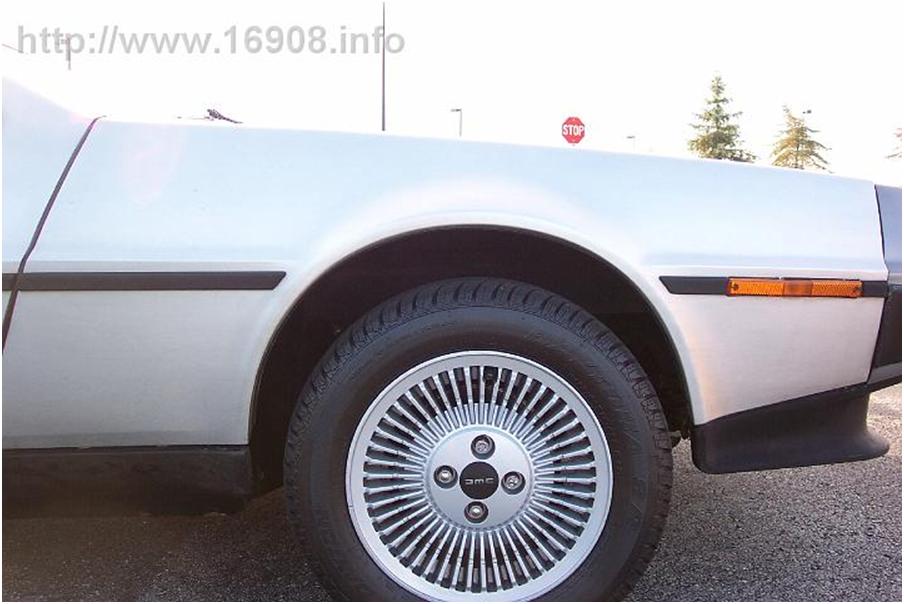
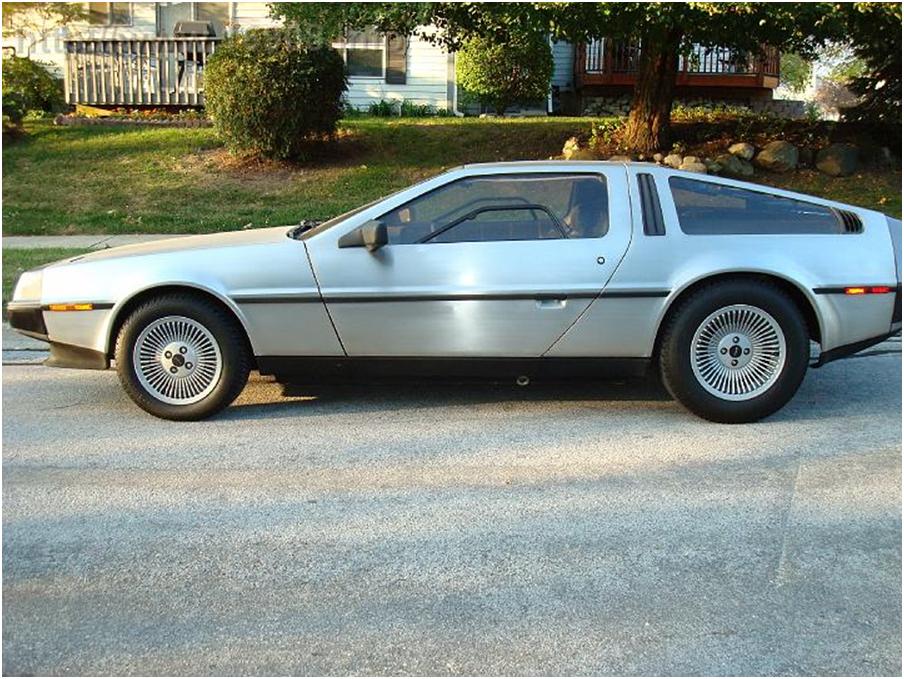
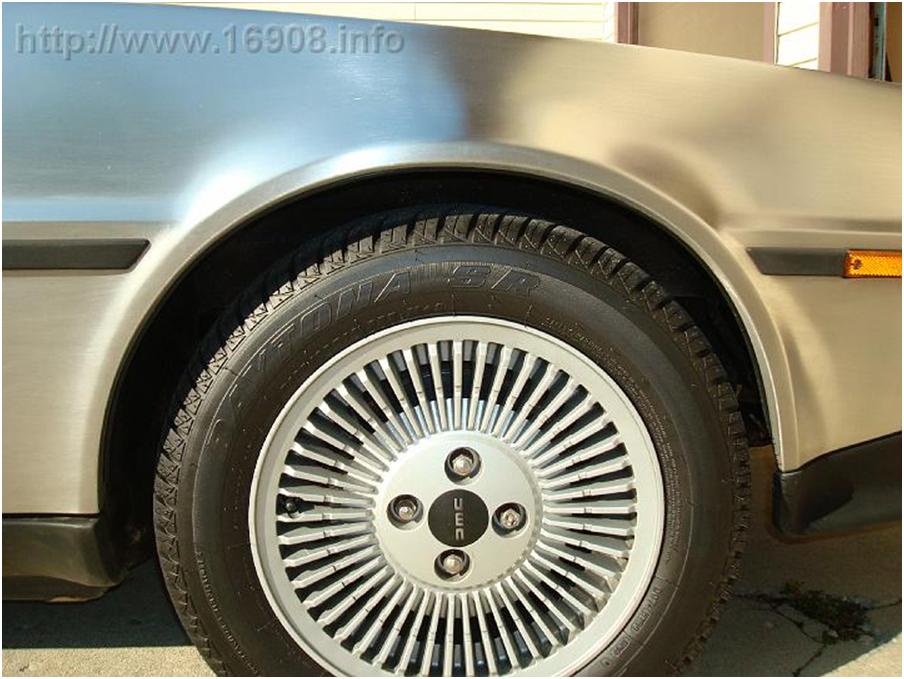
Done! So I waited about 5 weeks to get some good after pictures. I still don’t know if the front end has settled as far as it can, compared to pictures of other cars with the same springs. However, I’m very pleased with the results thus far:
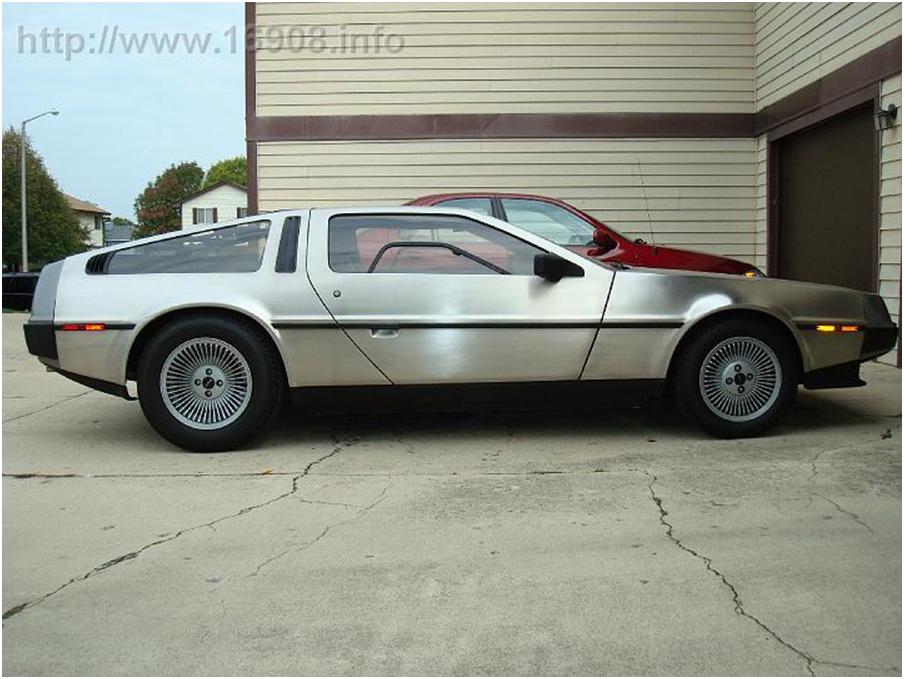
Front:
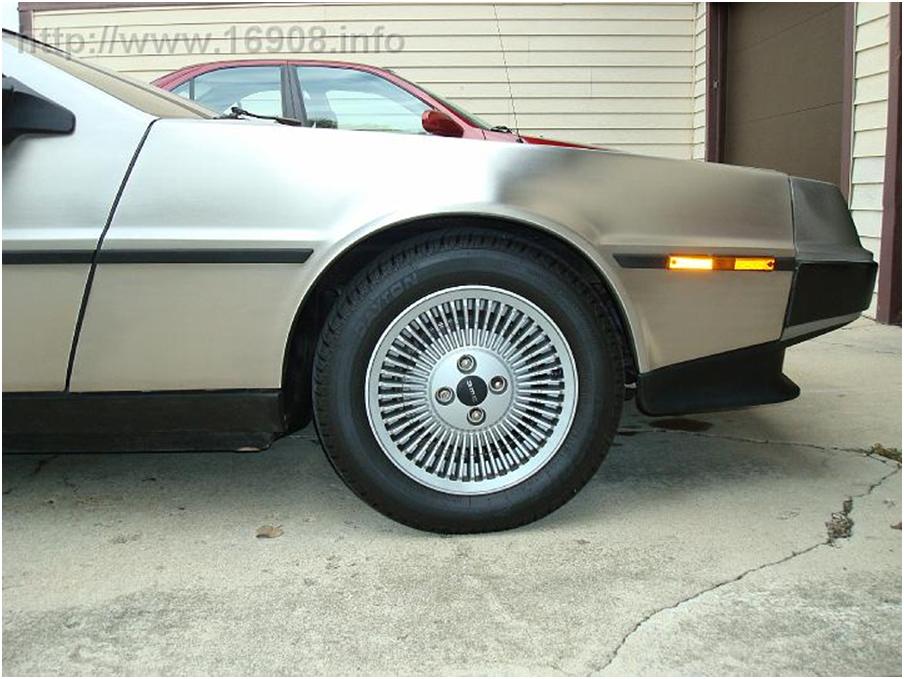
Front:
Rear:

Right about now, most Delorean owners are asking “How does it handle?!!!” The truth is: I’m not too sure. I have only driven one other DeLorean which had the hard-riding stock shocks. My daily driver is a 2004 sports coupe, and I have driven many other modern cars. I know my new shocks ride softer than the stock shocks. This was apparent when I first drove the car away from the event. Compared to modern cars: I think it’s still kinda harsh. Here’s what the shock designer originally sent to me:
“I call this a “sport” kit because the upgraded performance shocks we are using from KYB do have a little stiffer ride quality to them then the old “touring” setup we had. This new “sport” kit is still softer then the Eibachs from DMC Houston and ton’s better then the original Girlings. They do an excellent job of working with the D’s suspension and give the car a very controlled, well balanced feeling. I have driven my D with these shocks on it down to DMCH open hose events twice, which is 2000 miles at a time, and the car handles and drives great, on the road as well as the track time we’ve had down there. One of the other D owners who is running this KYB setup was making trips back and forth to Colorado every other week for almost a year and loves the way they handle. He says it’s the best setup he’s ever had on a Delorean, and he’s had more then a few over the years. Anyway, when it comes to shocks and ride quality a lot of it comes down to personal preference and what kind of ride you are looking for. This KYB setup makes the Delorean handle and ride like the sports car it’s supposed to be.”
I’m pleased with the softer ride, and think the setup looks great. I still think the ride height in the front needs to sink another half inch or more. I drove the car with about 120lbs of weights in the front for awhile, but that didn’t seem to do much. I don’t want to drive much more before getting an alignment done. But I don’t want to get an alignment until the height settled completely.
The shocks that DMC (Houston) sells with the Eibach springs cost considerably more than Mid-State’s shocks, so my wallet is also pleased. Overall, I’d recommend these shocks and springs to any DeLorean owner.
Costs (discounts not included):
“Sport” Shock Kit from www.midstatedmc.com: $340
Eibach Spring Kit from DMC (Midwest): $399 plus tax
2 Lower Ball Joint Boots from DMC (Midwest) $9.74 plus tax
Labor: Free! Thanks MM!