DMC Midwest Connect Spring Tech Session, New Battery

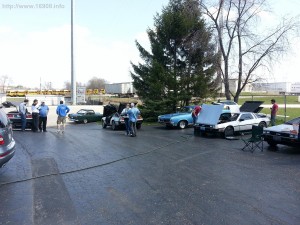
My car club held their spring tech session on Saturday, April 28th. The weather was great, and we had eight Deloreans attend. I assisted with oil changes, and a Mode Switch Rebuild. I also had purchased some items from DMC Midwest, and Dave S was nice enough to bring them.

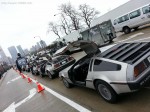
We didn’t get a good group photo, but here is one with four Deloreans. Mine is second from the right:

20130427_112148

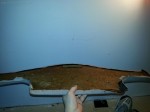
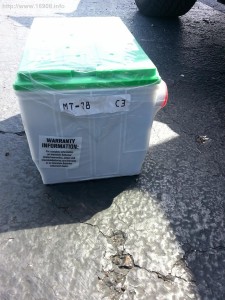
My old battery is about six or seven years old, and seemed to be getting weaker. With a long distance trip planned for the future, I wanted to get it replaced now. Dave told me about how Interstate Batteries get swapped after they’ve been on the shelf for a while. This one looks to be manufactured in March, 2013!

20130427_112343

Another owner was having trouble with his battery, and it wasn’t holding a charge. I gave him my old battery.

Costs:

Item Vendor

Cost

Tax

Total

MT78 Interstate Battery DMC Midwest

$ 125.95

$ 9.76

$ 135.71

Trans, Final Drive Fluid Change

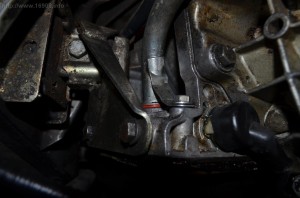
Time to change the transmission fluid, and final drive fluid. My automatic transmission leaks, and one common leak spot is the dipstick tube. An otterstat seal is recommended as a replacement for the problematic O rings. I’ll give it a try.

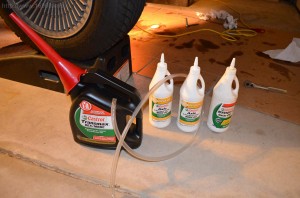
Castrol trans fluid, gear oil for the final drive:
DSC_0227
I had a gear oil bottle with a little left from a previous fluid change. I also got a piece of tubing to make filling the final drive easier.

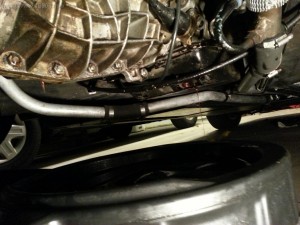
Draining the final drive:
20130422_204337
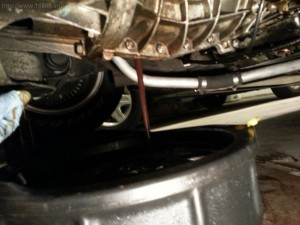
Draining the trans and final drive:
20130422_204633

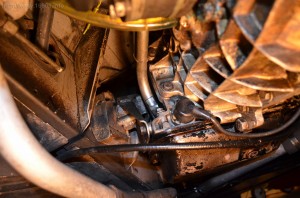
Pesky dipstick tube:
DSC_0228

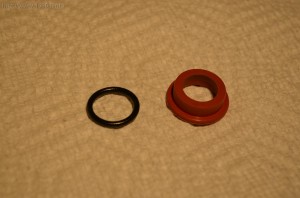
Old O ring, new Otterstat seal
DSC_0224
Installed:
DSC_0226
It seems the dipstick tube will sit a little higher with the otterstat seal. I’ll be sure to adjust my readings with the dipstick.

Costs:

Item Vendor

Cost

Tax

Total

Otterstat Seal (for dipstick tube) SpecialTAuto.com

$ 2.00

$ –

$ 2.00

Crush Washer SpecialTAuto.com

$ 0.10

$ –

$ 0.10

Crush Washer SpecialTAuto.com

$ 0.10

$ –

$ 0.10

Castrol Dex/Merc Trans Fluid Walmart

$ 17.68

$ 1.46

$ 19.14

Castrol 80W-90 Gear Oil O’Reily Auto Parts

$ 5.99

$ 0.49

$ 6.48

Castrol 80W-90 Gear Oil O’Reily Auto Parts

$ 5.99

$ 0.49

$ 6.48

$ 34.31


Rear Window, Wall And Shelf Maintenance

When I took delivery of my car in 2007, the rear window wasn’t glued onto the underbody. The car was delivered with a tube of sealant, so I did my best to glue on the window.

5 years later, the window separated from the underbody in some spots, and the wind noise was strong. I cut away lots of the excess glue, used masking tape to mask off the glue area, and attempted to get a better seal on the window. I applied the sealant from inside, and outside the cabin. The car is once again watertight, and sounds quieter!

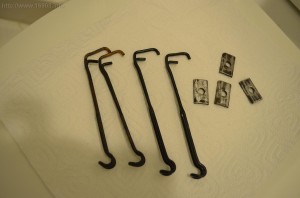
I also repainted the rusty brackets for the rear wall and cargo net. Sure enough, I broke the plastic nozzle off the spray paint can, and cracked off the tube coming out of the can. The can was rendered useless, and I had to buy another can. Here they are after some sanding and grinding:
DSC_0348

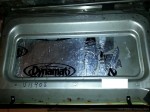
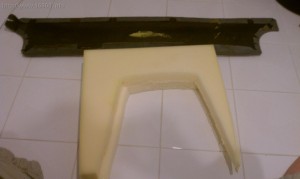
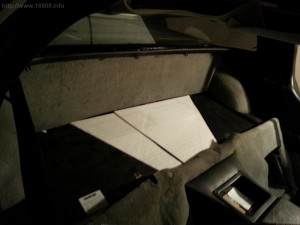
I previously removed all the insulation in the back of the car, and put down dynamat. I glued new foam onto the back of the rear wall, which I had left over from recovering some dining room chairs. To match the height of the plywood compartment covers, I added some styrofoam sheets that I had with some packaging materials.IMAG0692 20130311_212725

Item Vendor

Cost

Tax

Total

GE Silicone II Black Home Depot

$ 6.53

$ 0.54

$ 7.07

2 inch Masking Tape Home Depot

$ 3.98

$ 0.33

$ 4.31

Rustoleum Black Spray Paint Menards

$ 3.77

$ 0.32

$ 4.09

Rustoleum Black Spray Paint Home Depot

$ 3.98

$ 0.33

$ 4.31

$ 19.78

Oil Change

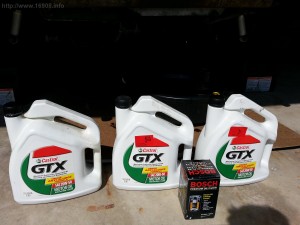
Yes, that says $9.95 on the containers of oil. I got some API SM rated oil on discount, when the SN oil was coming out awhile back. The oil filter and crush washer were purchased a while ago.
Mileage: 31,615

20130421_103105

Item Vendor

Cost

4 QT Castrol 20W-50 Oil Advance Auto Parts

$ 9.95

4 QT Castrol 20W-50 Oil Advance Auto Parts

$ 9.95

Bosch Oil Filter On Hand

$ –

Crush Washer On Hand

$ –

$ 19.90


Coolant Drain, Refill

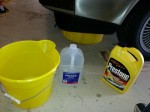
It had been two years since I last changed the coolant. Time for a drain and refill. The drain plug on the new aluminum radiator helps out a lot, and my bleeder kit makes burping the system easy. I also replaced a coolant hose leading into the auto transmission cooler. The hose had a slight kink in it, so I swapped it with a piece I had on hand, and repositioned everything to avoid another kink.

20130331_113949

Costs:

Item

Vendor

Cost

Tax

Total

Coolant Hose

(On Hand)

$ –

$ –

$ –

Prestone Coolant

Meijer

$ 12.24

$ 1.04

$ 13.28

Distilled Water

Meijer

$ 1.39

$ 0.12

$ 1.51


$ 14.79


2013 Chicago St. Patrick’s Day Parade

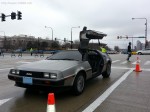
VIN 16908, my car club and I participated in the 2013 Chicago St. Patrick’s Day Parade. Wind, rain, and snow didn’t keep us from participating! Being the very last unit in the parade didn’t keep us from particpating!

You can also see photos from the event here, and you can see my car in photo 147: http://www.printroom.com/ViewGallery.asp?evgroupid=0&userid=silentbob918&gallery_id=3234401&curpage=3

Staging on Columbus Drive, with Soldier Field and The Field Museum in the background:
20130316_111952

Five Deloreans particpated. I was at the back:
20130316_111532

DSC_0393

I think VIN 16908 was at the very end of the parade. The street sweepers followed us!
DSC_0395

I shot video while driving, but I haven’t posted it. I was also caught on instagram: http://instagram.com/p/W7lB7BFQNK/

Headliner and Trim: Repair and Recover

I think I finally worked out how to properly use thumbnails in WordPress. The following project took many hours, and so did the blog!

My headliners were warped, had wrinkled fabric from a bad recover job, stained from roof leaks, and had window sealant on them. Warped, and bowing into the rear window:
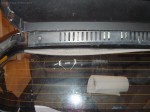
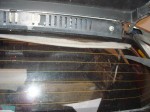
Headliner (1)Headliner (2)

To help remove the headliners, I bought this kit at Harbor Freight, but it didn’t help that much. I ended up using force to get them out.
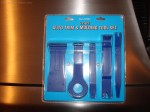
Headliner (3)

Warped:

Headliner (4)

Gotta take off the seals, and rip off the fabric:
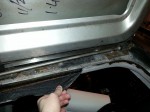
Headliner (5)

Poorly recovered:

Headliner (6)Headliner (7)Headliner (8)Headliner (9)Headliner (10)

Here’s some Window sealant from the previous owner:
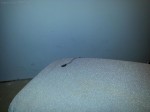
Headliner (11)

I removed them all, and they look terrible:
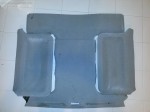
Headliner (12)

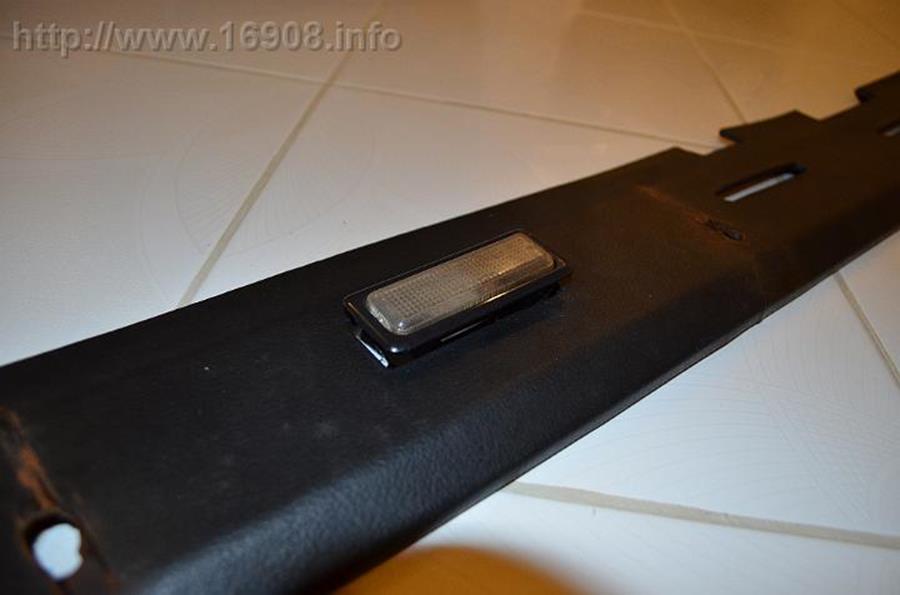
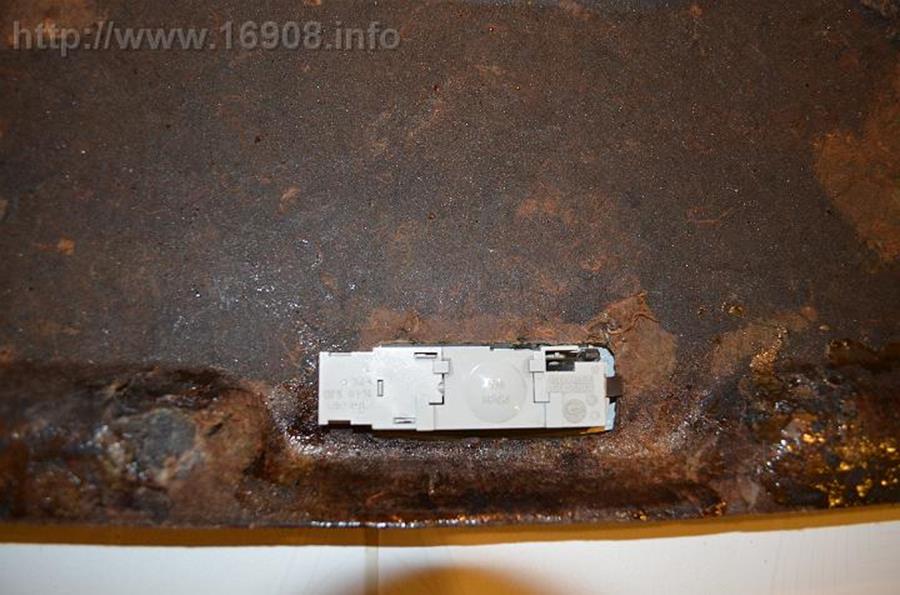
I wanted to install a different rear cabin light, so my rear upper trim board had to come out. It already had rust stains, and was broken:

Headliner (15)Headliner (13)Headliner (14)Headliner (16)

I decided to attempt to repair my trim board with fiberglass. Other than its ugly appearance, it turned out ok for my first fiberglass job:

Headliner (17)

I found a vinyl that is a decent match. I bought enough to recover my rear upper trim panel, and a future project – my seatbacks:

Headliner (18)Headliner (19)Headliner (20)

I tried using GM Trim Adhesive for the vinyl, but it didn’t hold very well. The vinyl backing absorbed a lot of the glue before it could tack up. I ended up using contact cement, which is a very tight, strong bond. I don’t think the trim board would survive if I tried to remove the vinyl again.

Headliner (21)

New(er) Saab light installed:

Headliner (23)

This picture does actually does too much justice. There are still imperfections in the trim board, but it looks better than what I started with.

Headliner (22)

I added some new velcro to attach the lip on the board to the underbody. After being out of the car for over a year, I’m happy to have this trim reinstalled.

Headliner (24)

New rear upper trim boards currently cost $312.90. I definitely saved money, but spent many hours fixing it.

My headliners were barely salvageable. I built a jig to hold them while I fiberglassed them:

Headliner (25)Headliner (26)Headliner (27)

Fiberglassing the center section, and piece of door trim:

Headliner (28)

Fiberglass work in the middle of winter in my cold garage was quite a challenge. I managed to go through two containers of resin, when I probably could have only used 1/4. I also used a lot of glazing putty to try to smooth them out. Now I’ve got two yards of new headliner fabric, ready to start recovering:


Headliner (29)

Headliner (30)

The material I chose is called “Smoke Grey” which is a little darker compared to the standard gray being sold at the fabric store. It’s advised to use thin fabric. I went the cheap route, instead of some higher priced material at auto parts stores. It’s about 3/16ths of an inch thick. A lot thicker than my previous material:

Headliner (31)

I marked lines on the back of the fabric, with the grain, so I could keep the fabric straight:

Headliner (32)

I knew the sharp angles of the door headliners would cause wrinkles like they had previously. I built another jig with some foam, a board, and some clamps so I could stretch the fabric before applying it:

Headliner (33)Headliner (34)Headliner (35)Headliner (36)

Some heat to help form the fabric:

Headliner (37)

I let the fabric sit for a few days. I still ended up with some wrinkles, but it worked ok. Gluing it down:

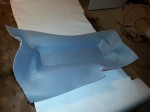
Headliner (38)Headliner (40)

I put the foam from my jig into the headliner while the glue dried:

Headliner (41)

I messed up the fabric on the back headliner, and needed goof-off to remove the glue and fabric. I had just enough fabric to do it again:
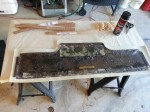
Headliner (42)

Here’s under my headliner. You can see the “cave paintings.” I digitally blocked out my key code, and you can see my *original* VIN, 11908!
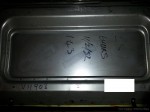
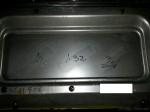
Headliner (44)Headliner (43)

I had some leftover dynamat that I always intended for the doors:
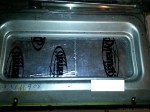
Headliner (46)Headliner (45)

Ford Style Fir Tree fasteners are horrible to work with! The originals are taller for thicker trim/headliners, while the Fords are meant for very thin trim, and thin headliner fabric. Original left, Ford right:
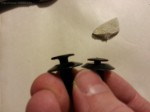
Headliner (47)

They also don’t have the cam-like screw on the top. Original left, Ford right:
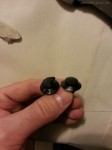
Headliner (48)

I cut my own cam into the fir trees, and bent them for my thick headliners. I broke several, and used almost every one before I perfected my design. I used clothespins and carboard strips to help clamp the fabric while the glue set up. By the way, if you need clothepins, check out a hobby store. Clothespins, along with typewriter ribbons, and Shlitz Beer are nowhere to be found at a supercenter.
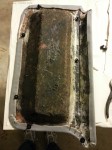
Headliner (49)

I used GM Trim Adhesive to stick the fabric to the underbody. I had to protect the interior from overspray:
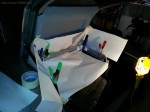
Headliner (50)

They’re finally installed! Too bad they don’t look that great:

Headliner (51)Headliner (52)Headliner (53)Headliner (54)Headliner (55)Headliner (56)

Gap in the door headliner:

Headliner (57)

I got some of the bows out, and stiffened them up a bit. The stains are gone, but the fabric is too thick, and looks “puffy.” Once again, I didn’t follow Dave’s advice about using thin material.

New headliners with fiberglass backing are currently $450. I still saved money, but with all the time and effort I spent, I didn’t get much in return. My headliners don’t look much better than before.

Costs:

Item Vendor

Cost

Tax

Total

3″ Brush Menards

$ 1.20

$ 0.10

$ 1.30

3″ Brush Menards

$ 1.20

$ 0.10

$ 1.30

Ford Panel Retainers (Fir Trees) Autozone

$ 3.99

$ 0.34

$ 4.33

2 Yards Headliner Fabric (Smoke Grey) Hancock Fabrics

$ 14.99

$ 1.35

$ 16.34

Black Shang Vinyl Hancock Fabrics

$ 14.99

$ 1.35

$ 16.34

Bondo Fiberglass Resin Walmart

$ 13.94

$ 1.15

$ 15.09

Bondo Fiberglass Resin

Walmart

$ 13.94

$ 1.39

$ 15.33

Bondo Fiberglass Hardener

$ 2.48

$ 0.25

$ 2.73

Bondo Fiberglass Mat

$ 5.67

$ 0.57

$ 6.24

Paint Brush

$ 1.47

$ 0.15

$ 1.62

Paint Brush

$ 1.47

$ 0.15

$ 1.62

3M Trim Adhesive

$ 11.87

$ 1.19

$ 13.06

Dap Weldwood Contact Cement Home Depot

$ 10.97

$ 0.91

$ 11.88

Clothespins Hobby Lobby

$ 3.47

$ 0.27

$ 3.74

Velcro Meijer

$ 6.99

$ 0.59

$ 7.58

Goof Off Home Depot

$ 5.98

$ 0.46

$ 6.44

3M Trim Adhesive Walmart

$ 11.87

$ 1.19

$ 13.06

5 Piece Auto Trim and Molding Tool Set Harbor Freight

$ 6.99

$ 0.58

$ 7.57

$ 145.55

New Cabin Lighting

I started this post several weeks ago, and have since started using the WordPress thumbnail feature. I apologize for the strange post style.

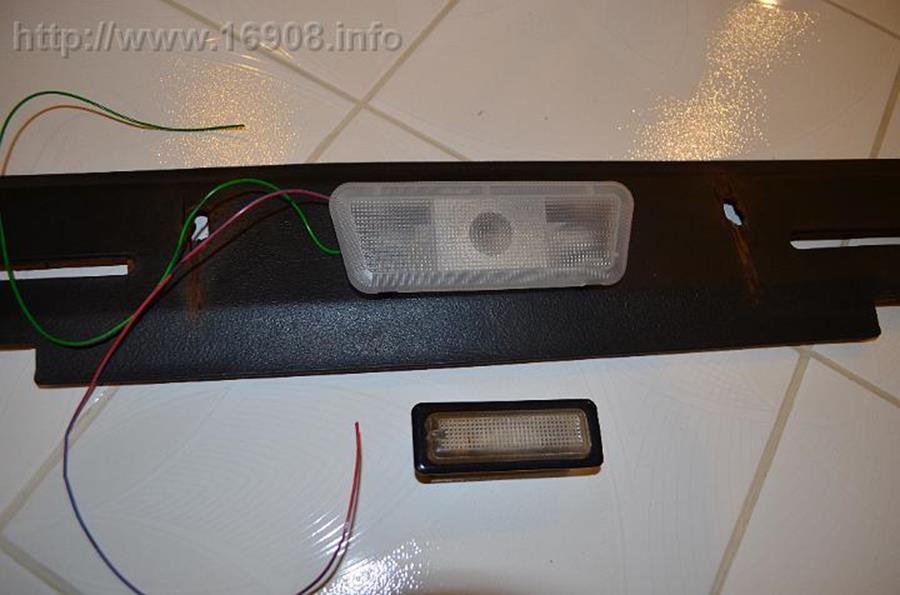
My cabin lights were yellowed and feeling flimsy. The light above the parcel shelf was always hanging by its wire, and never seemed to fit. My goal is lights that are a little more modern, brighter, maybe bigger, but remain cheaper than NOS or 3rd party options. I removed the trim and headliners so I could begin exploring my options.

Parcel Shelf Light:

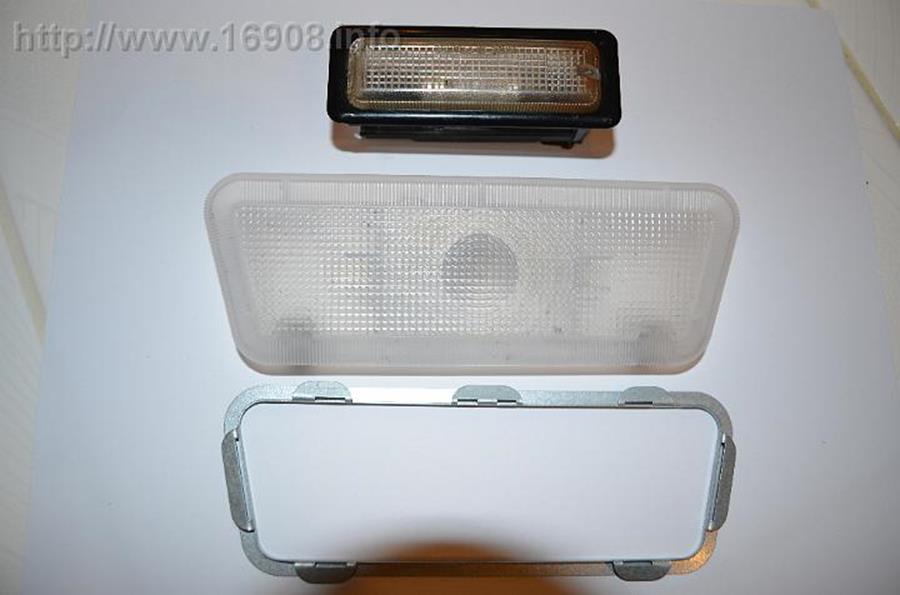
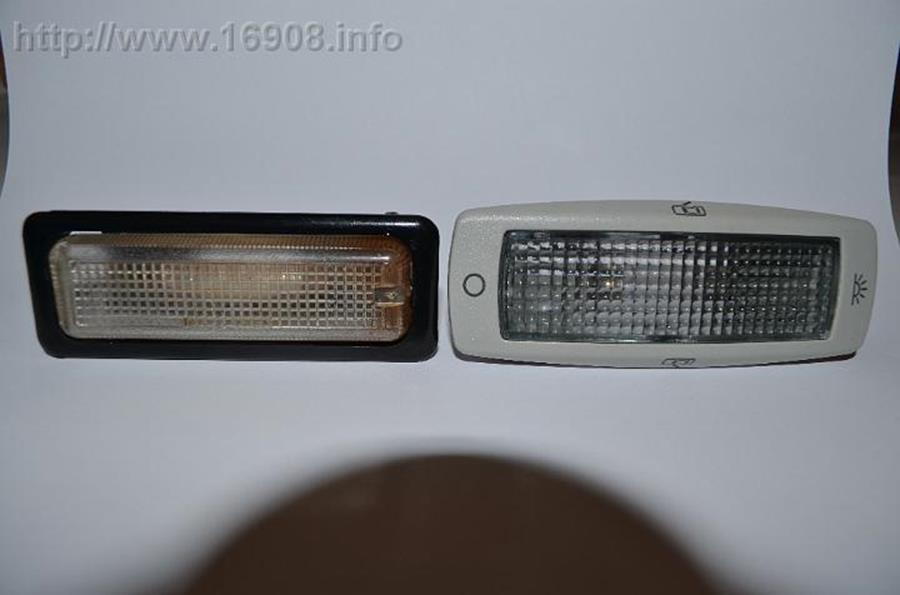
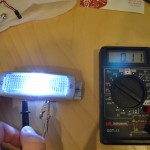
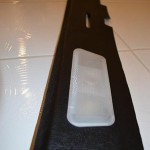
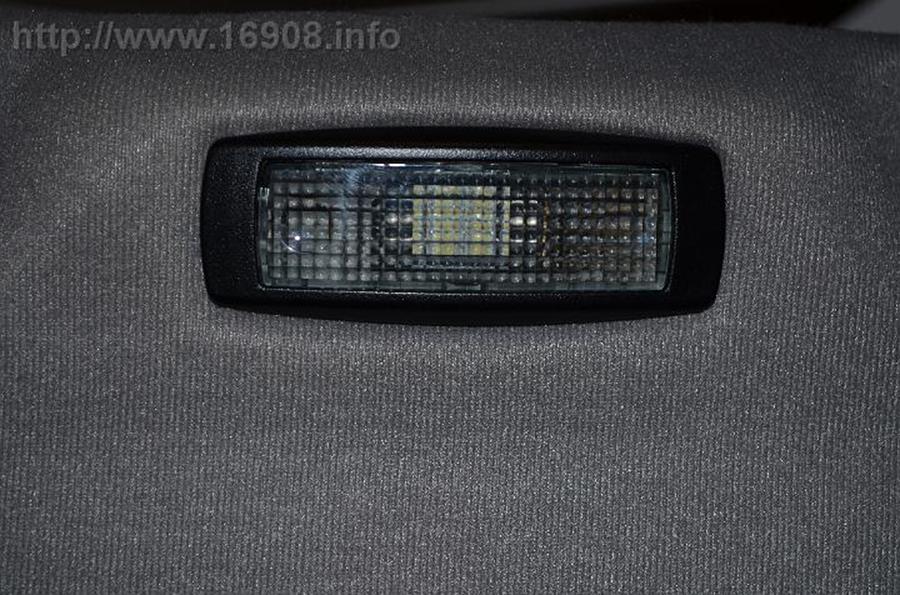
A unit I took from a junkyard Saab. I like how it’s trapezoid shaped, so it fits well with the shape of the parcel shelf:

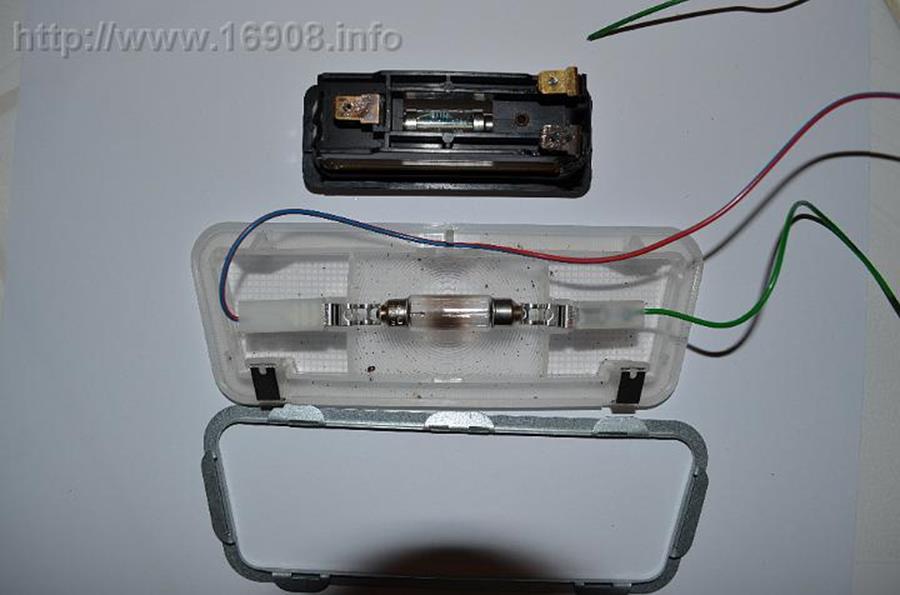
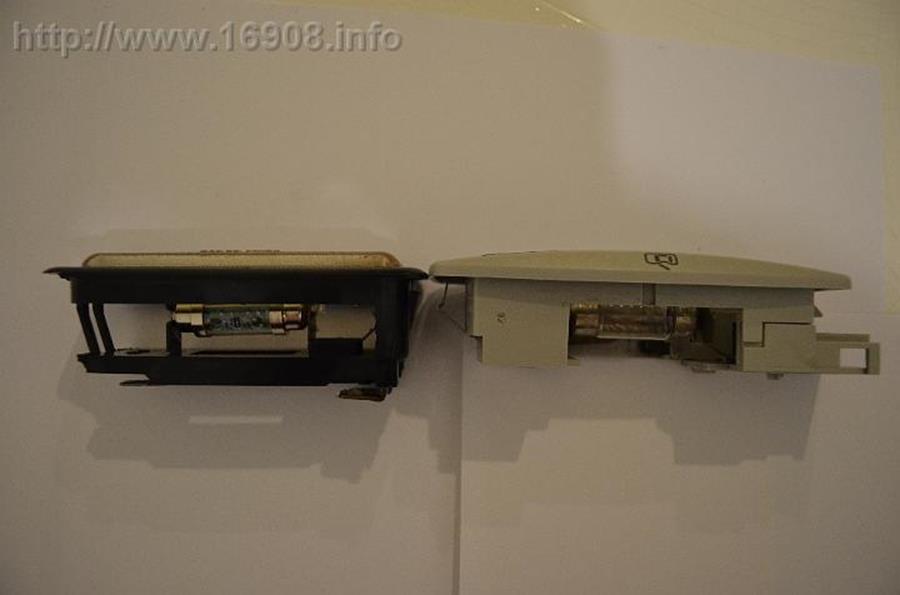
Uses a festoon bulb:

A light I took from a junkyard Volkswagen Jetta:

Exact same length and width. The depth is shallower.

The LEDs I ordered from China:
DSC_0302

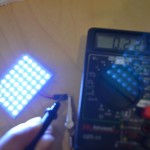
Measuring amps:

DSC_0308

With the Saab unit, I cut off the festoon bulb holder with a dremel, retaining only the lens. I glued on two of these panel lights behind the lens:

DSC_0304
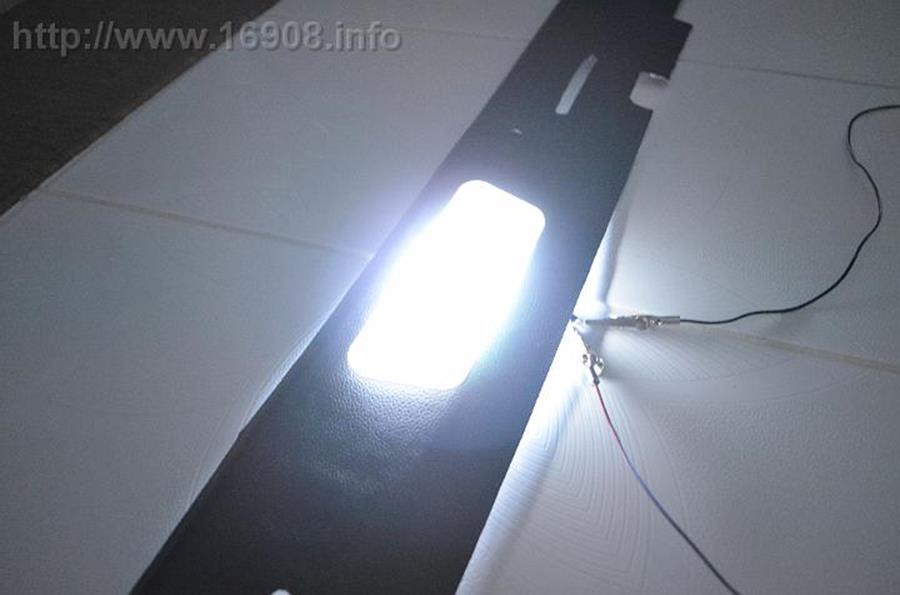
My recovered trim, with the new Saab light installed:
030813_0339_ExploringLi11.jpg
It works:

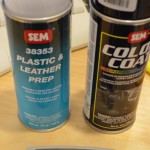
I prepped the VW unit with 600 grit sandpaper, and SEM Plastic & Leather Prep. Now for some SEM Landau Black Color Coat:
DSC_0375

My painted (or dyed?) VW housing, and the new LED festoon unit ready to be used as my map light:

Installed in the headliner:

My new light is a big difference when compared to the old light! It’s a little more modern, yet subtle update. The new map rocks side to side. In the center position, it lights in courtesy mode with the doors open. Rock it to the passenger side, and it turns off. Rock it to the drivers side, and it’s a map light.

Installed:
DSC_00196 (18)
DSC_00196 (16)
DSC_00196 (13)
DSC_00196 (14)
Well I think I accomplished my goal. In my opinion, the lights look great, and they cost less than this light and a DMCH NOS unit (currently $74.95). I’m pretty proud of this.

Costs (shipping not included):

Item

Vendor

Cost

Tax

Total

Salvage Yard Admission

Pick-N-Pull

$ 2.00

$ –

$ 2.00

Volkswagen Jetta Dome Light

$ 5.50

$ 5.50

Saab 900 Dome Light

$ 5.50

$ 5.50

Saab 900 Dome Light

$ 5.50

$ 5.50

48 LED Panel Light

ebay

$ 3.03

$ –

$ 3.03

48 LED Panel Light

$ 3.03

$ 3.03

(2) 16 SMD LED Festoon

$ 1.91

$ 1.91

SEM Landau Black Color Coat

Summit Racing

$ 9.95

$ –

$ 9.95

SEM Plastic and Leather Prep

$ 10.75

$ 10.75

3M P600 Sandpaper

Advance Auto Parts

$ 4.99

$ 0.41

$ 5.40

Insulated Disconnect Pairs

Lowes

$ 2.57

$ 0.20

$ 2.77

$ 55.34

Tinted Windows!

I removed the headliners for recovering, and I also removed the upper door panels to repair them. Some of the window trim was also removed when I removed the side mirrors before I had the car re-brushed. With everything removed, the whole window glass was exposed. I figured this was the best time to tint the windows.


I’ve seen another Delorean with tinted windows, and liked the look. The tint also helps keep the car cooler in the hot sun. One local shop was advertising a winter special on tinting, so I headed out. In February. Ever since buying the car in 2007, this is the first time I’ve driven it in winter. Kind of scary with the snow and salt…


About to head out; before the tint:


After:


When I got home, I got out the hose and rinsed any salt off the frame.

I went with a medium %35 tint on the side windows, and light %50 on the windshield. The rear side windows were done simply for aesthetics, and the rear window didn’t need tinting since it already has a shade over it. I got charged a little more for the side windows since they are a little more complicated than the average car.

I think the tinting really enhances the appearance, and it should help keep the car cooler in the summer. The tinting is still drying, and left some bubbles. The car is dirty, and the sun was hiding, so the pictures aren’t that great. I can’t wait to see what it looks like in better conditions.

Window Tinting by Riggs Bros costs:
Side Door Windows: $160
Side Rear windows: $100
Front Windshield: $125
Total: $385.00

CV Boot Replacement

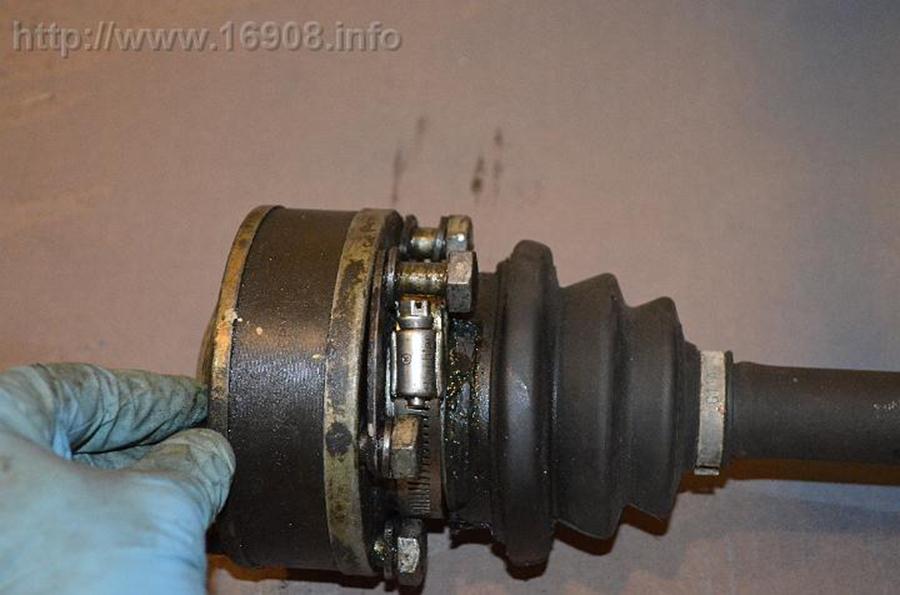
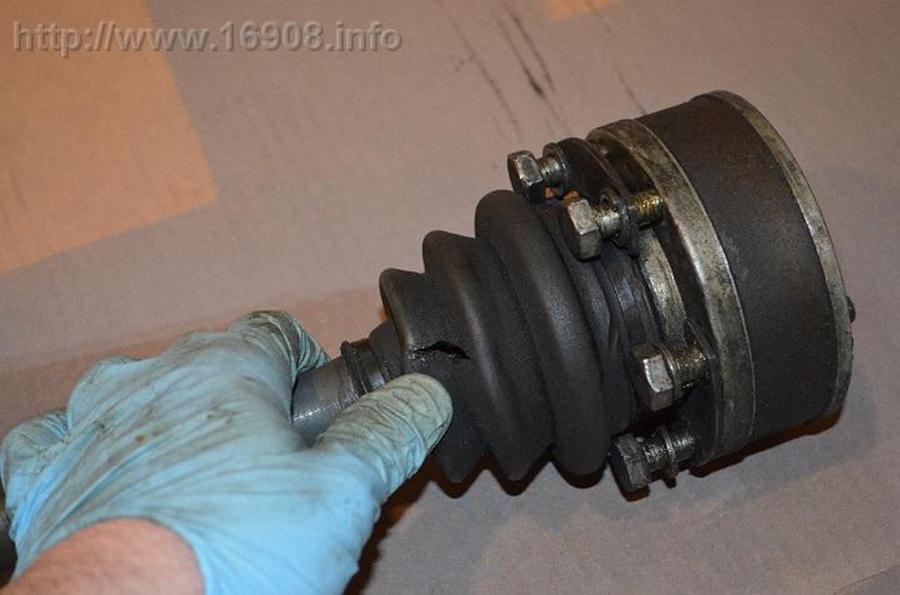
My passenger side axle’s CV boots tore open. Possibly because the previous owner didn’t use the correct clamps. The hose clamp interferes with the bolts:

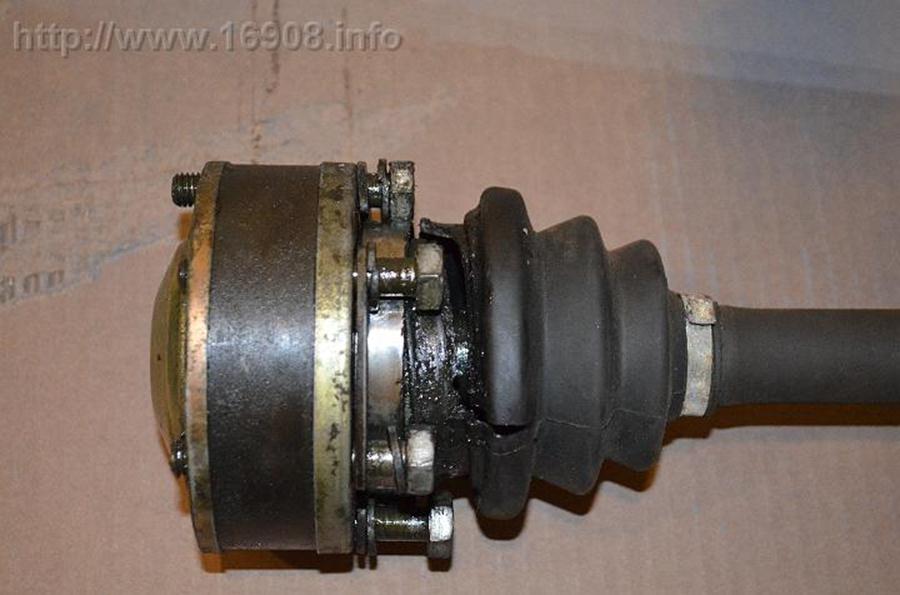
Here’s where the hose clamp dug into the boot and cut it open:

This one split:

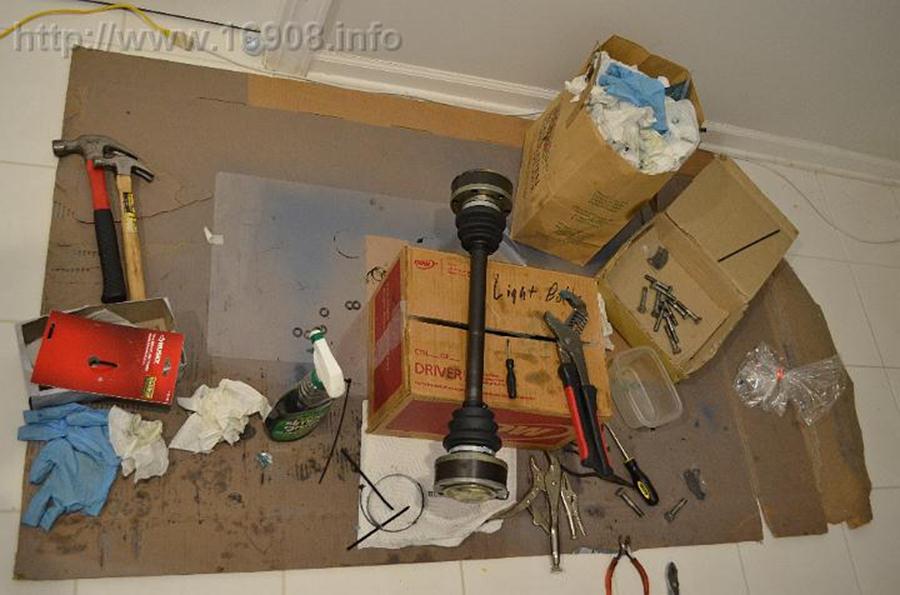
Supplies:

Large sheet of cardboard
Simple Green
Paper Towels
Garbage bag
Nitrile Gloves (several pairs)
CV boot clamp pliers
Large Groove Joint Pliers (to reshape the cup that holds the large end of the boot)
Small flat screwdriver
Hammer
Side Cutters
Old toothbrush to clean bolt threads
New CV Boots, grease, clamps
Zip Ties for small end of the boots
Blue Threadlocker
Music

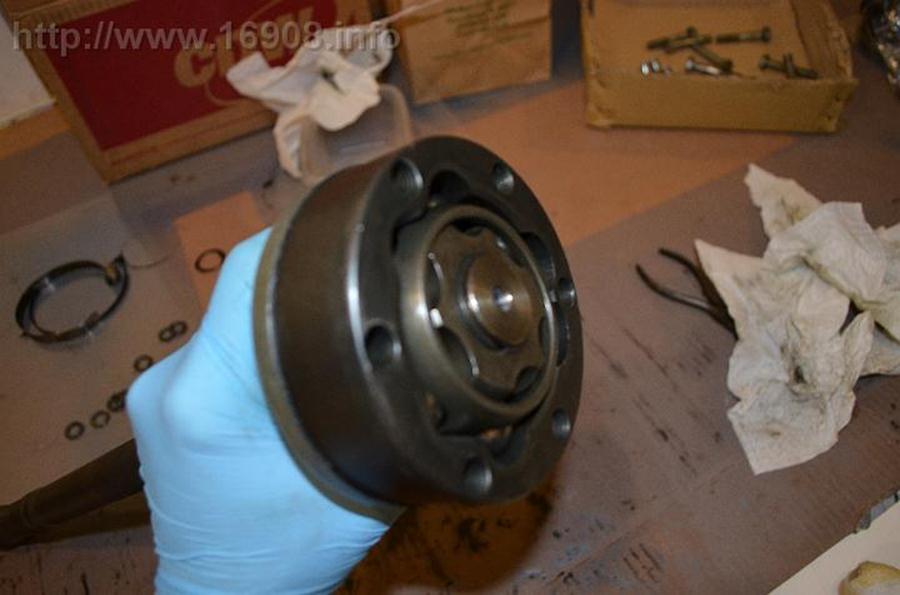
Degreased:

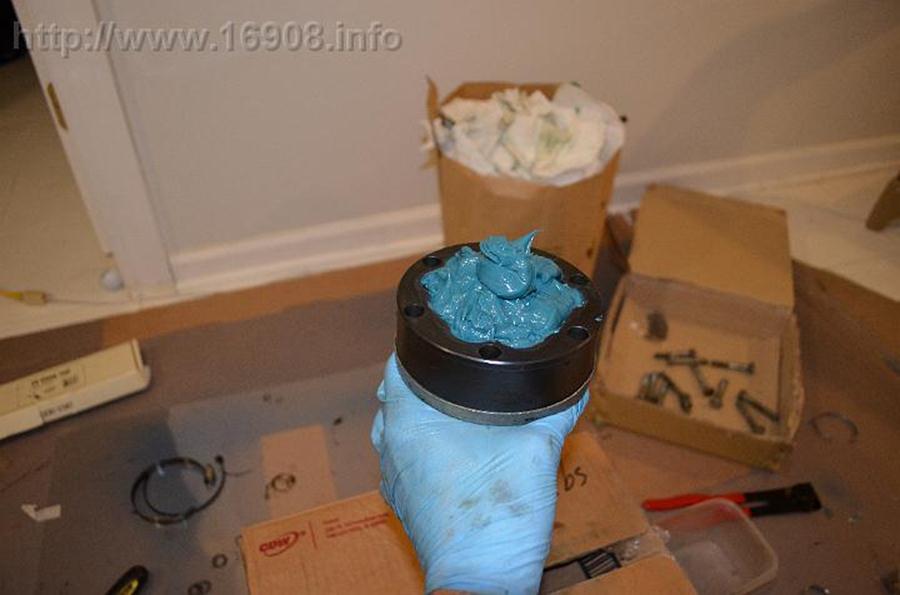
Packed with grease:

Done:

Installed:

I also replaced a missing lock washer.
I couldn’t get too many pictures because my hands were always greasy.

Item

Vendor

Cost

Tax

Axle Boot (with lock plates)

DMC Midwest

$14.95

$1.16

Axle Boot (with lock plates)

DMC Midwest

$14.95

$1.16

M10 Stainless Lock Washer

Ace Hardware

$0.75

$0.06

Loan-A-Tool CV joint boot clamp pliers

AutoZone

$15.00


Return CV joint boot clamp pliers

AutoZone

-$15.00


Total

$33.03