Steering Column, Bushing Replacement

For as long as I’ve owned my car, the steering wheel has been a little shaky at high speeds. When this occurs, the common cause is that the steering column bushing is worn and needs to be replaced. So I bought myself a bushing, and found some replacement instructions:
http://support.delorean.com/KB/a71/play-or-movement-in-the-steering-column.aspx

http://www.deloreanreborn.com/index.php?itemid=122

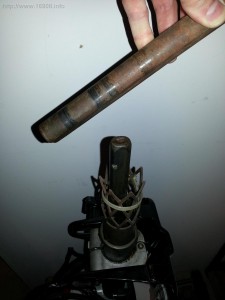
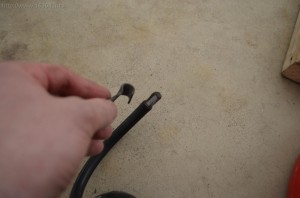
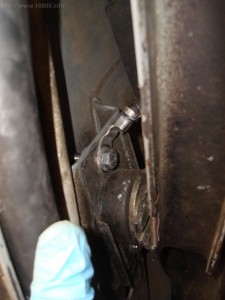
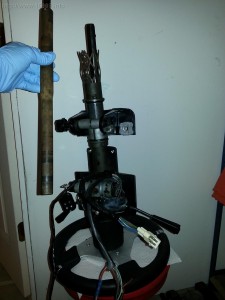
I decided I would remove the column while replacing the bushing, instead of using the “cut-and-cram” replacement method. I already had my knee pads removed since I’ve been re-dying some interior pieces. When I finally pulled the column out, a piece of it remained in the firewall… which is not supposed to happen:
20130605_230316 20130605_213754

The steering column is collapsible in the event of a front end collision, so the column won’t impale the driver. There’s an inner column, made of two pieces where one fits over the other loosely. Then there’s an outer mesh jacket (or cage) that surrounds everything. The mesh provides some strength and stability, but crushes together in the event of an accident. A quick look at some parts diagrams confirmed the column was not complete. The mesh had been broken and removed by a previous owner. Broken mesh is a common problem, and can usually can be tack welded back together. The previous owner probably didn’t have the means, or just didn’t care.

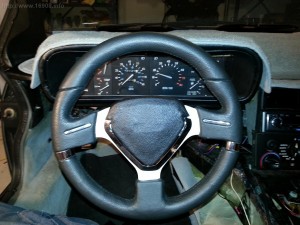
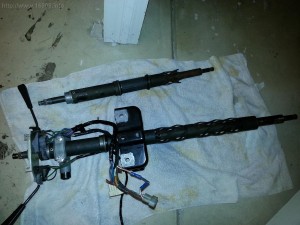
New steering columns are around $260. Looking to save some money, I emailed a few guys that deal with used Delorean parts, and located a used steering column for a decent price. I was able to transfer the keyed ignition, turn signals, horn, and steering wheel to the new column. Old column (top), new(er) column (bottom):
20130614_214540

Here’s the steering wheel lock on the ignition, and the hole in the column where they go together:
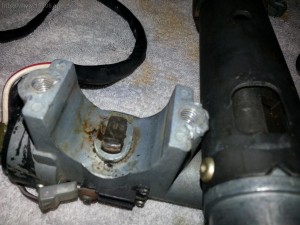
20130614_205958

Delorean steering columns are adjustable in height, and telescope in and out. The common problem is once the height is raised, they sink lower over time. My steering column has this problem. Being 6′ 3″ in height, my legs take up a lot of room, and my steering wheel is always hitting my knees. I also found these great instructions on how to remedy the issue:

http://dmctalk.org/showthread.php?5733&p=102148&viewfull=1#post102148

After I disassembled everything, I cleaned off all the grease and gunk, and roughed up the metal pieces with 60 grit sandpaper:
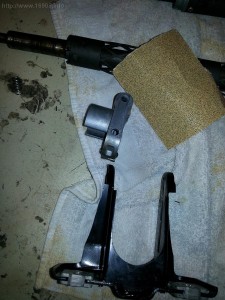
20130614_213048

I also installed the new bushing. The old one (left) didn’t look too bad:
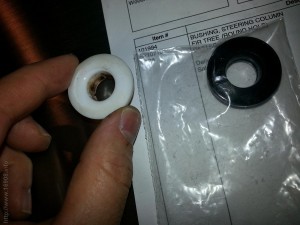
20130605_213722

I used a jewelers screwdriver to force the two together. The screwdriver has a nice taper to it, which pulled the column and shaft into the sweet spot:
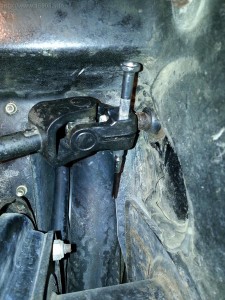
20130614_230042

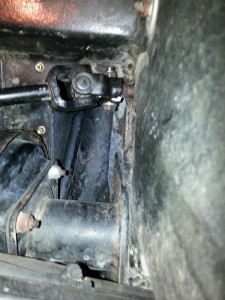
I stripped the threads of the M8 bolt that connects to the shaft, so I bought a new stainless bolt and lock nut:
20130616_105620

I also needed a new M14 nut to hold the steering wheel in place, which wasn’t included with my new column. My previous column didn’t have it either since I crossed the threads once, then re-threaded them to larger threads: https://16908.info/?p=1124

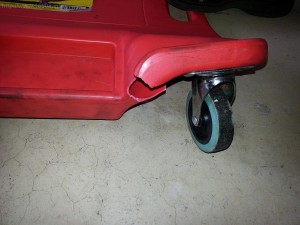
Oh yeah, and I broke my low-profile Harbor Freight creeper:
20130616_110717

I got everything put back together, and I’m happy to report, the column is sitting very high, and is firmly locked in place! I can finally see the top of my speedometer! My test drive with the car at high speeds seemed very smooth!

20130616_203132

Item Vendor Cost

Tax

Total
Steering Column Bushing DMC Midwest

$ 15.95

$ 1.24

$ 17.19

Steering Column (Used)  

$ 130.00

$ –

$ 130.00

M14 1.5 Fine Thread Nut Ace Hardware

$ 3.20

$ 0.24

$ 3.44

Stainless M8 Bolt Ace Hardware

$ 2.20

$ 0.17

$ 2.37

Stainless M8 Lock Nut Ace Hardware

$ 1.10

$ 0.08

$ 1.18

$ 154.17


New Door Light Diode

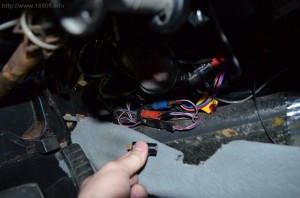
I could see through the door gaps that when my passenger door was open, my driver’s door lights were lit. That’s not supposed to happen, the door lights should operate independently. After reviewing the wiring schematics, I traced the problem to a bad diode.
After some troubleshooting, I found the red diode was bad:
DSC_0466
Hey, is there something wrong with my steering column?

The door lights now work correctly.

Costs:

Item Vendor

Cost

Tax

Total

Diode DMC Midwest

$ 8.91

$ 0.69

$ 9.60

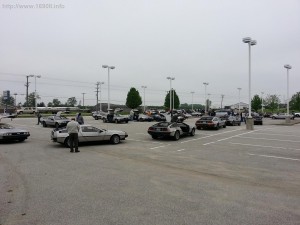
2013 Indianapolis Motor Speedway Festival of Automobiles

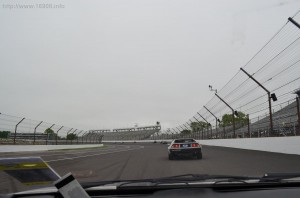
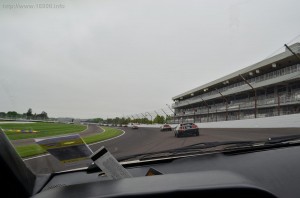
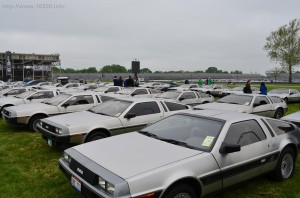
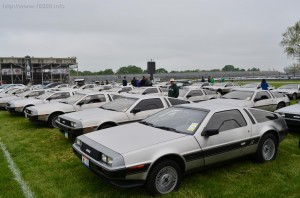
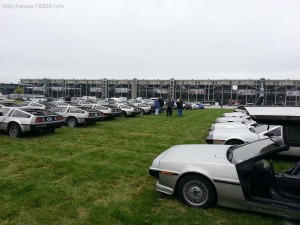
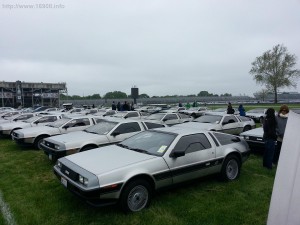
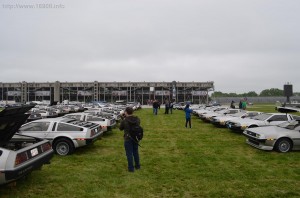
I attended this event with VIN 16908. We got to drive around the track at the Indianapolis Motor Speedway!

Friday night dinner parking in Lebanon, IN:
10

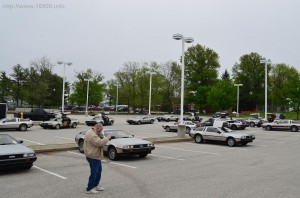
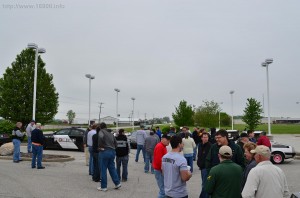
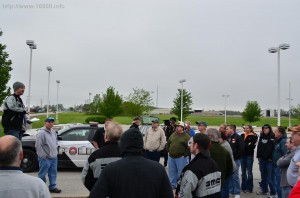
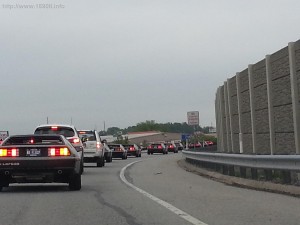
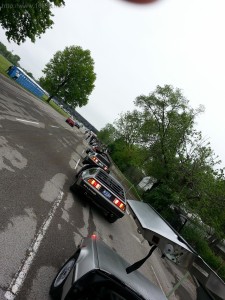
Saturday morning meetup, caravan and police escort:
50 DSC_0392 DSC_0386DSC_038860 61

Arrival at IMS:
65

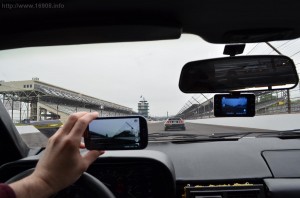
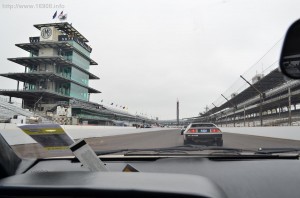
Track lap!
DSC_0413 DSC_0418 DSC_0423 DSC_0424

Check out the video I made with my new dash cam!
httpv://youtu.be/Gb1w2i3B-RI

DSC_0442 DSC_0443 20130511_11190320130511_112140DSC_0445 DSC_0446

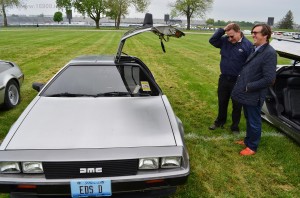
Ken K, the man who sold me my car (I affectionately refer to him as the Previous Owner), and Stephen W of DMC-Houston by my car:

DSC_0447

Found this on twitter:
BKBXvm0CEAAKMDK

Leaving, sandwiched between Dodge Vipers:
DSC_0448

Saturday Afternoon at Jason’s house and workshop:
DSC_0449 DSC_0450  DSC_0452

Saturday Night dinner parking:
20130511_193905

Driving home, selfie:
20130512_104548

Replace, Aim Headlights

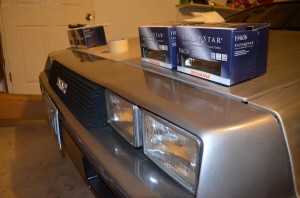
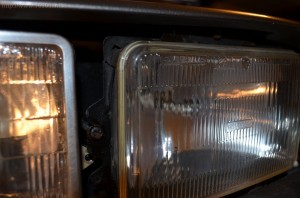
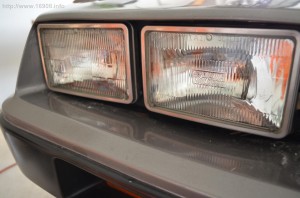
Since I lowered my car in 2007, my headlights were never re-aimed. As far as I know, they are the stock lights, and very dim. Sylvania Silverstar headlights are the cheap improvement of choice for many Delorean owners. I finally was able to purchase and replace them:
DSC_0356

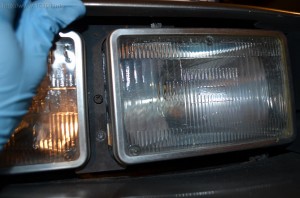
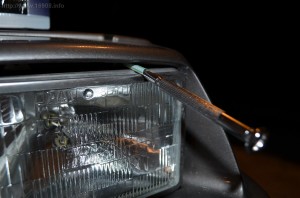
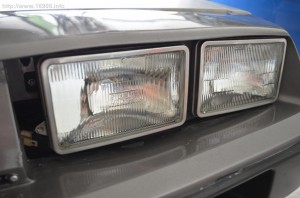
While replacing these headlights, I found out just how warped my fascia really is. To make matters worse, pulling and prying on the urethane fascia is causing micro-cracks in the paint.

DSC_0358DSC_0359DSC_0362

It’s advised to use a plastic drinking straw to cover your screwdrivers to avoid scratching the fascia. I also utilized some painters tape. This however didn’t stop me from scratching it. Its ok, my fascia is in fair/poor condition to begin with. Maybe the new reproduction fiberglass fascia is in my future…

DSC_0363

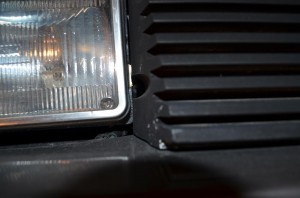
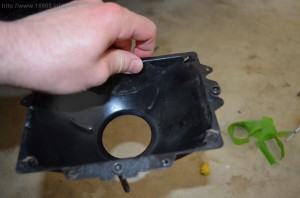
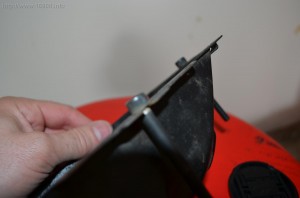
I replaced some screws for the headlight buckets with some M6 cap screws. I wanted stainless, but Ace Hardware didn’t have them in the length I needed. I settled for black anodized, and cut a groove into them with a dremel:

DSC_0366DSC_0370

I also got some stainless screws for the headlight bezels. I lost a few inside the fascia, and a few were corroded. The slotted hex headscrews fit perfectly into the nut driver, without a bit:
DSC_0373DSC_0376
Someday I’ll paint the exposed bezel screws black:

DSC_0378DSC_0377

Supplies used:
Painters tape
Magnetic screwdrivers
Plastic Drinking Straws:

I was able to get Autozone to nearly match the Amazon.com price.
Costs:

Item Vendor Cost

Tax

Total
Sylvania SilverStar Headlights H4656ST AutoZone

$ 17.99

$ 1.48

$ 19.47

Sylvania SilverStar Headlights H4656ST AutoZone

$ 17.99

$ 1.48

$ 19.47

Sylvania SilverStar Headlights H4651 ST Amazon.com

$ 15.95

$ –

$ 15.95

Sylvania SilverStar Headlights H4651 ST Amazon.com

$ 15.95

$ –

$ 15.95

#6 Stainless Sheet Metal Screws for Headlight Bezels (Qty: 8) Ace Hardware

$ 3.20

$ 0.63

$ 8.71

M6 Cap Screws (Qty: 2)

$ 3.78

M6 Allen Wrench

$ 1.10

$ 79.56

New(er) Negative Battery Cable

My negative battery cable was very stiff, and the insulation was cracked. I don’t like the Delorean’s claw-like battery connections either. I’ve also seen the frame connection end of the cable come apart. With vendors charging big $$$ for new cables, I set out to find a cheap alternative. Here’s what I found:

trans
(not the actual car)

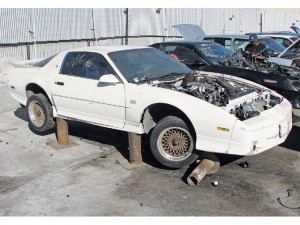
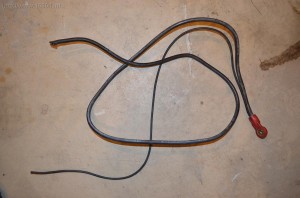
A junkyard third generation Firebird had nice cables. Heck, there was a positive cable that wrapped around most of the engine compartment! It measures in over six feet! These long, thick gauge cables aren’t found on today’s cars.
DSC05085DSC_0364

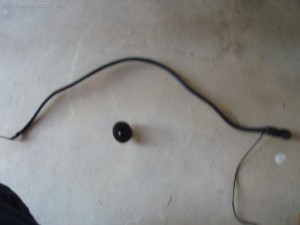
The negative cable also has another smaller cable leading into the battery connection. I might utilize this someday for stereo equipment, or my fuel pump. For now, its wrapped in electrical tape, and strapped down, away from the positive terminal.

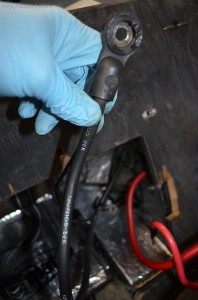
I like the GM style battery connections better, and the frame connection has a nice crimp on it:
DSC_0345DSC05087

I ended up cutting the Delorean cable to remove it. I’m willing to bet a lot of electrical problem arise from these poorly made connections. Again, this is why vendors are pushing sales of their expensive cables.
DSC_0344DSC_0353DSC_0354

…and with minimal effort, I was easily able to twist the connection off. Look, it made contact with less than 1/4 of the copper bundle. The rest is corroded:

DSC_0380

Connected to the frame.
DSC05088

Someday I might cut off the red positive battery connection on the long cable, crimp on some terminals, and run it from the frame to the engine. For now, this will probably improve the grounding of the car.

Costs:

Battery Cable (short)

Aurora Auto Parts

$ 5.00

Battery Cable (long)

$ 10.00

Salvage Yard Admission Fee

$ 2.00

EPA

$ 1.00

$ 18.00

DMC Midwest Connect Spring Tech Session, New Battery

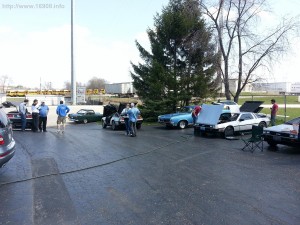
My car club held their spring tech session on Saturday, April 28th. The weather was great, and we had eight Deloreans attend. I assisted with oil changes, and a Mode Switch Rebuild. I also had purchased some items from DMC Midwest, and Dave S was nice enough to bring them.

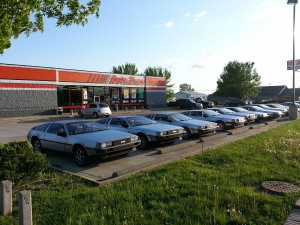
We didn’t get a good group photo, but here is one with four Deloreans. Mine is second from the right:

20130427_112148

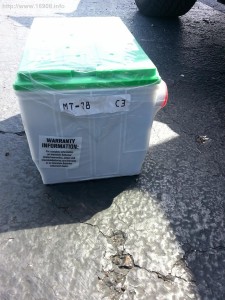
My old battery is about six or seven years old, and seemed to be getting weaker. With a long distance trip planned for the future, I wanted to get it replaced now. Dave told me about how Interstate Batteries get swapped after they’ve been on the shelf for a while. This one looks to be manufactured in March, 2013!

20130427_112343

Another owner was having trouble with his battery, and it wasn’t holding a charge. I gave him my old battery.

Costs:

Item Vendor

Cost

Tax

Total

MT78 Interstate Battery DMC Midwest

$ 125.95

$ 9.76

$ 135.71

Trans, Final Drive Fluid Change

Time to change the transmission fluid, and final drive fluid. My automatic transmission leaks, and one common leak spot is the dipstick tube. An otterstat seal is recommended as a replacement for the problematic O rings. I’ll give it a try.

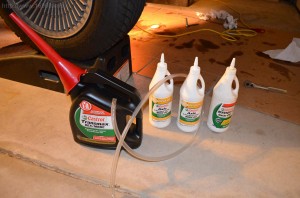
Castrol trans fluid, gear oil for the final drive:
DSC_0227
I had a gear oil bottle with a little left from a previous fluid change. I also got a piece of tubing to make filling the final drive easier.

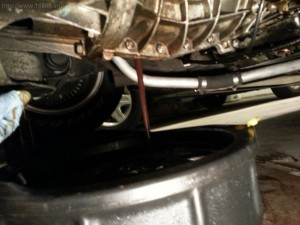
Draining the final drive:
20130422_204337
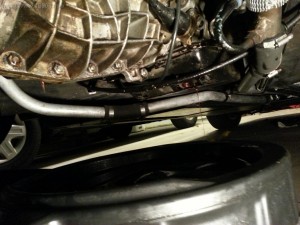
Draining the trans and final drive:
20130422_204633

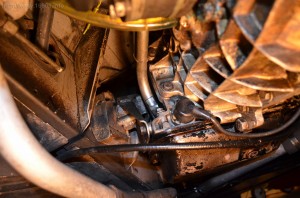
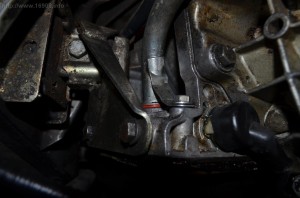
Pesky dipstick tube:
DSC_0228

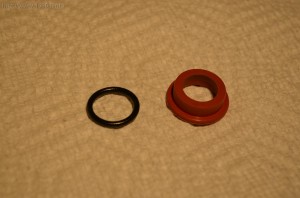
Old O ring, new Otterstat seal
DSC_0224
Installed:
DSC_0226
It seems the dipstick tube will sit a little higher with the otterstat seal. I’ll be sure to adjust my readings with the dipstick.

Costs:

Item Vendor

Cost

Tax

Total

Otterstat Seal (for dipstick tube) SpecialTAuto.com

$ 2.00

$ –

$ 2.00

Crush Washer SpecialTAuto.com

$ 0.10

$ –

$ 0.10

Crush Washer SpecialTAuto.com

$ 0.10

$ –

$ 0.10

Castrol Dex/Merc Trans Fluid Walmart

$ 17.68

$ 1.46

$ 19.14

Castrol 80W-90 Gear Oil O’Reily Auto Parts

$ 5.99

$ 0.49

$ 6.48

Castrol 80W-90 Gear Oil O’Reily Auto Parts

$ 5.99

$ 0.49

$ 6.48

$ 34.31


Rear Window, Wall And Shelf Maintenance

When I took delivery of my car in 2007, the rear window wasn’t glued onto the underbody. The car was delivered with a tube of sealant, so I did my best to glue on the window.

5 years later, the window separated from the underbody in some spots, and the wind noise was strong. I cut away lots of the excess glue, used masking tape to mask off the glue area, and attempted to get a better seal on the window. I applied the sealant from inside, and outside the cabin. The car is once again watertight, and sounds quieter!

I also repainted the rusty brackets for the rear wall and cargo net. Sure enough, I broke the plastic nozzle off the spray paint can, and cracked off the tube coming out of the can. The can was rendered useless, and I had to buy another can. Here they are after some sanding and grinding:
DSC_0348

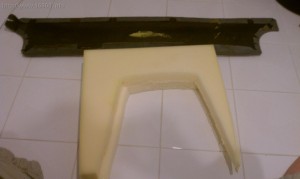
I previously removed all the insulation in the back of the car, and put down dynamat. I glued new foam onto the back of the rear wall, which I had left over from recovering some dining room chairs. To match the height of the plywood compartment covers, I added some styrofoam sheets that I had with some packaging materials.IMAG0692 20130311_212725

Item Vendor

Cost

Tax

Total

GE Silicone II Black Home Depot

$ 6.53

$ 0.54

$ 7.07

2 inch Masking Tape Home Depot

$ 3.98

$ 0.33

$ 4.31

Rustoleum Black Spray Paint Menards

$ 3.77

$ 0.32

$ 4.09

Rustoleum Black Spray Paint Home Depot

$ 3.98

$ 0.33

$ 4.31

$ 19.78

Oil Change

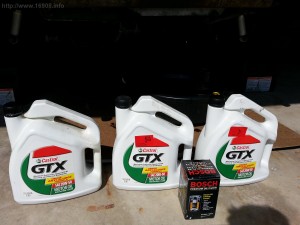
Yes, that says $9.95 on the containers of oil. I got some API SM rated oil on discount, when the SN oil was coming out awhile back. The oil filter and crush washer were purchased a while ago.
Mileage: 31,615

20130421_103105

Item Vendor

Cost

4 QT Castrol 20W-50 Oil Advance Auto Parts

$ 9.95

4 QT Castrol 20W-50 Oil Advance Auto Parts

$ 9.95

Bosch Oil Filter On Hand

$ –

Crush Washer On Hand

$ –

$ 19.90