Footwell Lighting

I’ve seen footwell lighting in several cars, and decided it was something I wanted. I bought some LED strip lights, and made a wiring harness. I used purple wire to match the car’s lighting wire color, and black for the grounds.

Footwell (1)

My harness gets power from the glove box light. I also made the harness fit in between the stock wiring, and the glove box light switch, so I didn’t have to cut the car’s harness. My harness can be removed without any issues. The LED strip lights draw less than 1 amp, and the reduced amperage from my interior LED lights insure that I’m in no danger of blowing a fuse, or melting wire.

Footwell (3)Footwell (2)

I needed a new drivers light switch since one was missing. It came with a 3-pronged piece that makes it easy to connect the car’s door lights, and the female connection on my driver’s side footwell lights.

Footwell (5)Footwell (8)

The LED strips are simply glued with contact adhesive to the backs of the kneepads. There are two sections of strip lights on the harness, one for each footwell, and they are grounded separately at each door light switch. They work independently, depending on which door is open.
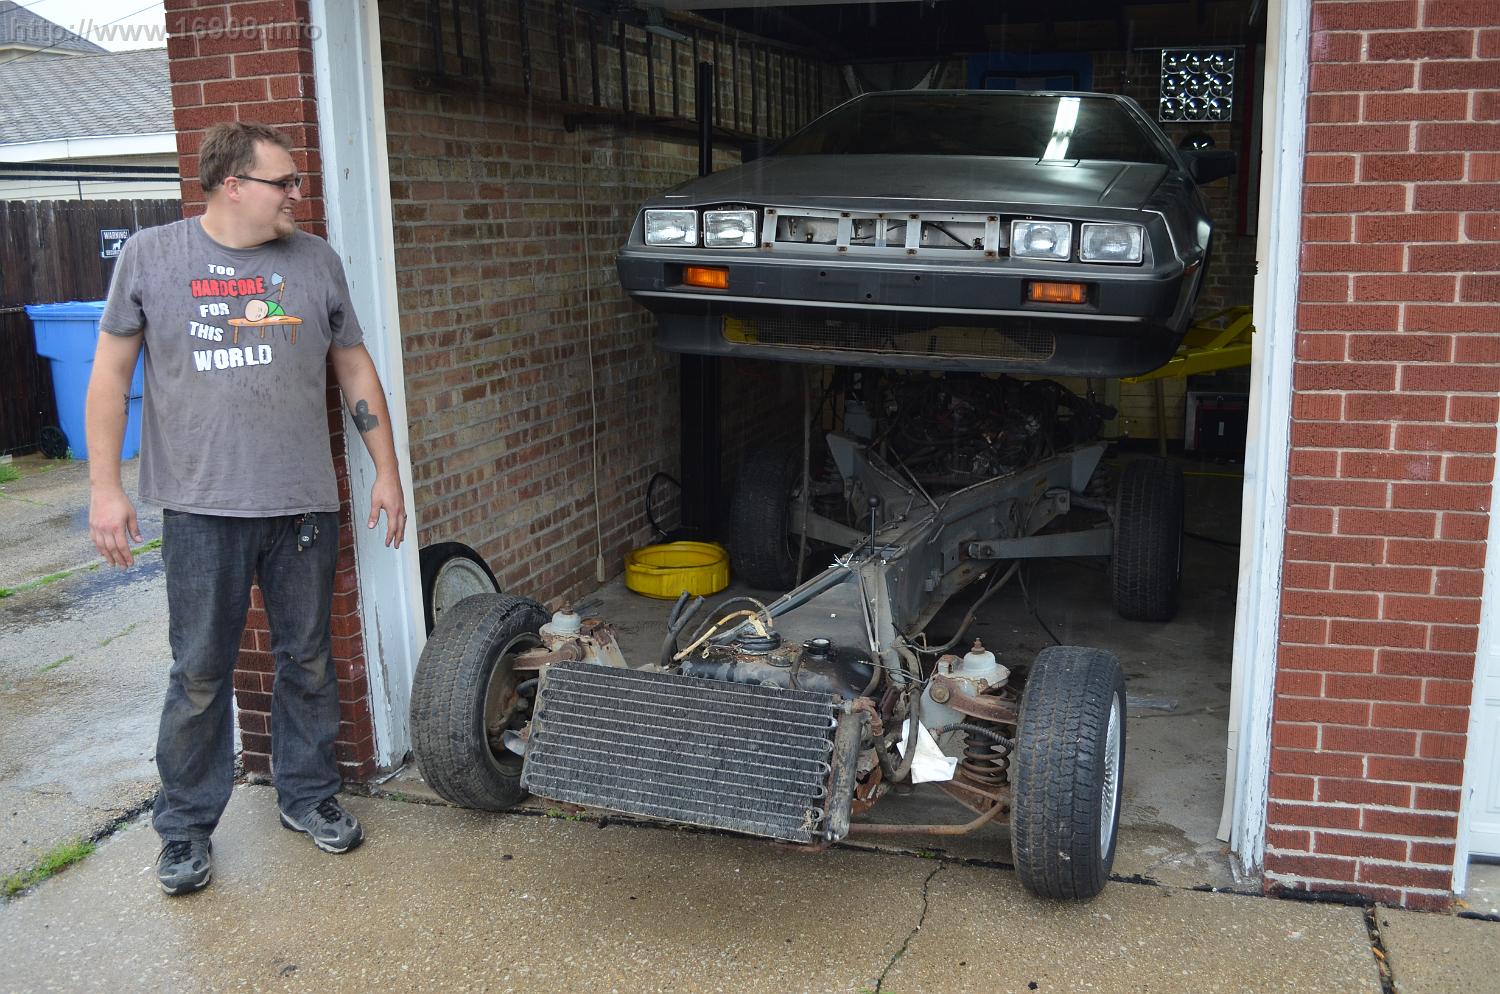
I was able to install the lighting while I had the interior torn apart a few years ago:

Footwell (7) Footwell (4)

I think they look great at night.

Footwell (10) Footwell (9) Footwell (11)

Costs:

Item Vendor

Quantity

Unit Cost

Cost

Tax

Total

5Meter 300LEDs 3528 SMD Pure White LED Strip eBay

1

$ 5.57

$ 5.57

$ –

$ 5.57

Door Switch (too many parts to list) DMC Midwest

1

$ 15.14

$ 15.14

$ 1.17

$ 15.14

Purple Primary Wire on Hand  


Black Primary Wire On Hand  


Female wiring connector On Hand  


Contact Adhesive On Hand  


Total

$ 20.71

New Trunk Board

My original carpet was looking ratty, and my car was also missing the board below the carpet. I decided to make a new board that would replace the carpet. It also needs cutouts for the strut bar that I use in the trunk. I traced a friend’s trunk board:
board1

Then, I cut it out with a jigsaw. I cleaned up the cuts with a rotary tool, and roughed up the surface with some sandpaper:
board2

Next I coated it with Duplicolor Undercoating. The undercoating didn’t spray evenly, and I got some globs in random places. I ended up purposely making more globs, trying to even it out and complete the look:
board3

Not bad for the cost.

Item Vendor

Quantity

Unit Cost

Cost

Shipping

Tax

Total

Duplicolor Undercoating Meijer

1

$ 4.99

$ 4.99

0

$ 0.42

$ 5.41

Fiber Board Menards          

 On Hand

Latch Maintenance, Modification

I previously had adjusted my latches, performed the “wedgectomy,” and lubricated them generously with white lithium grease:

https://16908.info/?p=2422

Once again, the latches jammed. Removing the top door panel, and removing the latch rods with your bare hands while trapped in the car isn’t fun. I then found this post on DMCTalk:

http://dmctalk.org/showthread.php?12682-door-latch-adjustment-problem&p=182992&viewfull=1#post182992

…which basically means my lithium grease and any other previously used lubricants could have gummed up the latches. So once again, I decided to remove all the latches. I cleaned and degreased them with brake cleaner, my air compressor with a blow gun, and dozens of paper towels. Before re-installing them, I chose to change the “lock linkages” in each door to “lock linkage.” I eliminated the lock linkage on the front of each door. Having two latches means they must be in sync for both opening and unlocking. One lock obviously means there is nothing to sync, which is much easier to setup and maintain. Some people have successfully disconnected their front locks, so the door only locks on the rear latches. The only danger is you might drive over a bump, and the lock might engage. Once engaged, and with no way to unlock the front latch, this will really make getting out of the car a challenge. So I came up with this modification:

LockUnlock

This is the latch, and the arm, that moves back and forth between lock and unlock. Simply drill a small hole in the latch, and wrap some wire around the arm and the latch to secure it. The wire won’t interfere with the latch.
DSC_0029
The reverse side of the latch. You can see the wire doesn’t interfere
DSC_0033

Presto! The latch should never lock, but can easily be converted back to a locking latch.

You can now remove the lock rod that goes to the forward latch. I had to cut and retained half of my lock rod since it is needed for my aftermarket door lock actuators:
DSC_0028 (2)  DSC_0028 (4)

This time around, I lubricated the latches with WD-40. Once reinstalled, I then performed the Door Lock and Latch Adjustment process. After that, comes testing everything! Test the exterior door handles, interior door handles, exterior locks, interior locks, and in my case, remote locks and remote door launchers. Be sure to test it with the door’s plastic membrane in place to see if it interferes with anything.

In my case, everything is working correctly. Time to reinstall the door panels again. Hopefully they’ll stay installed for many years to come.

New Braided Stainless Fuel Hoses

I wanted to update the engine’s fuel hoses to the more modern, safer braided stainless hoses.

Tools Used:
Inch Pounds Torque Wrench – I used this one: http://www.amazon.com/TEKTON-24320-4-Inch-Torque-20-200-Inch/dp/B00C5ZL2EG/
Open-end metric wrenches
Metric socket set
Vice
Utility Light
Grease
Berryman B12 Chemtool or other solvent cleaner
Nitrile gloves
shop rags/paper towels

Here’s the steps I came up with:

  1. Work in a well ventilated area. If I’m working in my garage, I keep the door open, with a fan pushing air out the door.
  2. Take the fire extinguisher out of your Delorean (you should have one), and keep it nearby.
  3. Disconnect the battery.
  4. Remove the air cleaner.
  5. Remove any plug wires that are easily accessible, and label their cylinder number with tape. Take pictures or make notes on how they are routed.
  6. Lift up on the clips that hold the injectors in place. Be careful not to bend them. There are three prongs on each clip.
  7. Label all hoses you remove, and take pictures, or make notes on how they are routed.
  8. Remove the hoses:
    1. One at a time, remove the banjo bolts on the fuel distributer, warm up regulator, and cold start valve.
    2. Use paper towels or rags to soak up any gas. Dispose of the rags properly.
    3. Attempt to dump out any gas in the lines into a clean glass container. You can choose to re-use the gas if you like.
    4. Once the hose is off, screw the banjo bolt back in a few threads so it doesn’t get lost.
    5. Throw out the old copper washers, or put them in a container clearly marked “Used Washers.” We’ll find a use for them later.
    6. Clamp a 10 mm wrench in a vice, put the injector in the wrench, and use a socket to take the banjo bolt out of the injector.
    7. Set aside the injector banjo bolts.
    8. You will need to remove the “pipe of agony” to get to the #4 injector. I was determined to leave the pipe in place, and skip the agony, but after unsuccessfully trying to manipulate the injector out, I gave in. Here’s what I did:
      1. Disconnect the elbow from the idle speed motor.
      2. Slide out the pipe with the rubber elbow still attached
        FuelHose (7)
  9. Clean the injectors if desired (see below)
  10. Replace the old hoses and washers with the new hoses, and new washers. Don’t re-use the old washers!
  11. Leave the banjo bolts loose in case a hose needs to be re-routed. You can torque the banjo bolts later.
  12. Lay your plug wires in place.
  13. Check to make sure the pipe of agony will fit with your hoses and plug wires.
    1. My #4 Cylinder plug wire and fuel hose are routed under the pipe
    2. My #5 and #6 Cylinder plug wires are over the pipe
    3. My #6 Cylinder hose runs over the pipe, while my #5 Cylinder hose runs under the pipe
  14. Make sure the engine cover will close with the hoses coming off the fuel distributer, running to the warm up regulator.
  15. Now torque the banjo bolts. For this, I used my new inch-pound torque wrench:
    FuelHose (3)
    1. M8 Banjo bolts: 7-9 foot lbs., or 84-108 inch lbs.
    2. M10, Banjo bolts: 9-11 foot lbs., or 108-132 inch lbs.
    3. I first started with the bare minimum torque setting, then re-torqued them to a value approximately in the middle of the range.
  16. Reinstall the “Pipe of Agony” or in my case, the “Pipe of Ease.” Finding the spot to reinstall the pipe is tricky. For me, it slid right in with ease on the first try. Here’s how I did it:
    1. Grease up the end of the pipe. I used a pea size amount of synthetic brake grease, which will hold up to the engine’s heat very well.
    2. Bend over the engine compartment, with the top of your head near the firewall, and your left eye near the warm up regulator. You should be able to barely spot where the pipe goes into the air meter housing. There’s a brass ring, or keeper that the pipe slides into.
    3. Some people put a small flashlight in the air meter housing, which aides finding the spot to insert the pipe because light shines out the air meter housing hole. I didn’t need it.
    4. Shove it in. The rubber hose lined up with the idle speed motor, and I could see the end of the pipe in the air meter housing:
      FuelHose (8)
  17. Reinstall the air cleaner.
  18. Reconnect the battery.
  19. Attempt to start the car. You will need to let the pump prime for a bit, and give it some gas during startup.
  20. While the car is running, check for leaks.
  21. Put the fire extinguisher back in the car.

Pictures
Before:
FuelHose (1)
FuelHose (2)FuelHose (9)
After:
FuelHose (10)

Cleaning the injectors
I wouldn’t recommend my injector cleaning process to anyone, since there are much more professional setups available. Still, I wanted to clean the injectors as best I could. The Delorean’s CIS injectors don’t have any plastic parts, and can be safely cleaned with solvents. I got a can of Berryman’s B12 Chemtool, and soaked the injectors in a jar for a few days, occasionally swishing them around, and trying to dump out any crud. I brought the pressure in my air compressor down to 80 psi, butted them up to a blow gun, and verified the injectors open and close with air pressure. In the future, I might build a hose attachment that’s screws into the injector and attaches to a compressor, so solvent can be blown through the injector for cleaning and testing. For this I might utilize some old, re-used copper washers.
FuelHose (5)FuelHose (4)FuelHose (6)

I ripped apart an injector seal, and broke an injector clip when trying to bend it back into shape. I thought about trying to source them from a Volvo dealer, but ended getting them shipped from DMC Midwest.

I only dropped one copper washer… however it fell near some spent copper washers, and I couldn’t tell the new one from the old ones. I opted to just replace it with some spares I had.

Costs:

Item Vendor

Quantity

Unit Cost

Cost

Shipping

Tax

Total

Fuel Injection Lines Braided SS (9 pcs), Black DMC Midwest

1

$ 229.83

$ 229.83

$ –

$ 17.81

$ 247.64

Injector Clip DMC Midwest

1

$ 4.99

$ 4.99

$ –

$ 0.39

$ 5.38

Injector Seal DMC Midwest

1

$ 3.13

$ 3.13

$ –

$ 0.24

$ 3.37

Inch Pound Torque Wrench Amazon.com

1

$ 36.72

$ 36.72

$ –

$ –

$ 36.72

$ 293.11

Body & Frame Separation (Not My Car)

This blog is dedicated to my Delorean, VIN 16908, however this post will be slightly different. One of the guys I know through my car club bought a Delorean that had sat for many years. The frame was rusted, the panels had some minor damage, and the car basically need a lot of attention. He planned to separate the body and frame. I jumped at the chance of helping! About a week before at the DMC Midwest Open House event, we recruited another local member.

The car as it is:
20150626_171137
DSC_0832 DSC_0833
DSC_0835
The car’s owner also does some very cool stop motion animation with this guy:
20150626_091528
We started with this checklist:
20150626_091644
…and made our way through it:
20150626_10334320150626_12024720150626_151043
DSC_0836
The bolts in the engine bay had to be cut off with a reciprocating saw The seat belt bolts, the interior bolts, and the shock tower bolts came right out.
A corroded brake line wouldn’t disconnect from the brake master cylinder, so it needed to be cut.
20150626_151136
Around 3:10, we’re ready to try raising the body, so we set up the Max Jax lift:
DSC_0839 DSC_0841
The owners car has a manual transmission, so we had to locate the clutch line. Access to disconnecting the line was terrible, so we opted to cut it. The clutch line looked to be the original failure prone plastic lines, which would have needed replacement anyway.
20150626_160710 20150626_160840

Me, happy:
DSC_0847

After disconnecting some more grounds from the front wiring harness, we finally got everything up free:
20150626_162103  DSC_0848

DSC_0851 DSC_0850 DSC_0849  DSC_0853

It’s raining on the rusty frame. At this point, it’s not much of a concern:
DSC_0852a

The owner built the very sturdy moveable platform for the body to sit on:
DSC_0856DSC_0857

Luckily, the owner has a two car garage, and both garage bays are available:
20150626_163732 DSC_0861 DSC_0859 DSC_0854
We started around 9:15am. With about a 30 minute break for lunch, and after some delays in setting up the lift, we finished around 4:30pm.

Me, again, sweaty, tired, wet from the rain, dirty, happy:
DSC_0855

The owner is currently planning an electric engine conversion. The PRV engine will be put up for sale. The gas flap hood is also for sale.