Adjustable Rear Lower Control Arm Kit

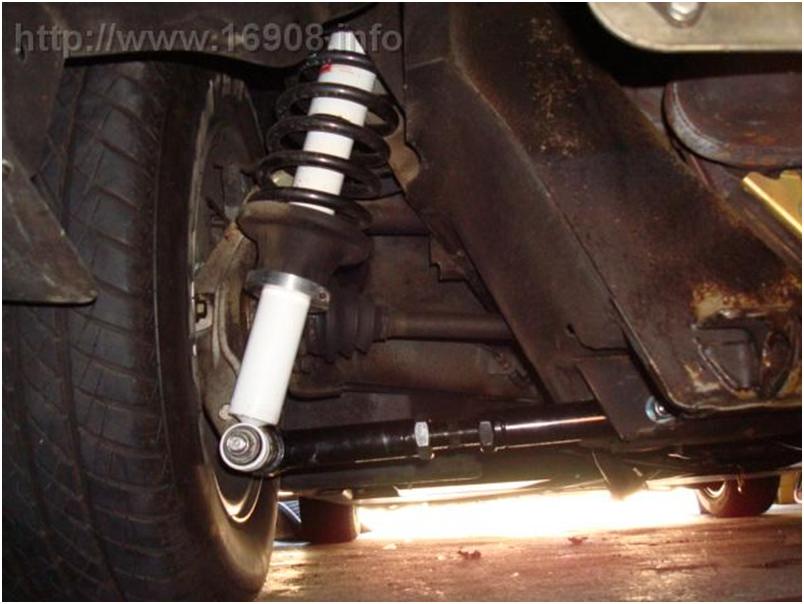
Since my camber was off by two degrees, and I didn’t want my tires to wear unevenly, I invested in adjustable rear lower control arms. I went with the mid-state kit as opposed to the DeLorean Motor Center kit to save some money. The only issue was I had to remove my control arms, and send them off to be modified. This was over the Memorial Day weekend, so it took a little bit longer. That’s okay; the quality of the work is top notch.

Alright, this is my first time doing suspension work by myself on any car. I assembled my tools:

Workshop Manual – Section K (Rear Suspension)
½ drive breaker bar
Ratchet set
½ drive Torque Wrench (rental from Autozone)
Low profile jack
2 ton Jack stands
2 X 4
Anti-seize lubricant
Hammer (rare to use on a car)
Utility light
Paper Towels
Simple Green
Orange Hand Cleaner

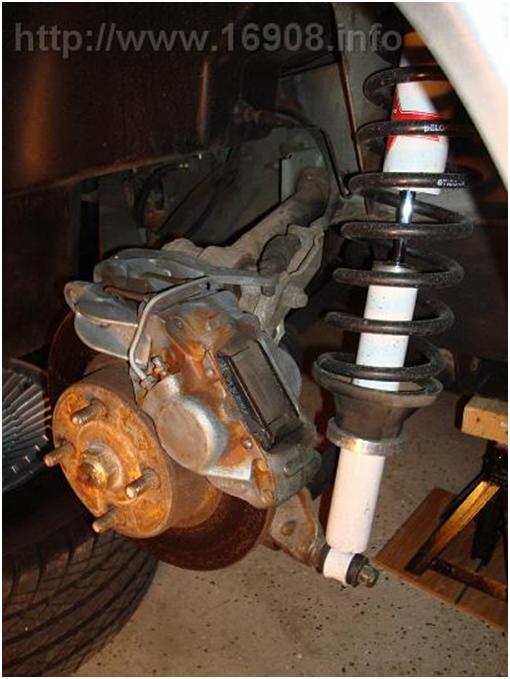
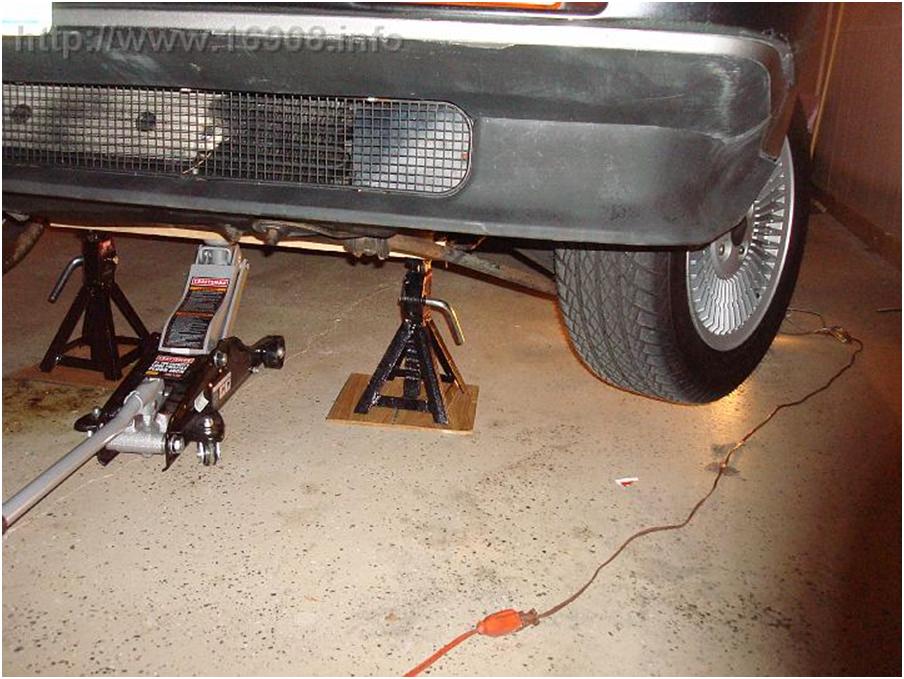
Tire removed, preparing to remove to lower links:

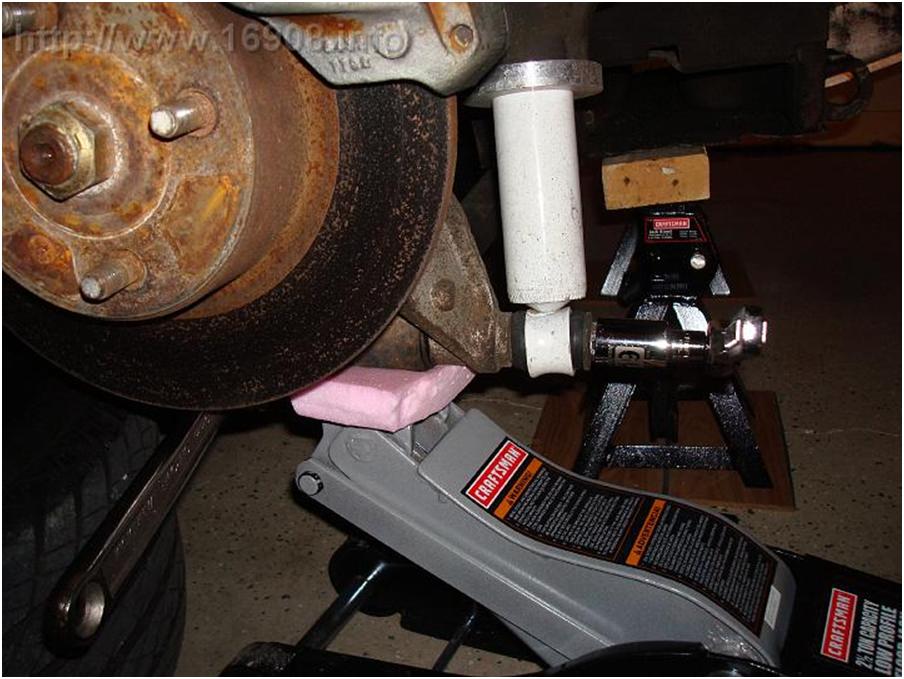
Supporting the hub carrier with a jack, trying to get the hub carrier pivot bolts out.

I stopped taking pictures because I got so dirty, and the job was very frustrating. I finally got the hub carrier pivot bolts out after using a hammer to pound them out. I sent the arms off the next morning, but forgot to get a before picture of them. Mid-State recommended some anti-seize on the bolts when reassembling.

13 days later, they arrive:

Beautiful, aren’t they? The welds are really nice looking.

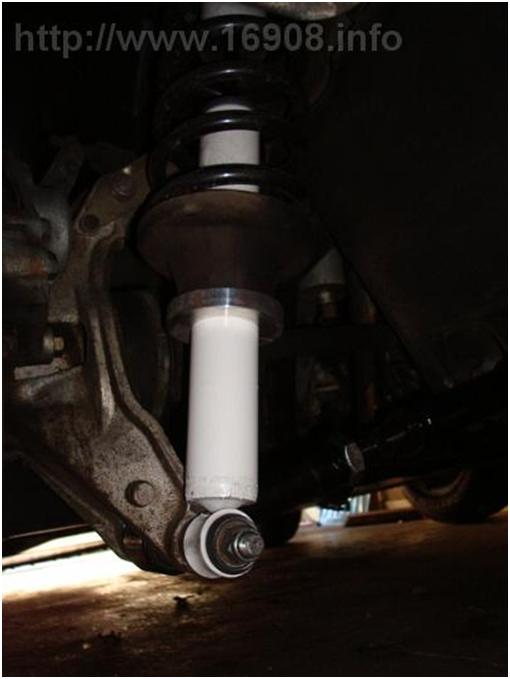
Supporting the trailing arm, trying to get the bolt back in:

Wow, I got it together. It’s almost like I know what I’m doing.

My rental torque wrench, and new ½ drive breaker bar:

Torqued and back on the ground after almost two weeks!

Beautiful.

Almost ready for an alignment. This is probably the best time to replace my stock trailing arm bolts…

Costs:
Mid-State Lower Control Arm kit: $210
UPS Ground Shipping to Mid-State: $13.18
Anti-Seize Lubricant: $3.21 @ Advance Auto Parts
½ Drive Breaker bar: $5.98 at Menards
Torque Wrench: $97.20 at Autozone(deposit charge, will be refunded when returned)

New Bolts

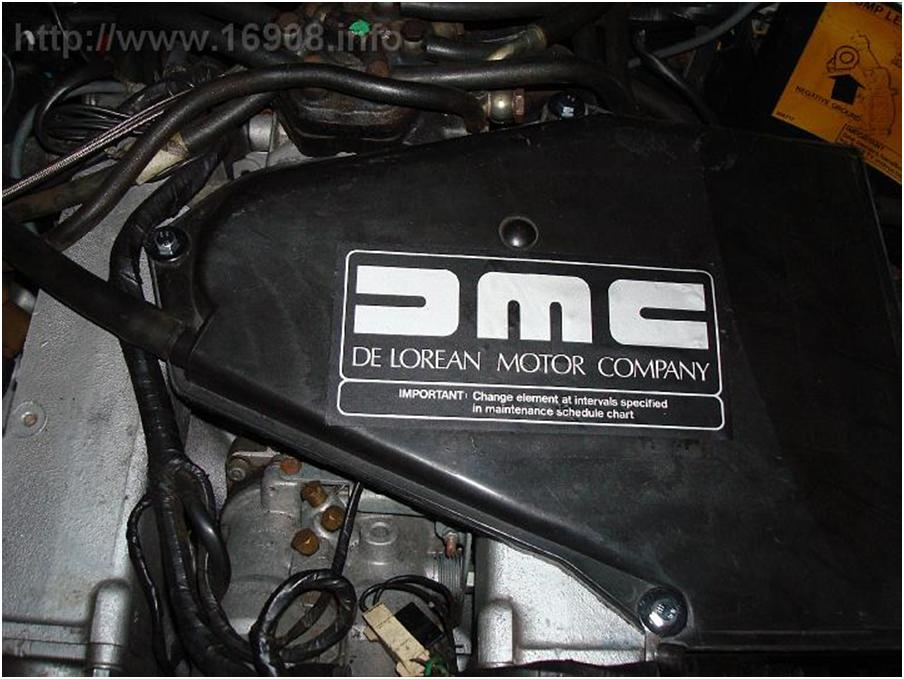
I bought some new bolts and washers for my airbox, since the old bolts were kinda chewed up. I only had one of the three washers for the bolts, and that washer was too small. I splurged and bought chrome washers. I couldn’t find the bolts I needed in stainless, and the regular ones were shinier anyway.

I also bought a bolt and a locking nut for the trim that was coming off the body:

Blogging about bolts? Not that exciting, but I want to document all my work, and what it costs.

Costs:
(3) Chrome Washer: $1.29 each @ Ace Hardware
(2) 10mm bolt: $0.55 each @ Ace Hardware
10mm bolt: $0.60 @ Ace Hardware
M5 Bolt: $0.60 @ Ace Hardware
(2) Washer: $0.19 each @ Ace Hardware
M5 Lock Nut: $0.40 @ Ace Hardware

Alignment Check

I took the day off, and took my car to Just Tires. A buddy of mine has a friend who works there, and my buddy trusts them with all of his cars. They also have the DeLorean in their alignment system, so I figured it was worth a try. I got to drive the car onto the alignment rack, and hang out in the work area and watch them check everything. I told the tech about how the car was lowered, and the camber would most likely be off. If it was off by too much, I’d have to buys some adjustable lower control arms. I brought along my alignment shims, and the torque specifications.

The results were the camber is off by about 2 degrees. The tech advised me not to do the alignment now, since I should get the adjustable lower control arms, and the car will need to be aligned again. The bad news is, these control arms will cost me a few hundred dollars. The good news is, my alignment check was free.

So which control arms should I buy?
Delorean Motor Center: $325 plus refundable $200 core charge
Mid-State: $210

More on that at a later date. For now, I don’t want to drive my car until I can correct the camber. I should have done this over the winter.

Costs:
Alignment Check: Free! @ Just Tires – Wheaton, IL

New Drop Window Seal

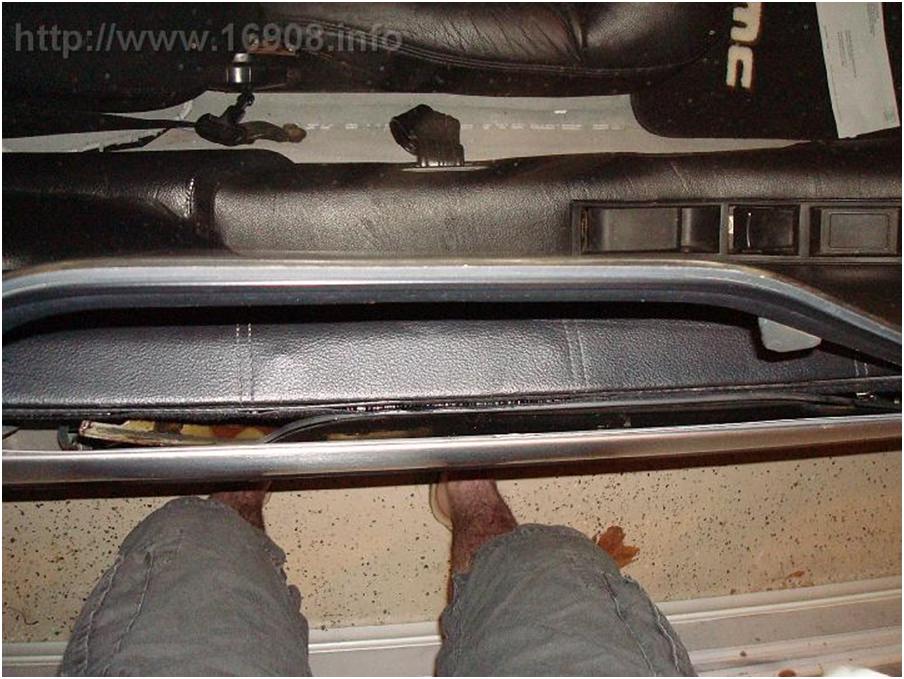
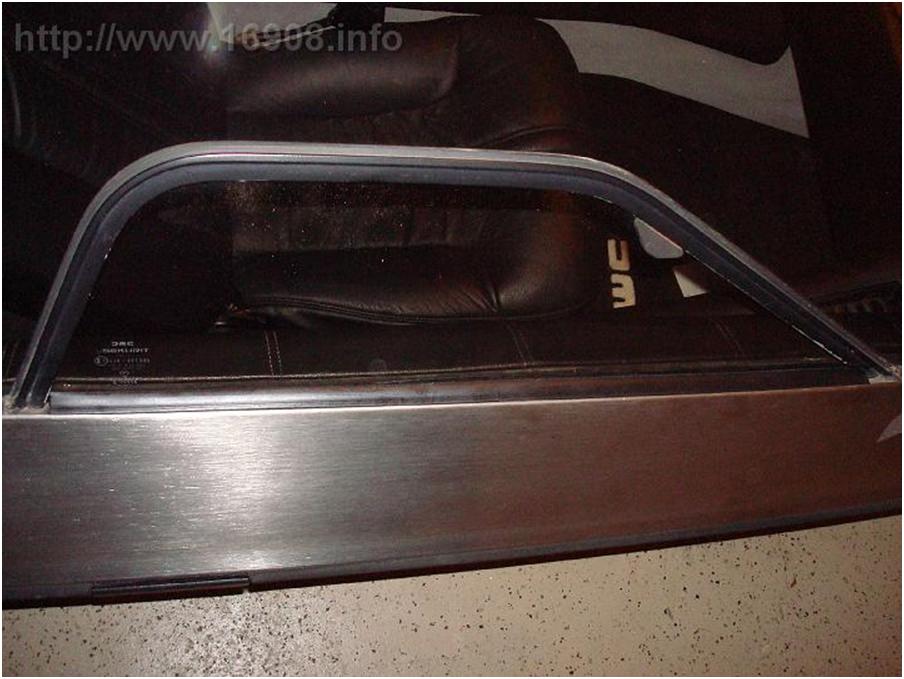
The seal for the passenger side window glass was missing. Another reason I avoid driving in the rain.


I found something called the Window Drop Glass Seal on specialtauto.com, but got sent a piece or felt with adhesive. Guess I should have called on that one.

So I bought the piece I needed from DMC (Midwest). I found the metal support from the previous seal still installed. Once I got that removed, installation was easy. I ended up using the felt on the driver’s side

All better.

Costs:
Window Drop Glass Seal @ Specialtauto.com: $9.95 plus shipping
Seal Pwr Wdo Wipe RH @ DMC (Midwest): $28.89 plus tax

Lubricating the lower Speedometer Cable

I read the instructions for this task, purchased the products, and went for it. This would be one of the easier tasks I attempted.


Supplies Pictured:

Cable Lubricant
Plastic bag
Brake Cleaner
Orange Hand Cleaner
Simple Green Cleaner
Paper Towels
Old Newspaper (oooh, $1.99 milk…)
Utility Light

Supplies Not pictured:
Low profile floor jack
Jack Stands
2X4 Wood
Zip ties
Wire cutter
Armor All

Ok, I jacked up the car using the proper procedures, and turned the wheels to the right:

And access the cable behind the driver’s side front wheel. I unscrewed the knurled coupler, but the cable was also zip tied to the brake line. I used a wire cutter to free the cable:

I followed the cable into the rubber grommet, into the body, and unscrewed it from the lamda counter:

The cable was free, so I took it into my work area (kitchen). I removed the cable from its sheathing, and wiped it clean with paper towels.

I sprayed brake cleaner down the sheathing, and it spurted into my eye. So I read the label on the can, and flushed my eye with water for 10 minutes.

Next I reinserted the cable, and moved it around to free any gunk. I was supposed to drain it into my plastic bag for collection, but I ended up draining it into my sink. Oh well.

I removed the cable once more, dried it off, and reinserted it, this time using several drops of cable lubricant. I cleaned off the sheathing with simple green, and used some Armor All on it.

Then I simply reconnected it. I also used some new wire ties to keep it close to the brake line. I drove the car tonight, and the speedometer needle seems to be steadier at a constant speed, but still vibrates while accelerating. Oh well, at least I’m lengthening its life.

Costs:
Cable Lubricant on eBay: $5.49
Brake Cleaner from Advance Auto Parts: $3.44

Shock Tower Strut Bar

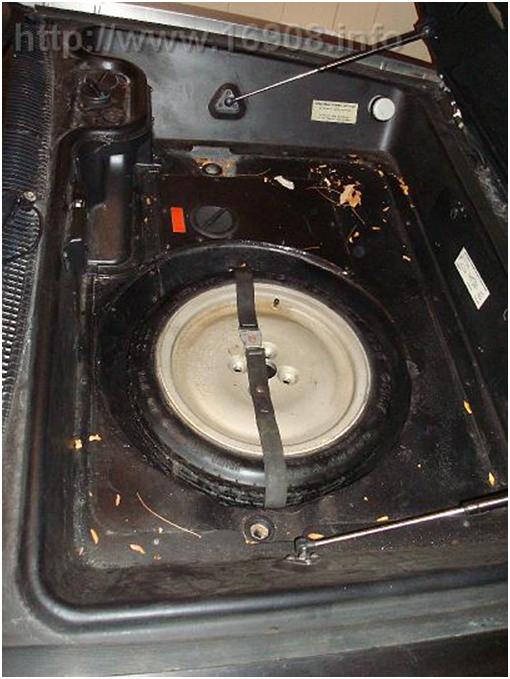
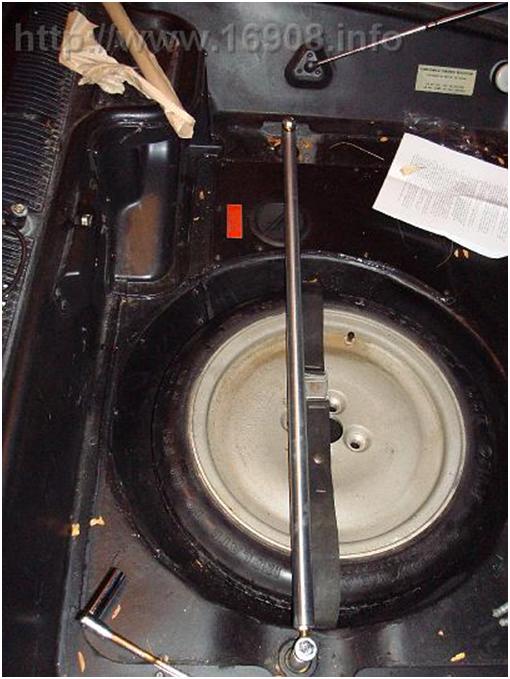
I’ve read rave reviews of the shock tower strut bar online, and met the creator of it last year. I finally bought one at DMC (Midwest). I installed it myself in less than half an hour on a Sunday morning:

Before:


After:

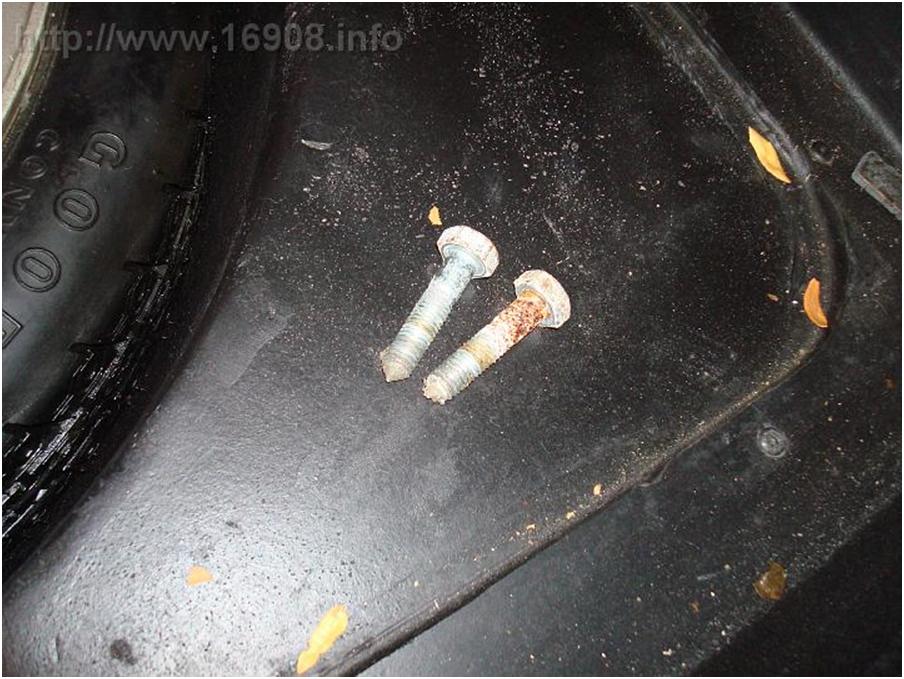
Old bolts removed, they look bad:

I don’t have the board that goes under the carpet. For now, I’ll just lay the carpet over it:

The bar also helps keep the stuff in my trunk from sliding around:

How does it feel? Great! Noticeable improvement. Less bumpy in tight turns. All around, a smoother ride. I’m glad I made the investment.

Costs:
Shock Tower bar @ DeLorean Motor Company (Midwest): $150 plus tax

Battery Cut Off Switch Installation

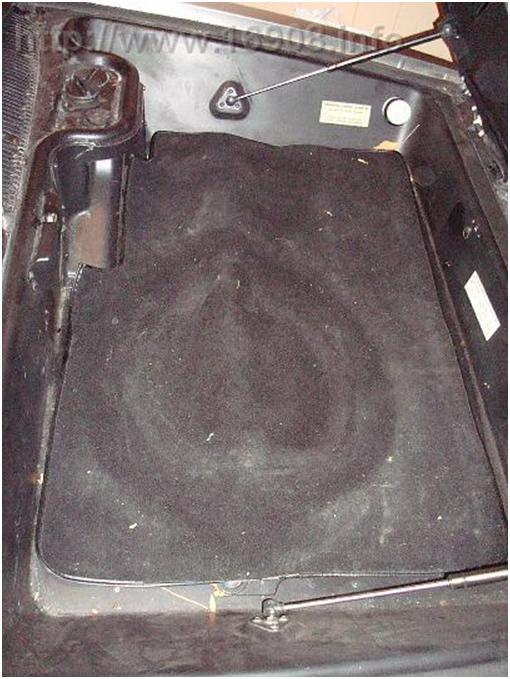
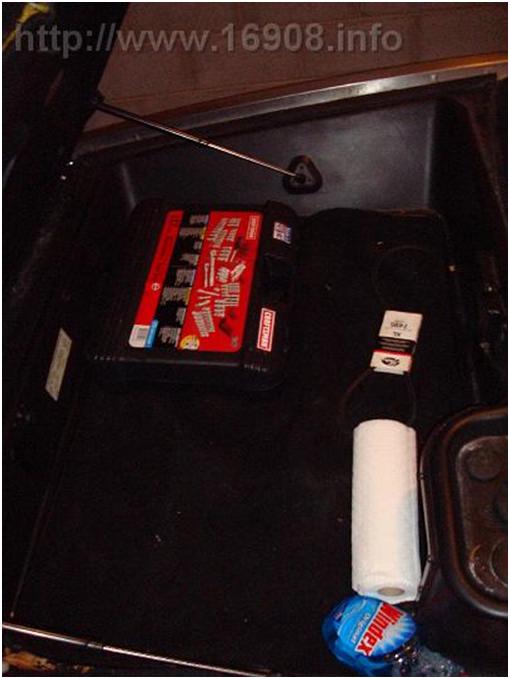
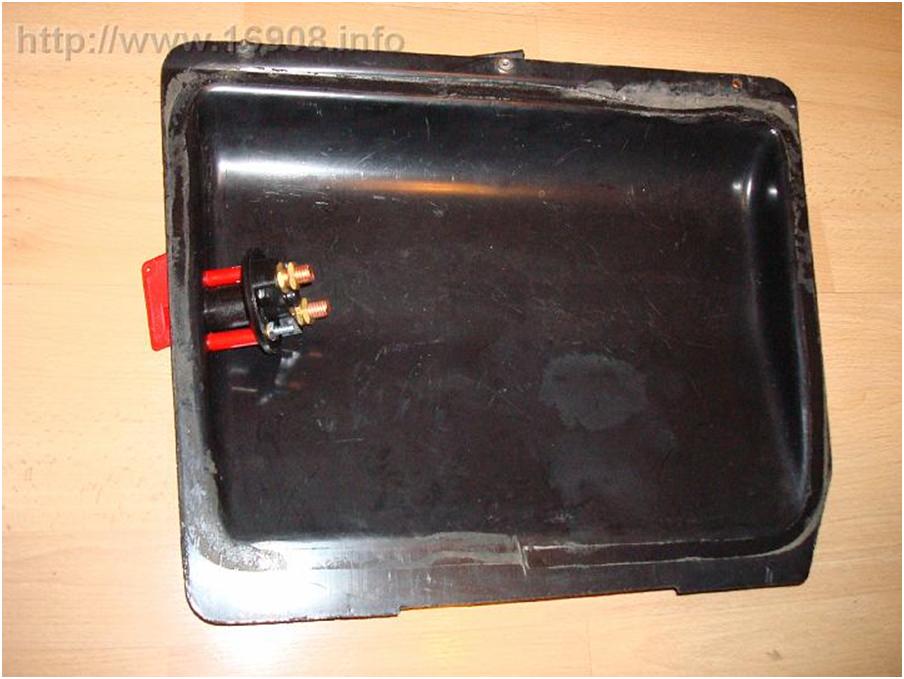
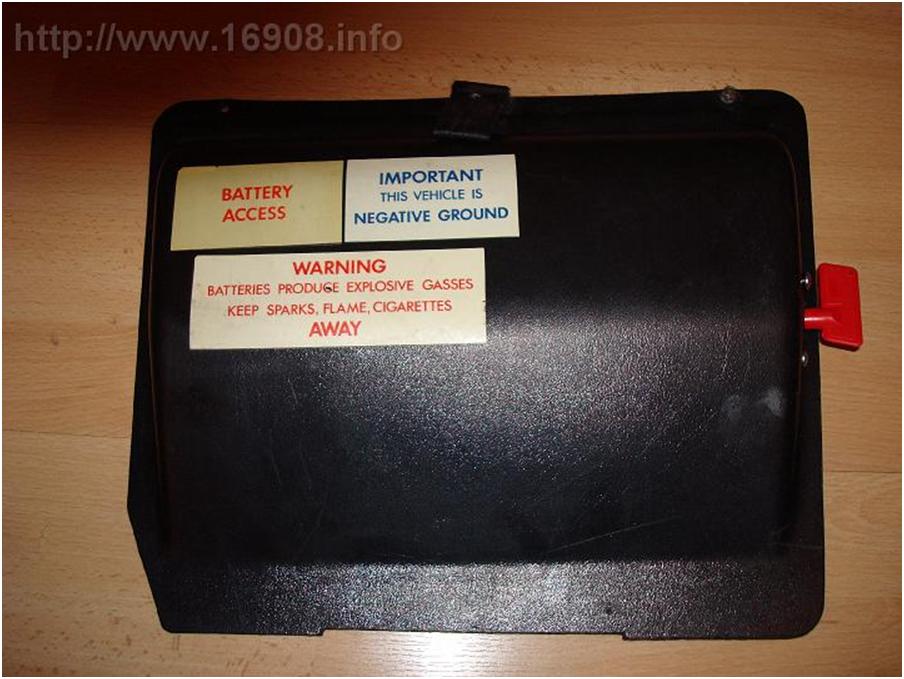
After reading about the horrors of an electrical fire, I decided to install a battery cut off switch. The switch also makes it easy to disconnect the battery when doing any electrical work on the car. I decided to mount it on the right side of the battery compartment cover. I’d seen one mounted on top of the cover, but I wanted to avoid having to fumble with the carpet that lies over the battery compartment cover. I didn’t take any measurements for this project, I just dove right in.

Supplies:
Battery Cut Off Switch
(2) 10/24 bolt, nut, plastic washer
Drill, drill bits
7/8 Spade drill bit
Red Plastic pen
Pencil

I marked in pencil where the holes should be on the compartment cover. I cut a red plastic pen into pieces to make hollow bushings for the bolts. Looks great:

I then put it back in the D, and saw the switch hits the plywood on the right side of the compartment. Maybe I should have measured? Oh well, time for an adjustment.

Additional Supply:
Jig saw

I marked in pencil where the switch was hitting the plywood. I notched out a section for the switch:

Finished product:


Where did it go?

Now my car is just a little bit safer.

Costs:
Battery Cut Off Switch Kit @ SpecialTAuto.com: $22.95 plus shipping.
(2) 10/24 bolts @ Ace Hardware: $0.19 each
(2) 10/24 nuts @ Ace Hardware: $0.08 each
(2) Plastic washers @ Ace Hardware: $0.15 each
Red Pen: Free

Spring Tech Session, AC belt change

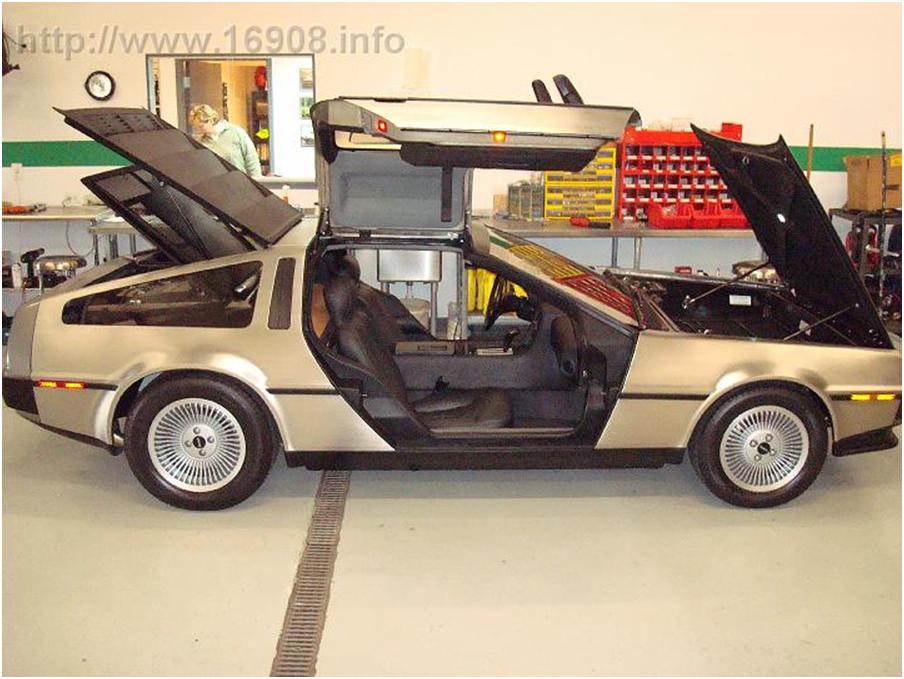
The Delorean Midwest Connection had their spring tech event at DMC (Midwest) May 3rd. I drove up in the morning, in the rain. I hardly ever drive in the rain, but this was necessary. I got to put the car on a lift, and check out everything underneath the car. I got to see a hand built car from DMC (Houston) which was flawless, and made me very jealous. I saw Rich W’s Buick Grand National powered DeLorean. I also bought some parts I had my eye on for awhile.

The shop is fascinating to me. I would have stayed all day if I didn’t have a Kentucky Derby Party in the afternoon.

On the way to the event, I stopped by the defunct Meadowdale Raceway for a photo op. It’s been several years since I first explored this place.

Here’s what the silo looked like in 2002 when I photographed it. Original paint job still there:

Here’s the hand built car at DMC (Midwest:). It was stunning:

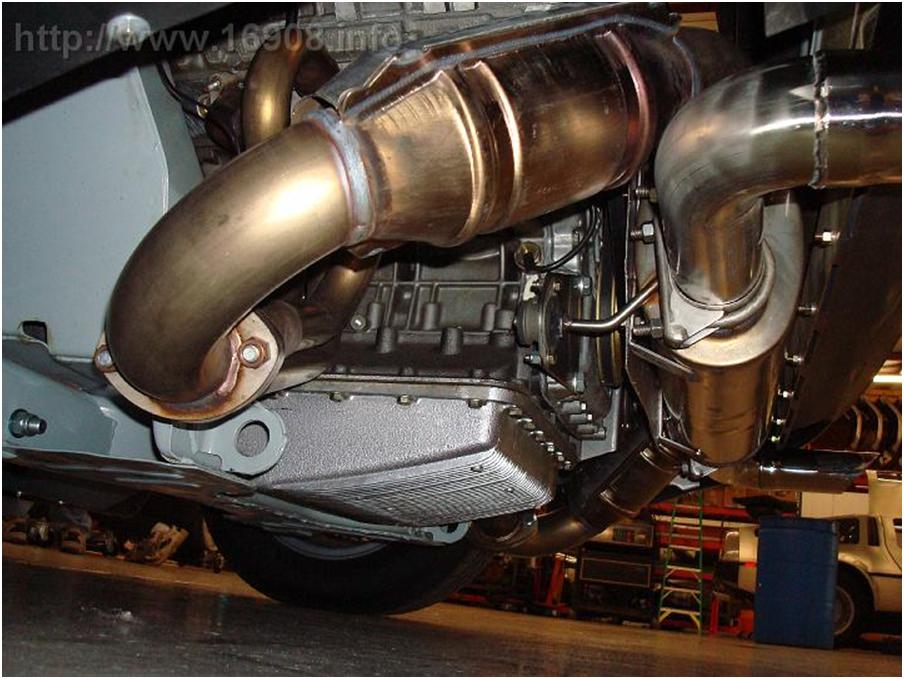
Clean everything, upgraded exhaust:

Rich W’s Buick GN engine:

I didn’t take any pics of my car since the other cars put my car to shame. I should have taken some pics under my car.

I also learned how to change an AC belt. The belt my car was currently running was an original “concours” belt that Ken K took off his car last time I saw him. It was leaving belt shavings all over my engine. I had a spare I bought awhile back, so after it was installed, I bought a new spare from NAPA.

Costs:
AC Belt – 9530 Gates Green Stripe: $11.95 plus shipping @ SpecialTAuto.com
NAPA 9530 Belt: 20.28 plus $1.57 tax at NAPA

New Lug Nuts

When I got new suspension components last fall, I found a couple of my lug nuts were stripped. They wouldn’t even hold on the bolts anymore. We scrounged up some replacements, but they weren’t the right style. Also, several other lug nuts looked like they had been chewed on. So I bought 8 new stainless lugs.

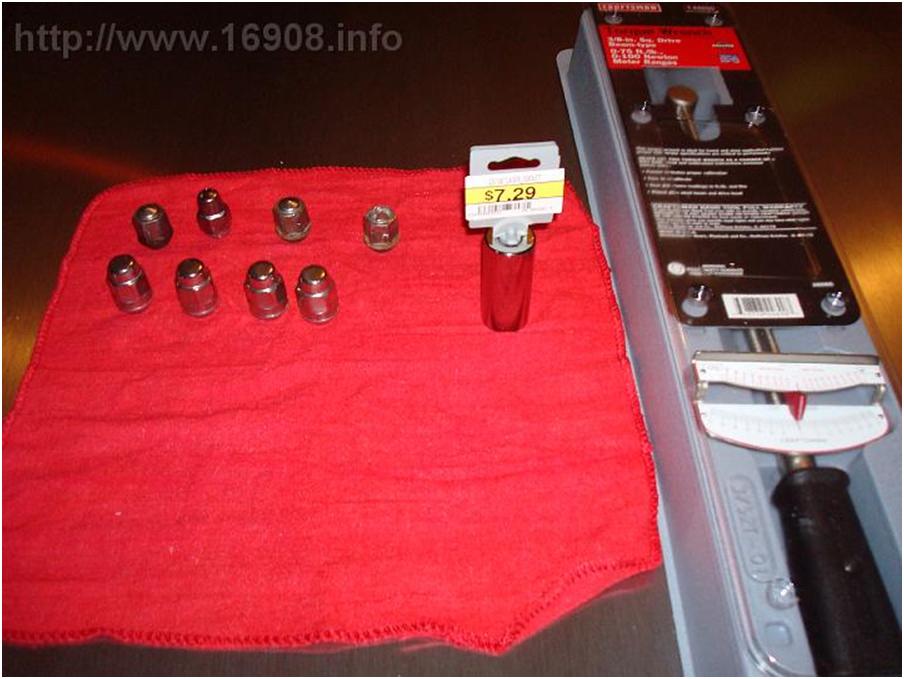
4 new lug nuts in front, 4 old chewed up mismatched lug nuts in back.

The new lug nuts are bigger and longer, so I opted to use them on the rear wheels. I also needed a bigger socket for them since my set didn’t have one big enough. I bought the torque wrench but later returned it since it isn’t easy to find the last few threads without using more torque than necessary.

Costs:
(8) Stainless Lug Nuts @ SpecialTAuto.com: $2.50 each plus shipping
13/16 Socket: $7.29 plus tax @ Sears Hardware
3/8 Drive Torque Wrench: $29.99 @ Sears Hardware (Returned)

Coolant Flush (failure), Coolant Self Bleeder Installation

I wanted to flush the coolant after I saw my coolant had an orange tinge to it. I read the instructions many times, and purchased the Coolant Self Bleeder Kit. I felt I could do this. I would document everything in hopes of writing a good how-to guide.

The night before, I prepped the engine block drains with some PB Blaster. I thought that would help. *Thought*. The next morning, I attempted to perform the procedure in my parent’s driveway, which has a slant, rather than jack up the rear end of the car:
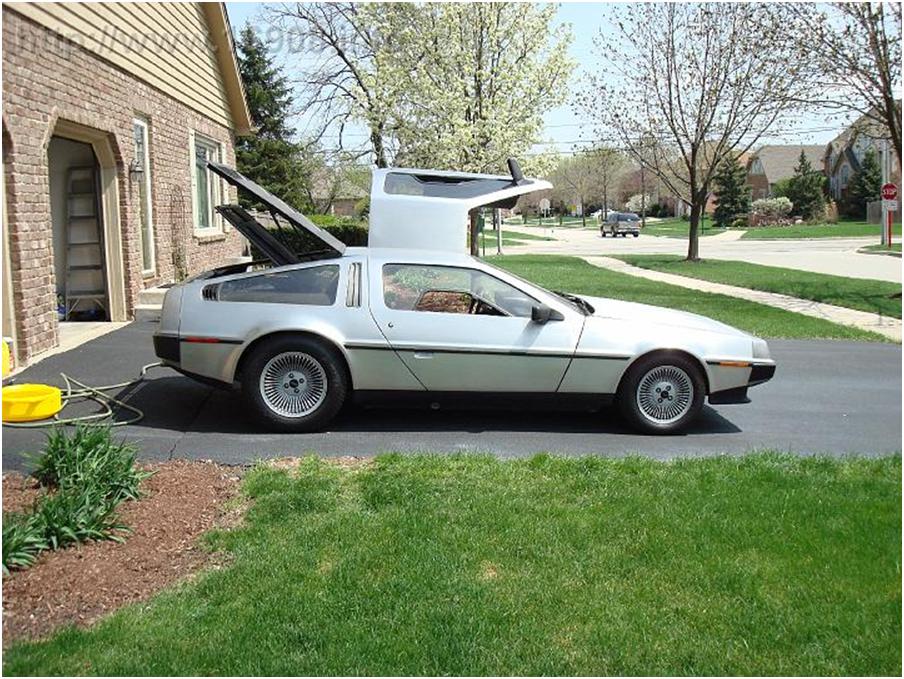

It also has easy access to a garden hose. I assembled my supplies:
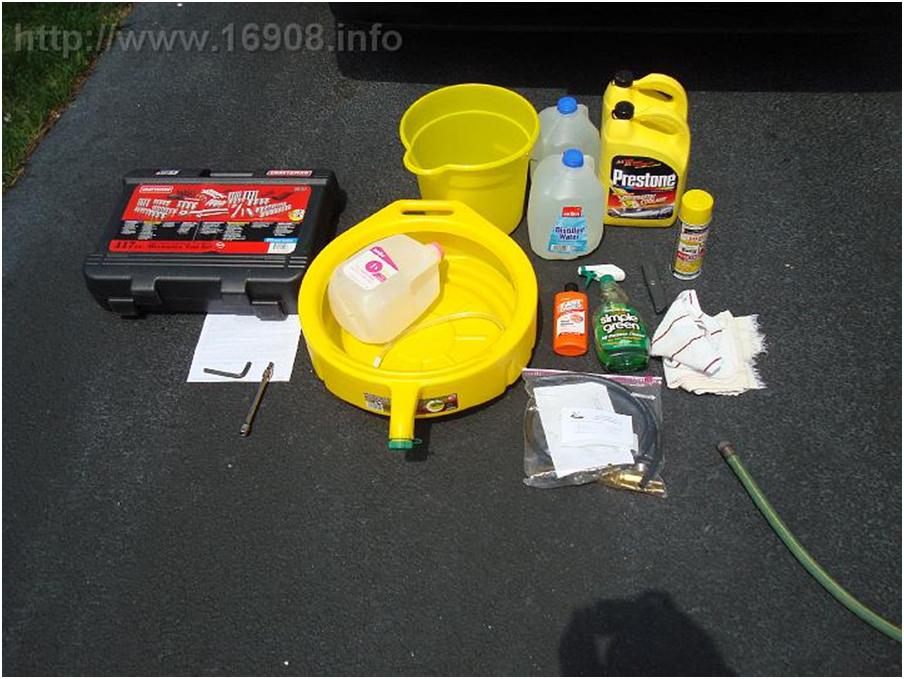
Supplies Pictured:
Toolkit
Printed instructions
drain plug removal tool
New Yellow drain pan (I chose yellow so to identify it with Prestone, and keep it separate from my oil drain pan)
New Yellow bucket
empty 1 gallon jug (for fluid disposal)
Coolant Self Bleeder Kit
Orange Hand cleaner
Simple Grean Cleaner
(2) Gallon Distilled Water
PB Blaster
Rags
Garden hose

Not Pictured:

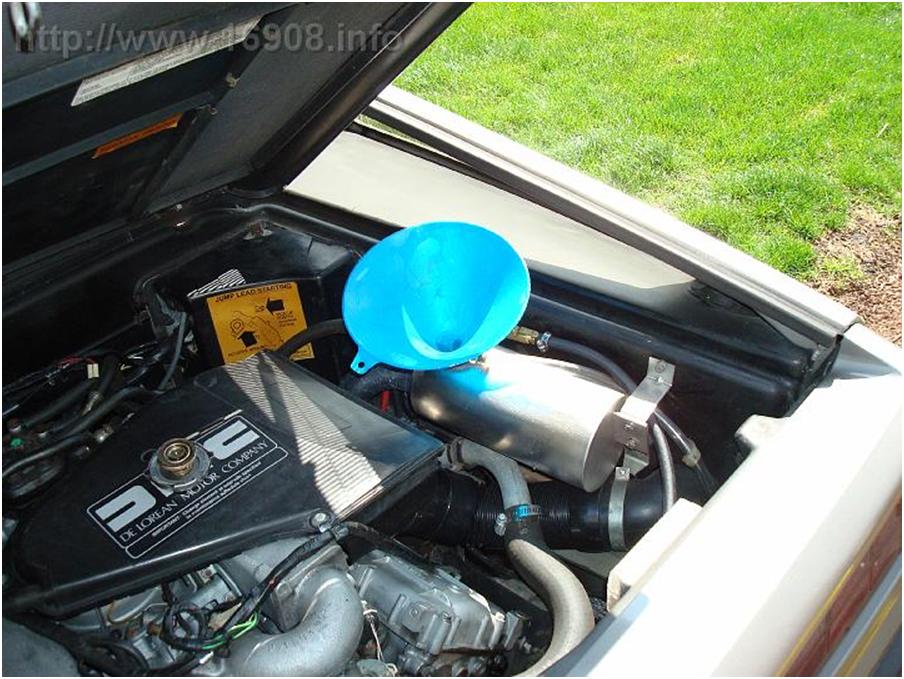
Large funnel

The engine block drains are the same stupid plugs as the oil drain plug with the 8mm square hole in it. I replaced my stock oil drain plug with a normal one. My oil drain plug removal tool was a 8mm hex key that I ground into a square with a dremel. The engine block coolant drains are a b1tch to access, so I ground the other end of the hex key into a square, cut the end off, and put it into a socket:
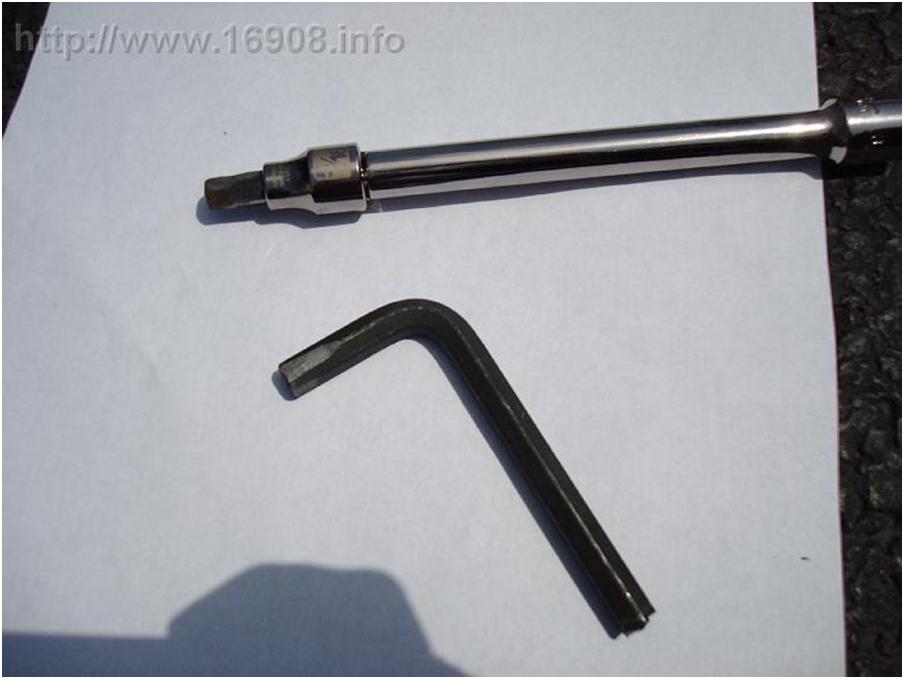
I thought it would work. *Thought*. So I went to work, draining the system. Laying on the ground, on my back, trying to get the lower radiator hose off is quite difficult. My hose is kinda hardened, and stiff. It should probably be replaced, but I didn’t have a replacement on hand. Next time I try this, I might replace it with a silicon hose. I had to use force to get the hose off, but still be gentle with the plastic radiator tank. Why oh why doesn’t the radiator have a drain petcock?

I finally got it off, and drained what I could:

Yuck.

So there aren’t too many pictures from here on out. Why? Well when it came time to get the block drains out, I failed. I couldn’t get much leverage while laying on the ground, and my homemade tool was akward to use, and not very solid. I managed to wedge my hunk of hex key in one of the drain plugs at one point. I tried for awhile, but eventually gave up. Also, my neck hurt from laying on the ground, while struggling with things under the car. I think I need a creeper. Or a lift.

I previously tried to bleed my coolant at the water pump, and managed to spill coolant on the pump. The pump squeaked for awhile. Worst yet, I don’t think I bled the system enough. I made it a point to order the bleeder kit. So next I installed the coolant self bleeder. Time to remove the throttle shield:

Ok. Now I remove the brass bleeder screw in the center of the picture:
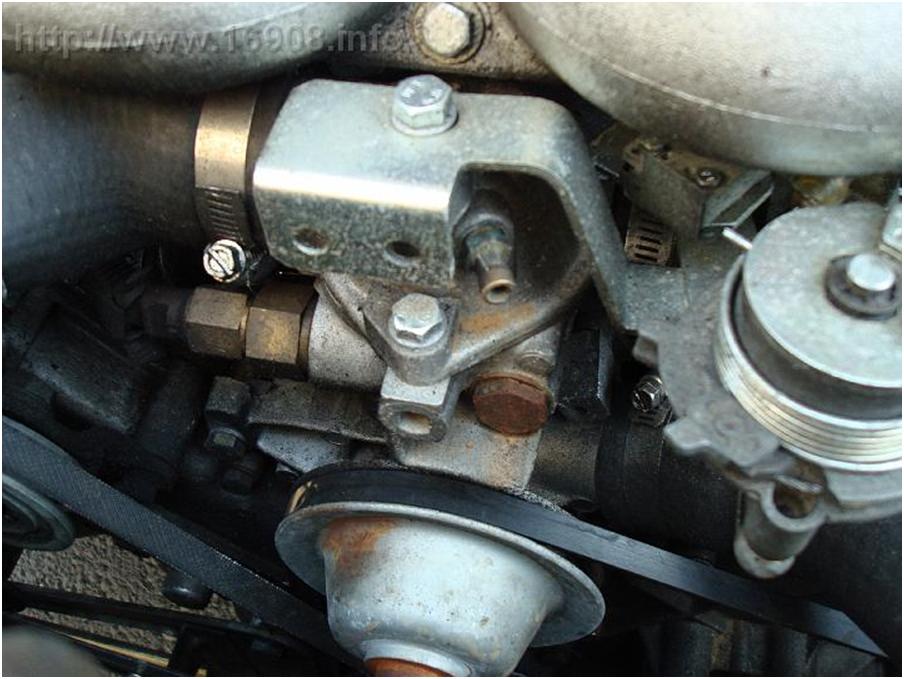
And I’ll just skip right to the finish:

My self bleeder kit also includes a petcock to be spliced into the upper radiator hose. This makes bleeding the radiator easier than pulling the hose off the plastic tank, and getting hit in the face with coolant:

Alright, now lets mix some coolant. I decided to mix my own, instead of buying the premixed stuff. Coolant costs over $10 a gallon, and distilled water is less than $1. Why pay over $10 for 50% water? I purposely wanted to use distilled water.

“Distilled or deionized water is preferable to tap water for use in automotive cooling systems. The minerals and ions typically found in tap water can be corrosive to internal engine components, and can cause a more rapid depletion of the anti-corrosion additives found in most antifreeze formulations.”
Wikipedia (Yes, I know Wikipedia is not a terribly reliable source)

So I poured some coolant in, and it overflowed. The system is supposed to hold 3 gallons, and I couldn’t get 2 gallons in. I then poured some in the large hose connected to the water pump, but couldn’t add much more. Great. So I collected my old coolant, only spilled a little on the ground, and it amounted to about a gallon. So basically I tried for several hours to flush my coolant, only to replace about a gallon. At least I got the bleeder kit installed.

For the next time I try this, I’m ordering the 8mm square tool from snap-on, Stock#: PMM408A.

Costs:
Wings-B-Cool Cooling System Self-Bleeder Kit from Delorean Parts Northwest: $29.95 plus $7:00 shipping
(2) 1 Gallon Prestone Antifreeze from Wal-Mart: $10.97 each
12 Quart Bucket (Yellow) from Wal-Mart: $1.50
5 Gallon Drain Pan (Yellow) from Advance Auto Parts: $7.97
(2) 1 Gallon Distilled Water from Meijer: $0.68 each