New Relays, Ground Bus

After suffering another cooling fan failure 2018 due to a bad relay (see my previous post) I decided to buy some new relays, genuine Bosch relays. And, they’re purple!

I also decided I’d had enough of the sloppy-looking fused jumpers in place of the fan fail relay. They’ve previously come loose, and left me without fans. I purchased the Fused Fan Fail relay from DM-eng, which restores the fan fail light functionality, adds fuses, and removes the need for the circuit breaker in the fan circuit. The fan circuit breaker has given me problems before. The aesthetic value is also great!

I also purchased the ground bus from DM-eng, which sends a separate ground wire to the relays. The stock wiring has the relays daisy-chained with questionable wire connections.

Before…
New relays
New Ground Bus
Installing the ground bus
Goodbye to these!
Much better

Costs:

ItemPurchase DateVendorQuantityCost Shipping  Tax  Total 
Fused Fan Fail relay8/11/2019dm-eng.weebly.com1$10.00 $              –   $      –   $    10.00
Front relay bank ground buss8/11/2019dm-eng.weebly.com1$84.00 $              –   $      –   $    84.00
Bosch Mini Changeover Relay8/11/2019amazon.com2$9.09 $              –   $  1.14 $    19.32
 Total  $  113.32

White LED Door Lights

I previously had installed Red and Amber LEDS. One of my door light lenses was cracked, which needed to be replaced. I’ve seen some custom door light colors, and decided to switch them all to white to match my undercarriage LED lighting, and my interior LED lighting.

My current door LED Lights:
DoorLight (5) DoorLight (3) DoorLight (2) DoorLight (1)
New Cool White LED bulbs. I like the shallow depth, and how they won’t be up against the lens:
DoorLight (6)

I had some scrap plastic that was thick enough for the lenses:
DoorLight (8)

Cutting a lens out:
DoorLight (9)DoorLight (10)

I painted the inside of the lights white, so the lights won’t look black or gray inside, and to reflect more light.
DoorLight (7)DoorLight (18)

I then sanded the lens to give it a translucent finish. My prototype looks good:
DoorLight (11)DoorLight (16)DoorLight (14)DoorLight (12)

Cutting more lenses:
DoorLight (19)

Almost done:
DoorLight (20)

Done:
DoorLight (21)

I found some of the stock incandescent bulbs, and they were drawing .24 amps. The LED door lights I was using were drawing .03 amps. My new Cool White LEDS draw .01 amps. I’m happy with my amperage savings.

Supplies/Tools:
Plastic for Lenses
Masking Tape
Marker
Rotary Tool with cutting disk and sander
LEDs
200 Grit Sandpaper
White paint
Small paint brush

Costs:

Item Vendor Quantity

Unit Cost

Cost

Shipping

Tax

Total

(8) COOL WHITE 4SMD LED WEDGE LIGHT BULBS T10 eBay

1

$ 8.99

$ 8.99

$ –

$ –

$ 8.99

Footwell Lighting

I’ve seen footwell lighting in several cars, and decided it was something I wanted. I bought some LED strip lights, and made a wiring harness. I used purple wire to match the car’s lighting wire color, and black for the grounds.

Footwell (1)

My harness gets power from the glove box light. I also made the harness fit in between the stock wiring, and the glove box light switch, so I didn’t have to cut the car’s harness. My harness can be removed without any issues. The LED strip lights draw less than 1 amp, and the reduced amperage from my interior LED lights insure that I’m in no danger of blowing a fuse, or melting wire.

Footwell (3)Footwell (2)

I needed a new drivers light switch since one was missing. It came with a 3-pronged piece that makes it easy to connect the car’s door lights, and the female connection on my driver’s side footwell lights.

Footwell (5)Footwell (8)

The LED strips are simply glued with contact adhesive to the backs of the kneepads. There are two sections of strip lights on the harness, one for each footwell, and they are grounded separately at each door light switch. They work independently, depending on which door is open.
I was able to install the lighting while I had the interior torn apart a few years ago:

Footwell (7) Footwell (4)

I think they look great at night.

Footwell (10) Footwell (9) Footwell (11)

Costs:

Item Vendor

Quantity

Unit Cost

Cost

Tax

Total

5Meter 300LEDs 3528 SMD Pure White LED Strip eBay

1

$ 5.57

$ 5.57

$ –

$ 5.57

Door Switch (too many parts to list) DMC Midwest

1

$ 15.14

$ 15.14

$ 1.17

$ 15.14

Purple Primary Wire on Hand  


Black Primary Wire On Hand  


Female wiring connector On Hand  


Contact Adhesive On Hand  


Total

$ 20.71

Stereo Upgrade

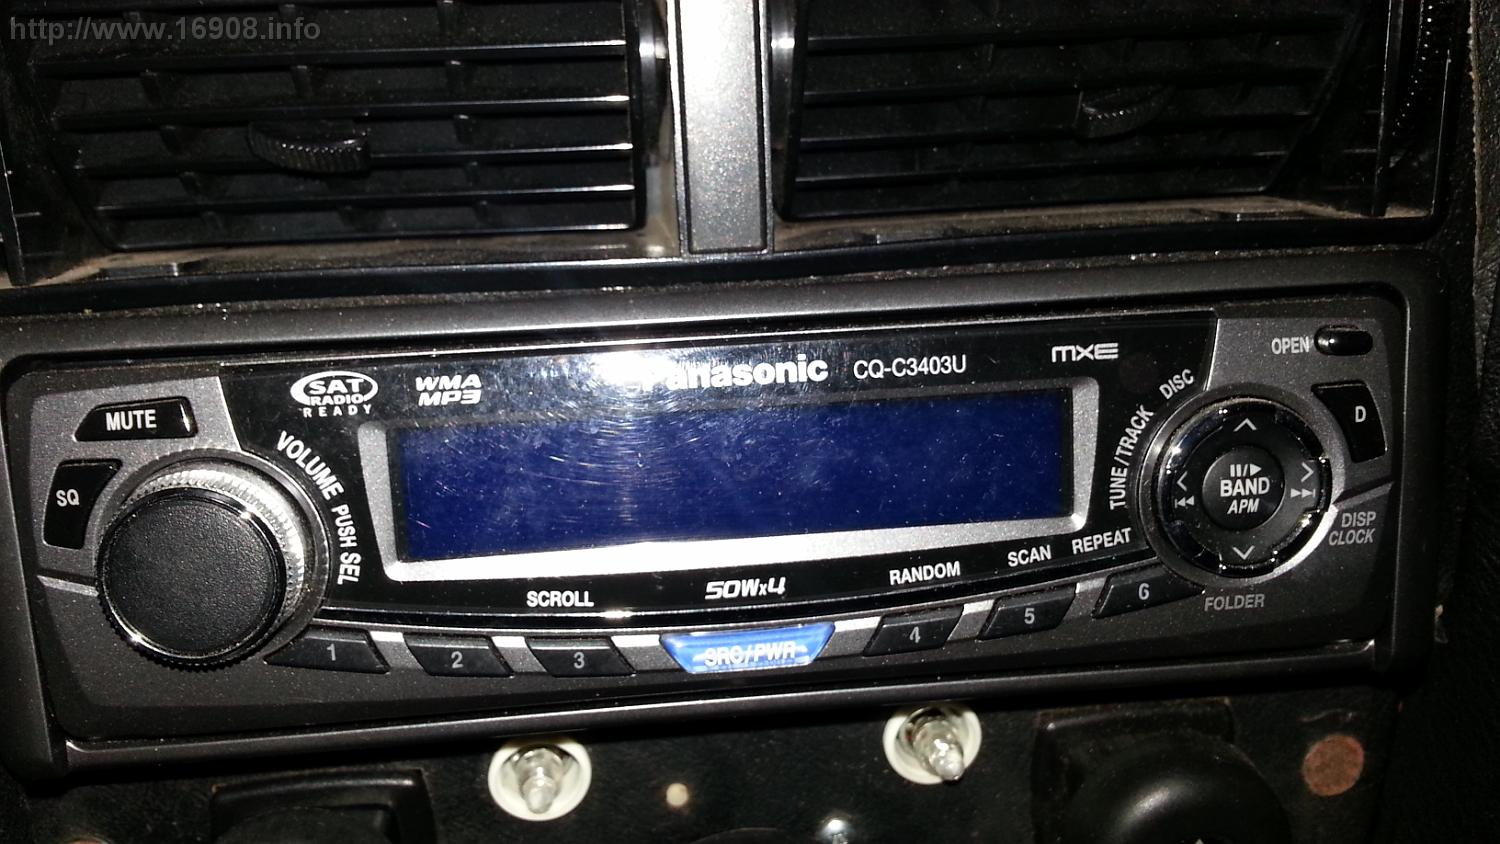
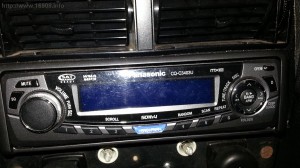
I’ve always thought my stereo sounded way to thin, and needed an upgrade. There was practically no bass in the system at all. The previous owner installed a pretty basic head unit and speakers:

20131228_182454  DSC_0242
DSC_0240 DSC_0241 (2)

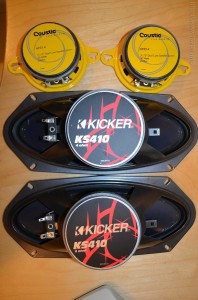
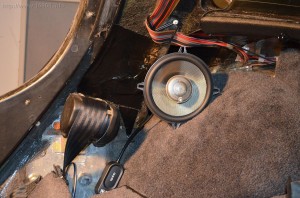
While my side panels were off, I decided to replace the speakers:
DSC_0221DSC_0222

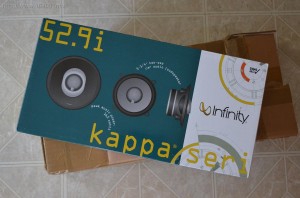
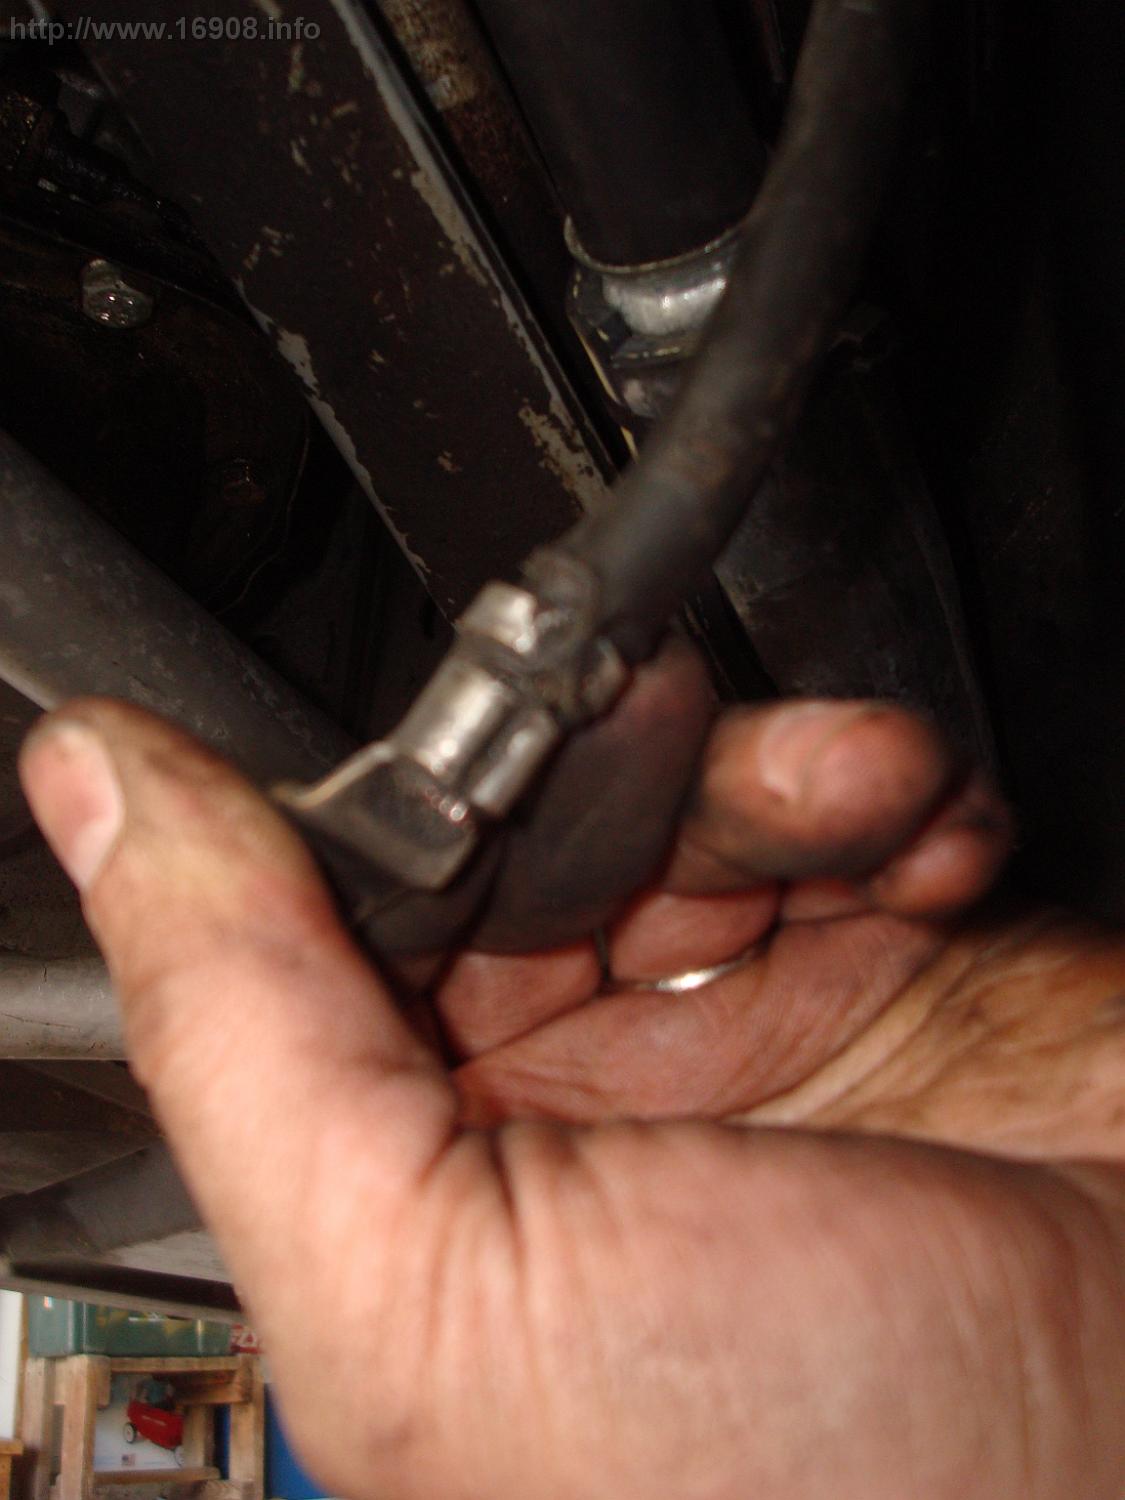
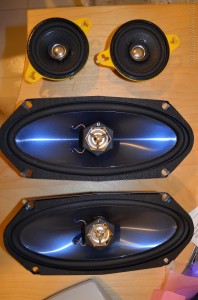
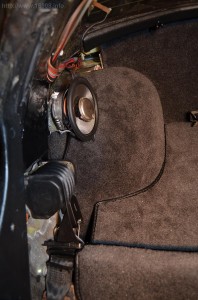
These speakers got good reviews with the other Delorean owners, and fit the rear location, albeit with better hose clamps and some persuasion:
DSC_0224DSC_0223

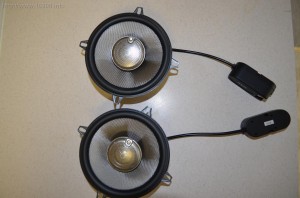
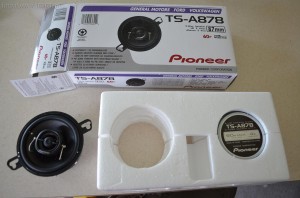
I also took the time to upgrade the front dash speakers. I’m glad I did since the speakers the previous owner installed were very low quality. I found some Pioneer speakers that fit the location perfectly:
DSC_0230

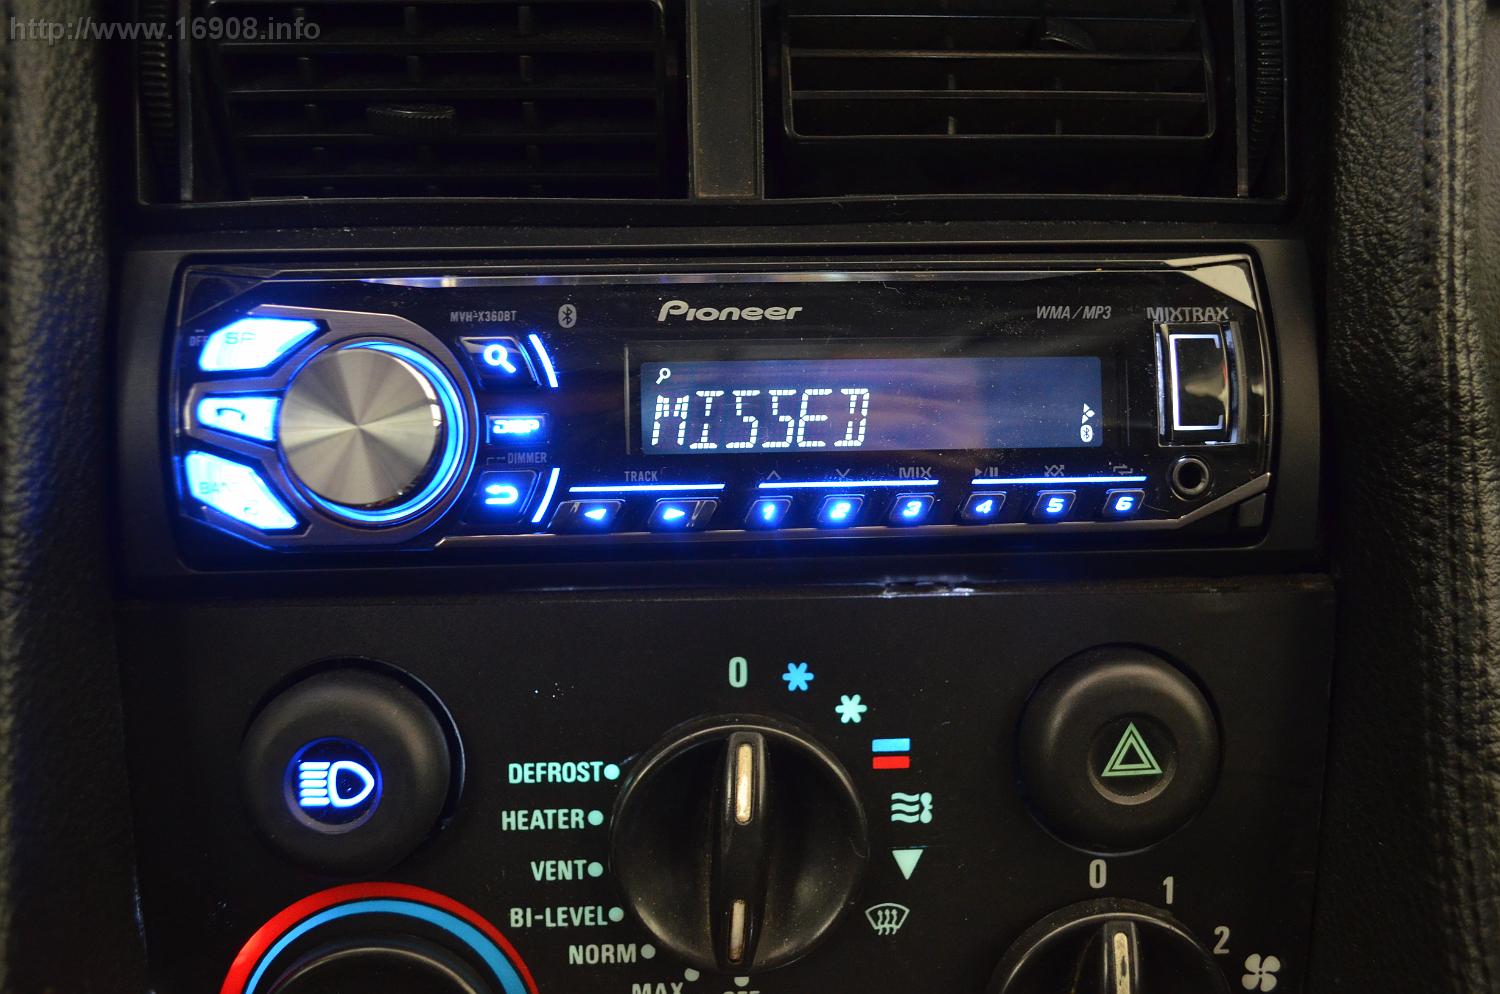
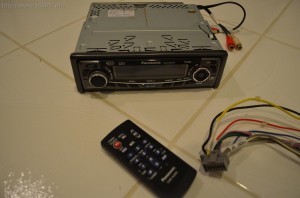
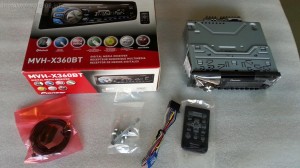
After some searching, I decided to upgrade the head unit as well. The new one features Bluetooth hands-free calling and audio streaming, wired external microphone, voice recognition, Pandora, USB direct control for iPod/iPhone, Android Media access, a remote control, and more.
20140425_185241 

DSC_0212 

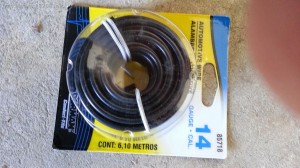
It’s been said the stock wiring might not handle a modern stereo’s electrical needs. I took the time to run a new 12 Gauge yellow wire from the positive post behind the rear wall. A fuse holder is spliced into the wiring. Sorry, I didn’t get any pictures of that.

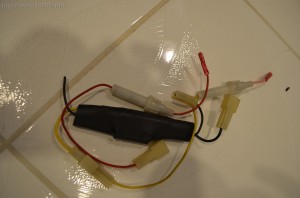
My upgraded negative battery cable features a smaller wire that was currently being unused. I found a new use for it: dedicated ground for my stereo.
20140425_145755

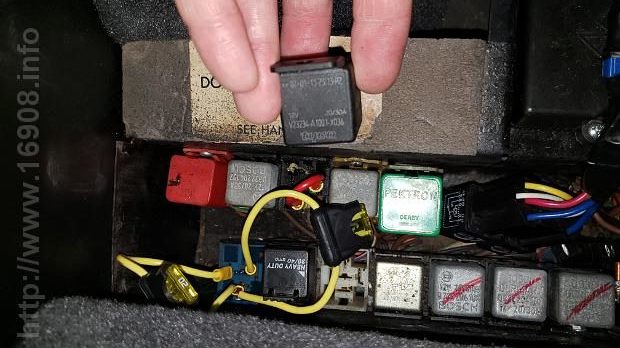
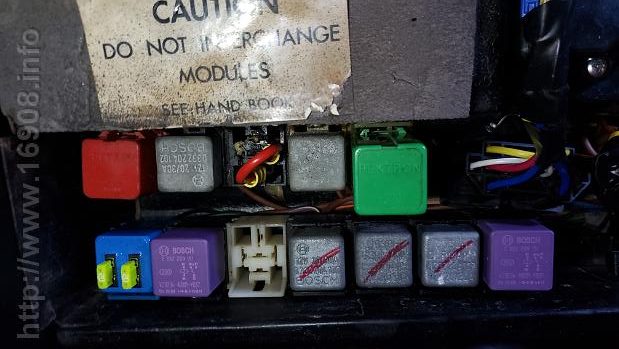
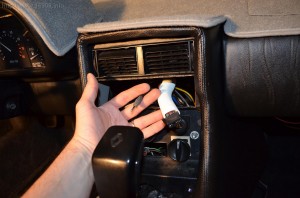
Upgrading the wiring meant I got to remove all the glass fuses behind the dash:

DSC_0241

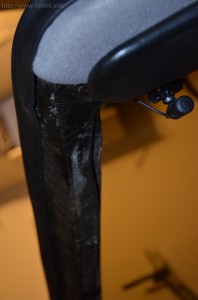
While my A pillar trim is removed, I ran the cable for the microphone up the A pillar:
 DSC_0242 (2)

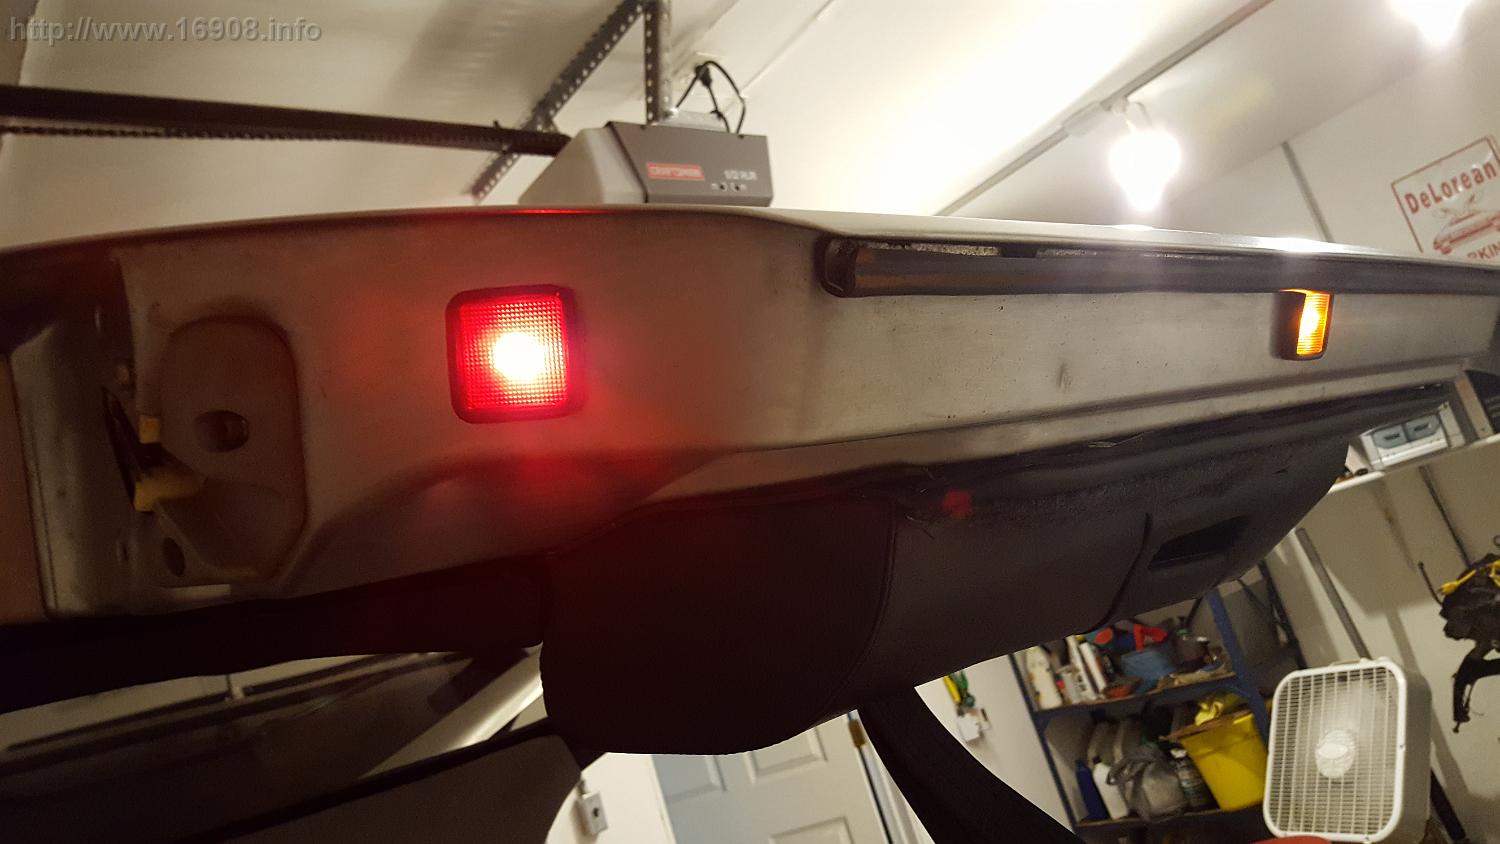
The result: The new features of the head unit are great!
DSC_0247
I still think the sound quality isn’t great. It needs more bass. I’m going to have to investigate a subwoofer.

Costs:

Item Vendor

Quantity

Unit Cost

Cost

Shipping

Tax

Total

Infinity 529I 165W (Peak) 5-1/4 -Inch Two-Way Speakers (Pair) Amazon.com

1

$73.49

$73.49

$0.00

$0.00

$73.49

Pioneer TS-A878 3 1/2 Inch 2-Way Speakers Amazon.com

1

$33.27

$33.27

$0.00

$0.00

$33.27

Pioneer Bluetooth USB SIRI Mixtrax MVHX360BT Amazon.com

1

$85.00

$85.00

$0.00

$0.00

$85.00

Hose Clamps Ace Hardware

2

?

?

$0.00

?

$5.37

Black Primary Wire O’Reily Auto Parts

1

$6.99

$6.99

$0.00

$0.58

$7.57

Yellow Primary Wire Advance Auto Parts

1

$6.99

$6.99

$0.00

$0.58

$7.57

Fuse Holder Advance Auto Parts

1

$3.29

$3.29

$0.00

$0.27

$3.56

heat shrink tubing (assorted box) Advance Auto Parts

1

$10.99

$10.99

$0.00

$0.91

$11.90

Butt connections Advance Auto Parts

1

$2.99

$2.99

$0.00

$0.25

$3.24

Ring Terminals Advance Auto Parts

1

$3.49

$3.49

$0.00

$0.29

$3.78

Assorted disconnect terminals On Hand


Split Cable Wrap On Hand


Total

$234.74


New Power Outlets

My cigarette lighter was broken, and the power outlet’s green plastic was cracked. I found an excellent replacement on ebay for $5.29 shipped: http://www.ebay.com/itm/360678268535
attachment DSC_0209

I knew that even if it didn’t fit, for that price I would make it fit. But yes, it fits perfectly. It’s a little more modern looking, and it’s blue! I measured the lighter drawing under 7.5 amps, and the lamp under 0.8 amps. I don’t know what the stock lighter draws since mine is broke. The only drawbacks I found were the light requires a separate ground, and it’s a little dim. I didn’t check, but I think the bulb is incandescent. I cut my wiring harness and added another female disconnect connector for the lamp’s ground.
DSC_0215
The power outlet I bought through ebay comes in other colors, even green.

I also wanted to add some power outlets behind the dash for electronics:
10242
Fuse 17 is rated at 20 amps. My cell phone and dash cam combined draw less that 1 amp, and my ’83 also doesn’t have a clock on Fuse 17. Adding two more outlets wasn’t a problem. Since Fuse 17 is live all the time, I decided on another mod:


After some fast shipping with DMC-MW, I cut the wiring harness and put a switch in the middle of the circuit. So now all my power outlets are controlled by the switch. This allows me to stop and start my dash cam whenever I want without touching the cam or the power connector.

My A Pillar trim is off the car right now, so I’ll be running the power for the dash cam behind the trim, then above the headliner.

Costs:

Item  

Quantity

Unit Cost

Cost

Shipping

Tax

Total

Blue Auto Power Outlet/Lighter ebay

1

5.29

5.29

5.29

Double Power Outlet O’Reily Auto Parts

1

6.69

6.69

0.45

7.14

Purple Primary Wire 14 Gauge 1 Foot O’Reily Auto Parts

4

0.31

1.24

0.08

1.32

On/Off Switch, Console (Pair) DMC Midwest

1

69.95

69.95

12.99

5.42

88.36

Electrical Disconnects On Hand


Heat Shrink Tubing On Hand

Total

$ 102.11

Front, Rear and Trunk LEDs!

By now, the basics of LEDs are well known: longer life, faster light up time, and reduced power consumption. Many Delorean owners are converting their incandescent bulbs to LEDs for all of these benefits. One really well written blog entry on Delorean LED conversion and benefits can be found here:

http://delorean2109.blogspot.com/2011/07/going-100-leds-on-your-car-is-good-idea.html

I saw someone else used these 48 LED SMD Panels as a trunk light. I liked the look, and had a few panels left over. This is a big improvement in brightness over the incandescent festoon bulb, and my later LED festoon bulb:
DSC_0626DSC_0622

I should have probably bought bigger brake lights, but after testing, these 42 LED bulbs were deemed just as bright as the incandescent brake lights. I purchased amber colored LEDs for the turn signals, however I was disappointed that the turn signals were dim. I decided to replace them with some bigger white LEDs.
DSC_047720131227_144234

I added a 48 LED SMD Panel to the engine bay light as well:
DSC_0621

I reclaimed the LED festoon bulbs from the trunk, engine bay, and interior lights. I used two of them in the rear license plate lights. I like the white color they produce, compared to the dim, yellow-ish light.
DSC_0139DSC_0140

The flasher relay I purchased wasn’t set up correctly for what the Delorean needed. Swapping some relay pins with some jumper wires was a quick and easy fix. New flasher (left), old flasher (right):
DSC_0517

Using the same 12 volt battery for my testing, I measured the amperage of the lights I removed, and the new LED lights. Here’s the breakdown:

Light Application Quantity Used Incandescent Amps LED Amps Amperage Savings
Back Turn

2

2

0.26

3.58

Back Running

2

0.57

0.25

0.64

Back Brake

4

2

0.16

7.36

Back Reverse

2

2

0.31

3.38

Front Running/Turn 1st Contact

2

0.46

0.1

0.72

Front Running/Turn 2nd Contact

2

1.71

0.29

2.84

License plate

2

0.42

0.03

0.78

Trunk Light

1

0.73

0.21

0.52

Engine Bay Light

1

0.73

0.21

0.52

Rear Dome

1

0.42

0.42

0

Front Dome

1

0.42

0.1

0.32

Total:

20.56

Now all these lights aren’t lit at the same time, so the savings isn’t always over 20 amps. However, I have significantly reduced the load on the electrical system. Maybe my alternator will live a little longer.

Costs:

Item Location Qty Vendor

Cost

Shipping

Total

Flasher Relay Under Dash, drivers side

1

Ebay

$ 2.79

$ 1.70

$ 4.49

1156 BA15S 68 SMD Amber / Yellow Tail Fog Turn Signal 68 LED Car Light Bulb Lamp Rear Turn Signal

2

Ebay

$ 6.92

$ –

$ 6.92

1157 BAY15D 102 SMD Pure White Brake Tail Turn Signal 102 LED Light Lamp Bulb S Front Indicator, turn signal

2

Ebay

$ 8.92

$ –

$ 8.92

1156 BA15S 102 SMD Pure White Tail Signal Turn 102 LED Car Light Lamp Bulb 12V Reverse

2

Ebay

$ 9.92

$ –

$ 9.92

1156 BA15S P21W 3528 SMD 44 LED Bulbs Light Lamp CANBUS Anti Sans S0BZ Rear Running

2

Ebay

$ 9.92

$ 1.55

$ 11.47

1156 Tail Brake White 42 SMD LED Light Bulb Lamp Brake Lights

4

Ebay

$ 2.00

$ 7.38

$ 9.38

48 SMD LED White Panel Light Trunk Light

1

Ebay

$ 3.03

$ 0.40

$ 3.43

48 SMD LED White Panel Light Engine Compartment

1

Ebay

$ 3.03

$ 0.40

$ 3.43

LED Festoon bulb License Plate Lights

2

On Hand

$ –

Total:

$ 57.96


Unused:
Item Location Quantity Vendor

Cost

Shipping

Total

1156 BA15S 68 SMD Amber / Yellow Tail Fog Turn Signal 68 LED Car Light Bulb Lamp Rear Turn Signal

2

Ebay

$ 6.92

$ –

$ 6.92

New Door Light Diode

I could see through the door gaps that when my passenger door was open, my driver’s door lights were lit. That’s not supposed to happen, the door lights should operate independently. After reviewing the wiring schematics, I traced the problem to a bad diode.
After some troubleshooting, I found the red diode was bad:
DSC_0466
Hey, is there something wrong with my steering column?

The door lights now work correctly.

Costs:

Item Vendor

Cost

Tax

Total

Diode DMC Midwest

$ 8.91

$ 0.69

$ 9.60

New(er) Negative Battery Cable

My negative battery cable was very stiff, and the insulation was cracked. I don’t like the Delorean’s claw-like battery connections either. I’ve also seen the frame connection end of the cable come apart. With vendors charging big $$$ for new cables, I set out to find a cheap alternative. Here’s what I found:

trans
(not the actual car)

A junkyard third generation Firebird had nice cables. Heck, there was a positive cable that wrapped around most of the engine compartment! It measures in over six feet! These long, thick gauge cables aren’t found on today’s cars.
DSC05085DSC_0364

The negative cable also has another smaller cable leading into the battery connection. I might utilize this someday for stereo equipment, or my fuel pump. For now, its wrapped in electrical tape, and strapped down, away from the positive terminal.

I like the GM style battery connections better, and the frame connection has a nice crimp on it:
DSC_0345DSC05087

I ended up cutting the Delorean cable to remove it. I’m willing to bet a lot of electrical problem arise from these poorly made connections. Again, this is why vendors are pushing sales of their expensive cables.
DSC_0344DSC_0353DSC_0354

…and with minimal effort, I was easily able to twist the connection off. Look, it made contact with less than 1/4 of the copper bundle. The rest is corroded:

DSC_0380

Connected to the frame.
DSC05088

Someday I might cut off the red positive battery connection on the long cable, crimp on some terminals, and run it from the frame to the engine. For now, this will probably improve the grounding of the car.

Costs:

Battery Cable (short)

Aurora Auto Parts

$ 5.00

Battery Cable (long)

$ 10.00

Salvage Yard Admission Fee

$ 2.00

EPA

$ 1.00

$ 18.00